Lighting shapes how a room feels more than almost any other design element, yet it’s typically the last thing homeowners think to change. Paint colours, furniture, and soft furnishings tend to get all the attention while the lighting stays exactly as it was when you moved in. Two ceiling fixtures and a reading lamp rarely tell the full story of what a room could be.
That gap is worth closing, and the good news is that most of it doesn’t require an electrician or a significant budget. Something as practical as fitting a pair of interior wall lights in a hallway or living room completely reframes how a space reads after dark, and that kind of difference shows up the moment you walk through the door. The impact tends to genuinely surprise people who’ve never tried it.
This guide covers the updates that are worth making, how to approach them room by room, and how to work through the whole project across a single weekend.
Why Lighting Updates Deliver Some of the Best Returns in Home Improvement
The numbers behind this are fairly clear. According to the Energy Saving Trust, lighting accounts for around 11% of the average UK household’s electricity bill. Switching to LED sources and reducing reliance on poorly positioned overhead lights brings that figure down while improving how your home looks and feels at the same time.
Beyond the energy data, research published by the Illuminating Engineering Society found that light placement and quality significantly affect perceived room size, comfort levels, and mood during evening hours. A room that feels cramped under harsh overhead light can feel notably more spacious and welcoming with lower, layered sources added in.
Most of the updates in this guide fall into the category of swap-out or add-on changes that any homeowner can handle with basic tools. No rewiring. No planning permission. Just a few deliberate decisions about where light comes from and what quality it carries when it arrives.
Where to Focus First: A Room by Room Breakdown
Not every room delivers the same return on lighting investment. Here is where to prioritise:
Living Room
The living room has the most to gain because it operates under such different conditions throughout the day and into the evening.
- Replace a single central pendant with a combination of floor and table lamp sources
- Add a wall light behind the sofa or beside a reading chair for focused ambient light
- Fit a dimmer switch to the main circuit if possible, or switch to smart bulbs with adjustable brightness
- Use 2700K bulbs throughout for the warm white tone that makes living spaces feel settled
Hallway and Landing
Hallways are often overlooked entirely, which is a missed opportunity since they’re the first space you experience on arriving home.
- A pair of wall lights flanking a mirror or console table transforms a flat corridor into something with genuine character
- Use 3000K bulbs here for slightly crisper light that aids navigation
- Fittings with motion sensors work particularly well in hallways to balance convenience with energy use
Bedroom
Overhead bedroom lighting is almost never the right choice in the evening. It is too bright and too one-dimensional for a space meant for winding down.
- Bedside lamps at table height create the warm, low-level light that supports relaxation
- If wall space is limited, wall sconces with standard plugs are a practical alternative to freestanding lamps
- Consider dimmable overhead fittings for daytime use only, with lamps taking over once the sun sets
The Finishing Detail That Most Homeowners Miss
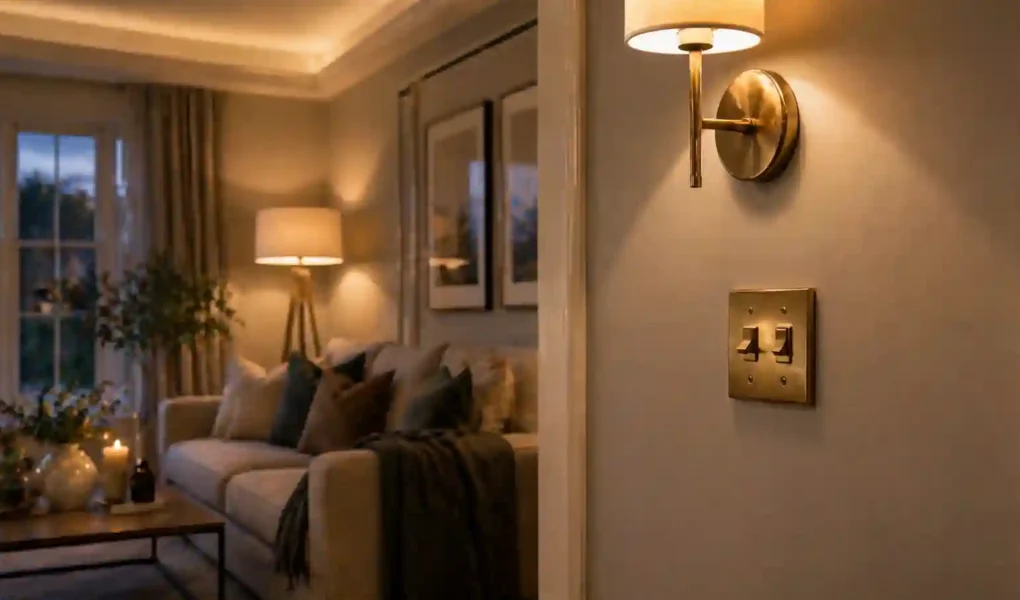
Updating your light fittings and bulbs is the obvious part. What tends to get overlooked is the hardware that surrounds them: the switches and plates you interact with every single day but rarely look at consciously.
Swapping standard white plastic plates for designer light switches in brushed brass, matte black, or polished chrome is one of the lowest-cost, highest-visibility upgrades you can make in a room. It takes minutes per switch and typically costs between £8 and £30 per plate, depending on the finish. The effect on how considered and complete a room looks is disproportionate to that investment.
The key is consistency. Choose one finish and apply it across the whole room, or better yet, across the whole floor. Mixing finishes in adjacent spaces creates a visual inconsistency that registers even when people can’t name the source.
Dimmer switches are worth including here too. Electrical Safety First notes that dimmer switches rank among the most frequently requested additions in UK home renovation surveys. A dimmer doesn’t just change what a room looks like. It changes what the room can do, turning one fixed lighting state into a range of atmospheres you can adjust across the hours of the day.
How to Build a Lighting Scheme That Works Across the Whole House
The goal isn’t to treat each room as an isolated project. A lighting scheme that works at a whole-home level has a coherent logic running through it: consistent colour temperatures on each floor, a shared hardware finish across connected spaces, and a mix of sources at different heights in every occupied room.
Start with the rooms you use most after dark. Fix the most obvious problems first, which is usually too much reliance on a single overhead source. Then work outward to supporting spaces: hallways, landings, utility areas.
A useful benchmark from interior design research: a well-considered room should have at least three separate light sources that can operate independently. A ceiling fitting, a floor or table lamp, and a directional or accent light is the baseline. Every room that falls short of that has clear room to improve.
A Practical Two-Day Plan
Saturday: Walk through every room in your home after dark with existing lighting only. Note which spaces feel flat, harsh, or uncomfortable. Then source what you need: lamps with standard plugs for rooms lacking a secondary source, replacement switch plates in your chosen finish, and dimmer switches for rooms where a single lighting state isn’t working.
Sunday: Install, swap, and rearrange. Switch plate replacements take under five minutes each. Lamps with standard plugs require no installation at all. Step back after each room and adjust placement before moving on.
Most homes can complete this project across a single weekend, and the result will be a house that feels noticeably different on Sunday evening compared to where it started.
FAQ
Do I need an electrician to update my home lighting?
For most of the updates in this guide, no. Lamps with standard plugs, wall sconces that run off an existing socket, and replacement switch plates are all tasks you can handle without professional help. You only need a qualified electrician if you’re adding new circuits, moving existing fittings, or installing hardwired fixtures without an existing connection point.
What colour temperature should I use in a living room?
Stick with 2700K for living rooms and bedrooms. This produces warm white light that feels relaxing and comfortable in the evening. Kitchens and bathrooms can handle 3000K to 3500K for a slightly crisper feel that supports tasks. Avoid anything above 4000K in residential spaces, as it tends to feel clinical and unsettling in the evening.
How many light sources does a room need?
Three independent sources are the accepted minimum among interior lighting designers. One overhead source, one mid-level source such as a floor or table lamp, and one directional or accent light give you the flexibility to adjust the room’s atmosphere across different times of day.
Is it worth upgrading switch plates in a rented property?
Check with your landlord first, but many will permit it as long as the original plates are stored and refitted before you leave. The cost is low, the improvement is immediate, and original plates can be swapped back in under ten minutes when you move out.
Final Words
Lighting is rarely the first item on a homeowner’s renovation list, but it arguably delivers the largest impact per pound spent of anything you can change in a room. A well-considered mix of sources at different heights, the right colour temperatures matched to each space, and a consistent hardware finish across connected areas will make your home feel more comfortable and more genuinely liveable than it does right now.
The encouraging part is that most of it can happen in a weekend. You don’t need to commit to a major project or bring in a professional. You just need a clear plan, a willingness to actually look at how your home is lit, and a free Sunday afternoon to start putting it right.