Sounds exciting, right? Customising your Skyrim experience by building your own house adds a new layer of immersion to the game. It’s more than just a place to store loot; it’s a sanctuary that reflects your character’s personality and playstyle.
Why Build a House in Skyrim?
Benefits of Owning a House in Skyrim
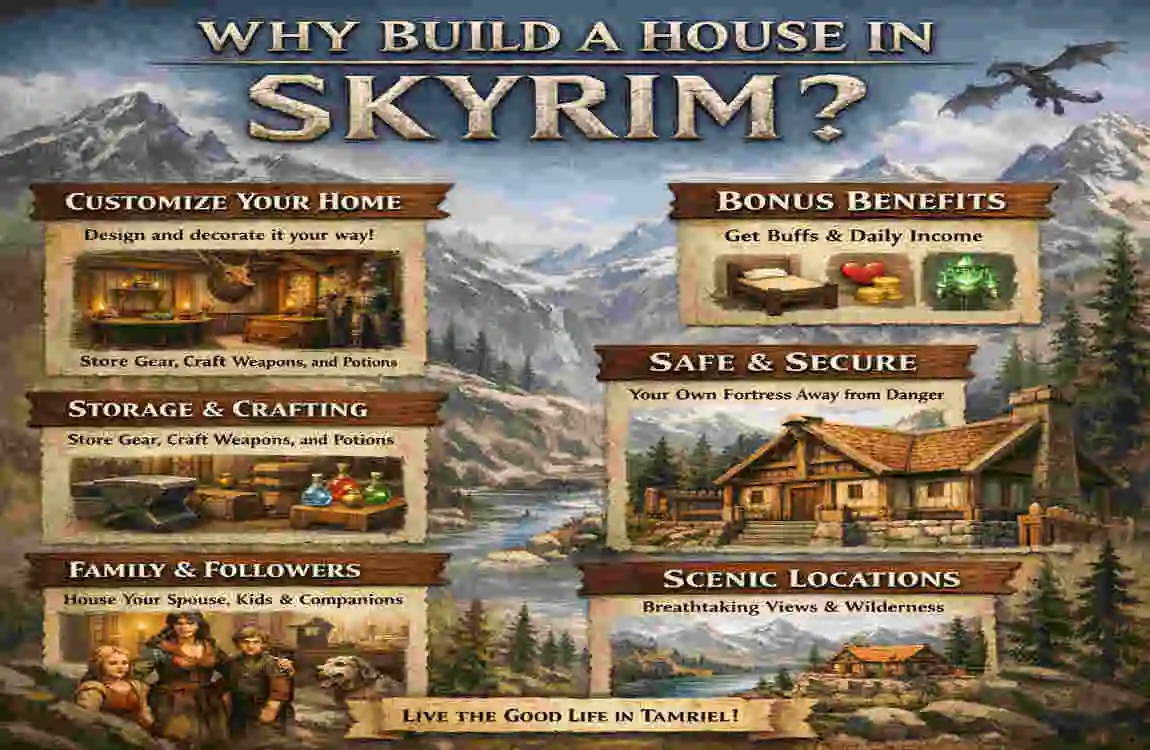
Owning a dream house in Skyrim isn’t just about aesthetics—it’s about functionality and immersion. Here are some of the key benefits:
- Storage for your loot: As you journey through Skyrim, you’ll accumulate an impressive collection of weapons, armour, and treasures. A house gives you a secure place to store these items.
- Haven: Need a break from the chaos of battle? Your house provides a quiet space to rest, craft potions, or improve your gear.
- Personalisation: Customising your house allows you to create a space that reflects your roleplaying choices, whether you’re a noble warrior or a humble hunter.
Types of Homes in Skyrim
Skyrim offers two types of homes:
- Pre-built homes: These houses, like Breezehome in Whiterun or Hjerim in Windhelm, are available for purchase in major cities. They’re convenient but lack customisation.
- Customizable homes: With the Hearthfire DLC, you can design and build your own home from scratch, adding wings and decorations to suit your needs.
Building your own home is a rewarding experience that truly enhances the gameplay. It’s the ultimate way to immerse yourself in the world of Skyrim!
Requirements for Building a House
Hearthfire DLC Overview
Before you can start building your house, you’ll need the Hearthfire DLC. This expansion enables purchasing land and building homes in specific locations. Without Hearthfire, you’re limited to pre-built houses in the game.
Land Purchase
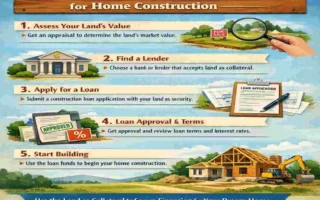
Here’s how to buy land for your future home:
- Speak with the local Jarl or steward in Falkreath, Hjaalmarch, or The Pale.
- Complete any quests they assign to gain their trust.
- Purchase a plot of land for 5,000 gold.
Each location offers a unique landscape, so choose the one that fits your vision!
Hold Land Plot Description
Falkreath Lakeview Manor is surrounded by lush forests.
Hjaalmarch Windstad Manor is located near a marshy, scenic area.
The Pale Heljarchen Hall: A snowy mountain retreat.
Necessary Materials
To build your house, you’ll need the following materials:
- Sawn Logs: Purchase from sawmills or nearby loggers.
- Quarried Stone and Clay: Found near your land plot.
- Iron Fittings, Nails, and Hinges: Crafted at a forge using iron ingots.
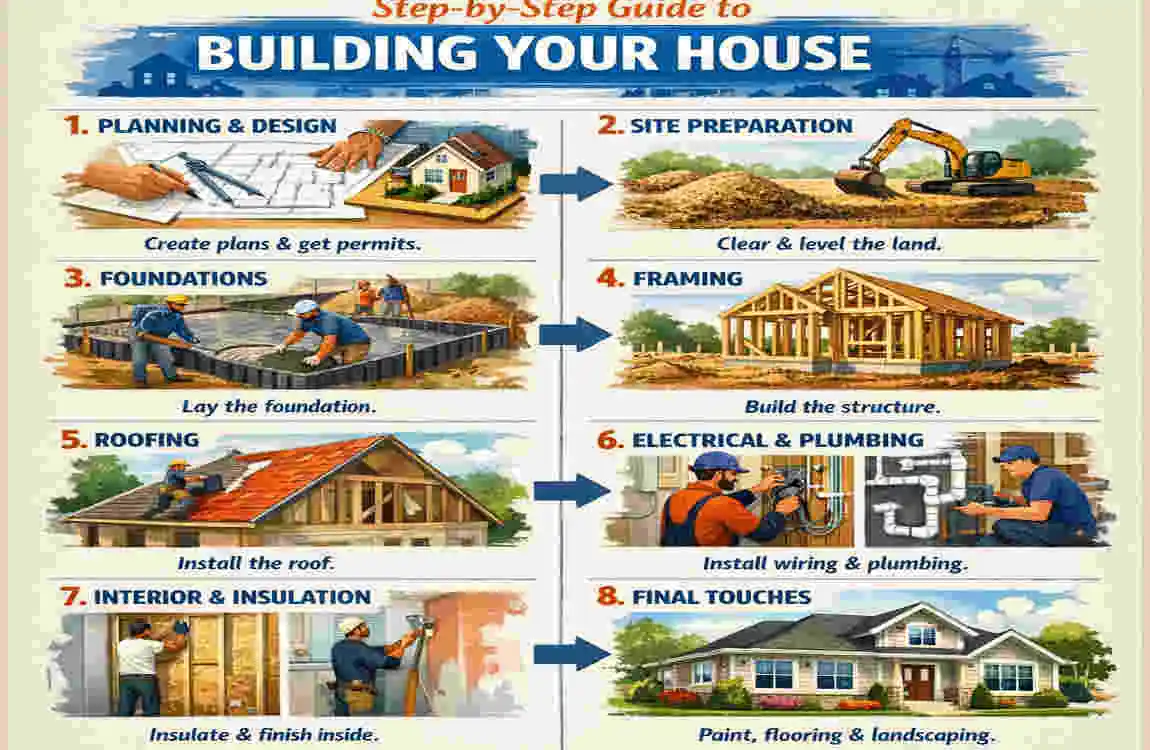
Step-by-Step Guide to Building Your House
Choosing and Purchasing Your Land
Once you’ve purchased the Hearthfire DLC, follow these steps to buy land:
- Visit the steward in Falkreath, Hjaalmarch, or The Pale.
- Pay 5,000 gold for the land plot of your choice.
- Travel to your new property, marked on your map, to begin construction.
Each plot of land offers unique scenery, so take a moment to explore the surroundings before building.
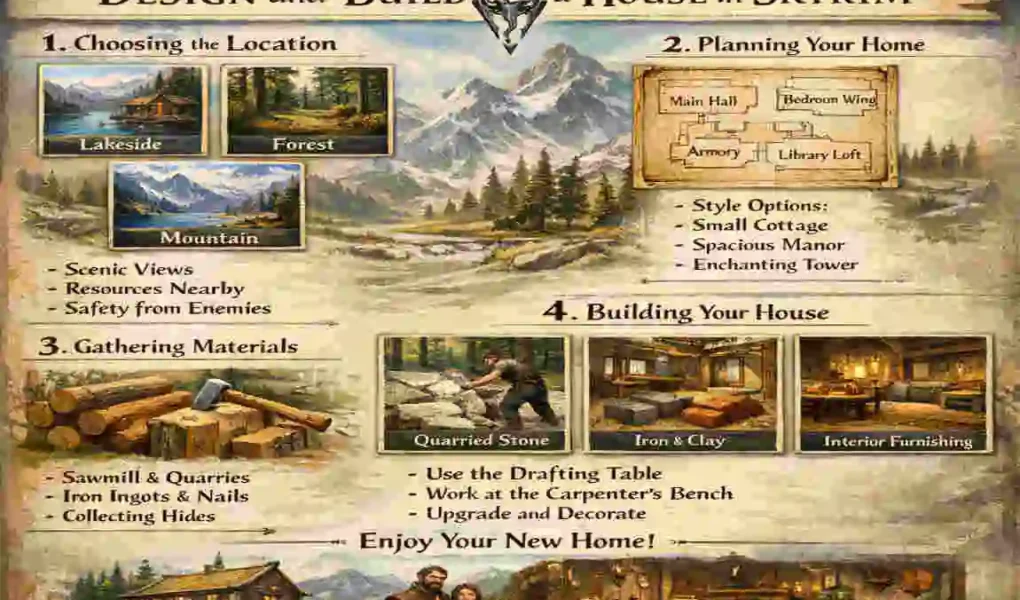
Designing Your House
At your land plot, you’ll find a drafting table and a carpenter’s workbench. Here’s how to get started:
- Use the drafting table to select your house layout.
- Start with the Small House Layout, which acts as the foundation.
- Expand your home by adding wings like:
- Kitchen: Perfect for roleplayers who enjoy cooking.
- Armoury: Ideal for warriors who want to display their weapons.
- Alchemy Lab: A must-have for mages and potion crafters.
Choose wings that best suit your playstyle!
Gathering Materials
Gathering materials is a crucial step. Here’s where to find them:
- Sawn Logs: Purchase from sawmills, like the one in Riverwood.
- Clay and Quarried Stone: Found near your land plot (look for a pickaxe!).
- Iron Fittings, Hinges, and Nails: Made at any forge using iron ingots.
Constructing the House
Use the carpenter’s workbench to build your house step by step:
- Start with the foundation, then add walls, a roof, and doors.
- Expand your home by adding wings and larger rooms.
- Decorate the exterior with unique features, such as gardens or animal pens.
Building your house is a rewarding process, so take your time to enjoy it!
Customising the Interior
Once the structure is complete, it’s time to furnish the interior:
- Craft furniture like beds, chairs, and tables at the carpenter’s workbench.
- Add unique features such as weapon racks, display cases, and trophy mounts.
- Personalise each room to reflect your character’s story.
Your house isn’t just a building—it’s a reflection of who you are in the game.
Advanced Tips for Building and Customisation
Maximizing Space
Choosing the right combination of wings can make your house more functional. For example:
- Warriors: Build an armoury to store and display your weapons.
- Mages: Add an alchemy lab for crafting potions and enchanting gear.
- Hunters: Opt for a storage room to keep pelts and trophies.
Managing Resources
Efficient resource management is key:
- Stockpile materials in advance to avoid interruptions.
- Hire a steward to help manage your resources.
- Use the Smelter to turn raw materials into usable items.
Roleplaying Ideas
Immerse yourself in your character’s story by tailoring your house to their role:
- Family Home: Build home a cosy retreat for your spouse and children.
- Mage’s Retreat: Create a magical haven with arcane decorations.
- Hunter’s Cabin: Design a rustic lodge with plenty of storage for hunting gear.
Common Mistakes to Avoid
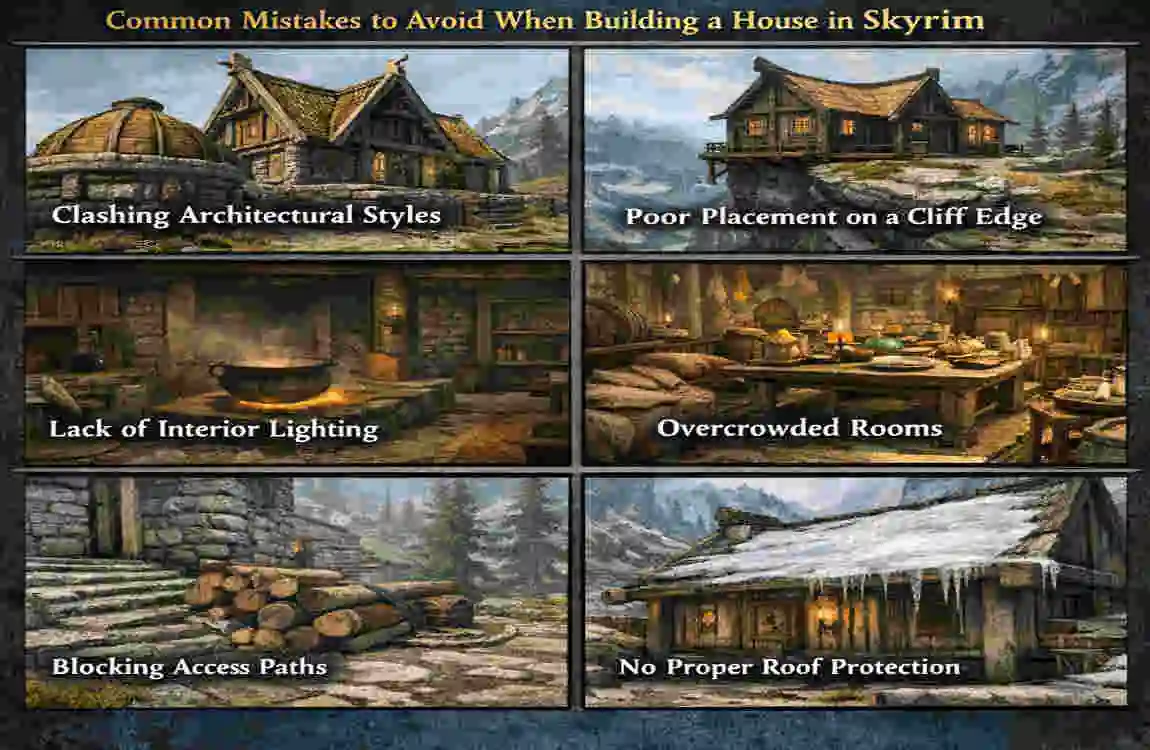
Not Buying Land Early
Don’t wait too long to purchase land! The earlier you start building, the more you’ll enjoy your new home throughout your adventures.
Ignoring Resource Management
Many players overlook the importance of gathering materials. Avoid running out of resources by keeping a steady supply of logs, stone, and clay.
Skipping Customization
Leaving your house undecorated is a missed opportunity for immersion. Take the time to furnish and personalise your dream home—it makes a big difference!
Frequently Asked Questions About Building a House in Skyrim
Can I build more than one house in Skyrim?
Yes! With Hearthfire DLC, you can build up to three houses—one in each of the available holds.
What happens if I lose my materials?
Materials like sawn logs and quarried stone are tied to your game save. If lost, you’ll need to gather or purchase more.
Can I move my family into my custom-built house?
Absolutely! Once your house is complete, you can move your spouse and children in to make it a family home.
Do I need Hearthfire DLC to build a house?
Yes, the Hearthfire DLC is required to build custom houses. Without it, you’re limited to pre-built homes.
| Step | Description | Key Tips |
|---|---|---|
| Purchase Land | Buy a plot from a Jarl (requires Hearthfire DLC) | Choose location based on playstyle |
| Design Your Layout | Use the drafting table to plan your house wings | Start small, expand gradually |
| Gather Materials | Collect wood, clay, stone, iron fittings | Visit merchants and gather in the wild |
| Build the House | Use carpenter’s workbench to construct walls, roofs, doors | Follow step-by-step for smooth progress |
| Customize Interior | Craft furniture and decorate rooms | Add weapon racks, display cases for personalization |
| Manage Resources & Expand | Efficiently gather materials for future expansions | Plan wings to match your character’s needs |