
Sanding louvered doors is a crucial step in achieving a smooth, beautiful finish for your home. Because of their slatted design, these home doors require careful sanding to reach all surfaces evenly without damaging the edges. Proper sanding prepares the wood to absorb paint or stain flawlessly, enhancing both appearance and durability.
Why Sanding is Important for Louvered Doors

Sanding louvered doors is a crucial step in achieving that perfect finish. The slatted design of these doors can trap dust, dirt, and imperfections over time.
By sanding, you prepare the surface for painting or staining. A smooth base allows finishes to adhere more effectively, ensuring an even color and texture throughout the entire door.
Investing time in proper sanding transforms louvered doors from ordinary to extraordinary with minimal effort.
Step-by-Step Guide to Sanding Louvered Doors
Start by gathering your tools. You’ll need sandpaper in various grits, a sanding block, and a vacuum or cloth for cleanup.
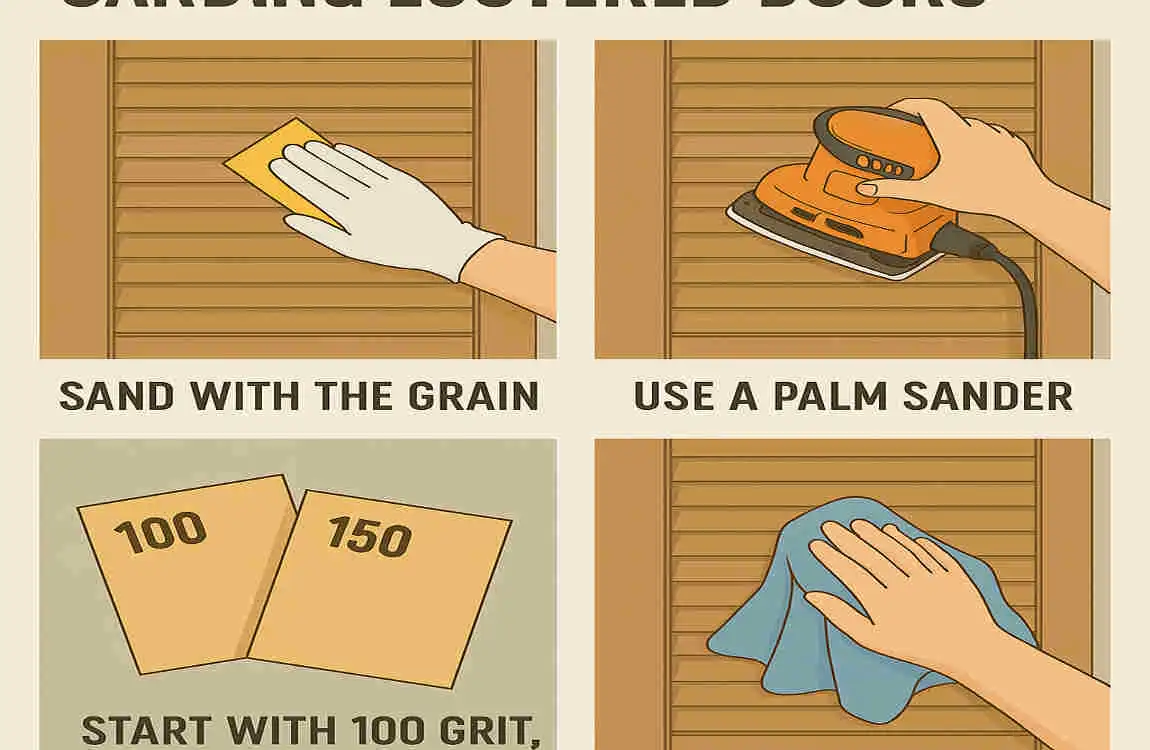
Begin with coarse-grit sandpaper, around 80 to 100. This will help remove any old paint or rough spots on the surface of the louvered doors. Work gently along the grain to avoid damaging the wood.
Next, switch to medium grit sandpaper (120-150). This step smooths out imperfections left from the initial sanding. Be thorough but gentle; you want a refined texture without over-sanding.
For the final touch, use fine-grit sandpaper (220+). Focus on all surfaces and edges of each louver and panel for an even finish.
Remember to house clean off dust during this process regularly. A clean surface ensures better adhesion if you plan to paint or stain afterward.
Tips and Tricks for a Smooth Finish
To achieve a smooth finish on your louvered doors, start with the right sandpaper. Use finer grits, like 220 or 320, for that final touch after initial sanding.
Always sand in the direction of the grain. This technique helps prevent scratches and ensures a smooth, even surface.
Don’t forget to clean between the slats! A vacuum attachment can work wonders here, removing dust buildup that may hinder adhesion during finishing.
Consider using a sanding sponge for those hard-to-reach areas. It conforms to shapes better than traditional sandpaper and provides more control over uneven surfaces.
Take your time. Rushing through this process often leads to mistakes that will require additional work later on. Patience is key when aiming for perfection.
Finishing Touches: Painting or Staining Your Louvered Doors
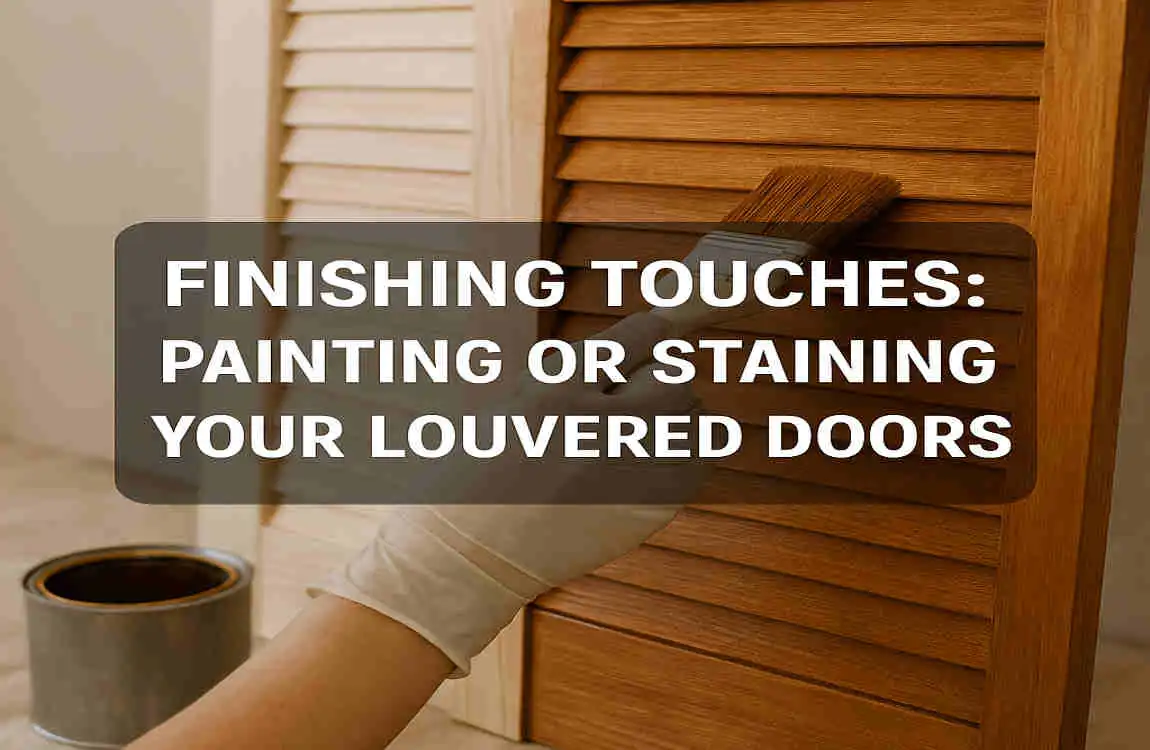
Once you’ve sanded your louvered doors to perfection, it’s time for the finishing touches. Painting or staining is a great way to truly personalize your space truly.
If you opt for paint, choose a high-quality product that complements your home’s decor. A semi-gloss finish works well because it highlights the louvers while providing durability and a smooth appearance. Make sure to apply multiple thin coats for an even finish.
Staining offers a different charm by enhancing the natural wood grain. Select a stain that matches or contrasts beautifully with other wooden elements in your home. Apply it with a brush or rag, depending on the desired effect, and always wipe off excess to prevent blotchiness.
Whichever route you choose, don’t forget to let each coat dry completely before adding another layer. Patience pays off when achieving that flawless look!
Maintaining Your Beautifully Sanded Louvered Doors
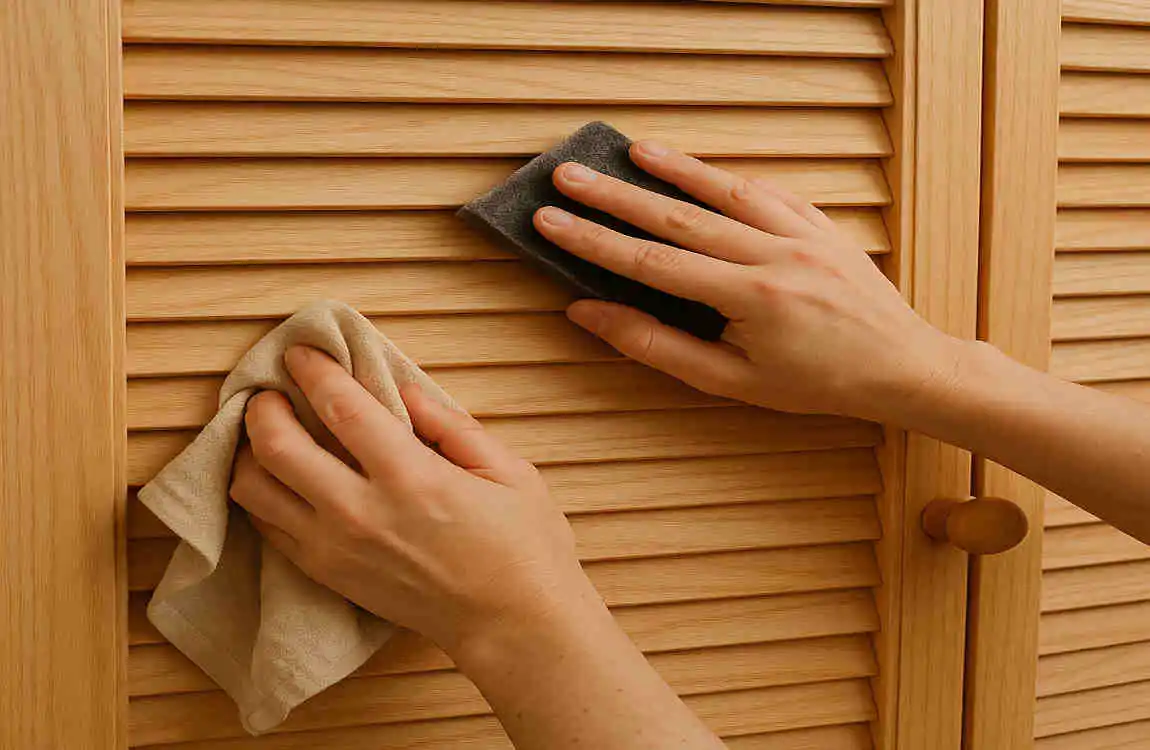
To keep your beautifully sanded louvered doors looking pristine, regular maintenance is key. Start by dusting them often, using a soft cloth or duster to prevent dirt accumulation in the slats.
Every few months, check for any signs of wear or damage. A quick touch-up with fine-grit sandpaper can help maintain that smooth finish without needing a complete resanding.
Consider applying a fresh coat of paint or stain every couple of years to protect the wood and enhance its appearance. This adds an extra layer of durability against moisture and fading.
Keep an eye on humidity levels in your home as well. Excessive moisture can warp wooden doors over time, so use dehumidifiers if necessary.
Always handle the modern doors gently when opening and closing them. Proper care will ensure they remain a stunning feature in your home for years to come.
How to Sand Louvered Doors FAQ
What Tools Do I Need to Sand Louvered Doors?
To sand louvered doors effectively, you’ll need the following tools:
- Sandpaper: Choose a variety of grits, starting with coarse (80-100 grit) for removing old paint or varnish, and progressing to finer grits (120-220) for smoothing the surface.
- Sanding block or sponge: These help you apply even pressure and prevent uneven sanding.
- Detail sander or Dremel tool: These are essential for reaching the narrow spaces between the louvers.
- Vacuum or brush: Use these to remove dust and debris as you work.
- Tack cloth: This is a sticky cloth that helps remove fine dust particles before painting or staining.
How Do I Prepare Louvered Doors for Sanding?
Before you start sanding, take these steps to prepare your louvered doors:
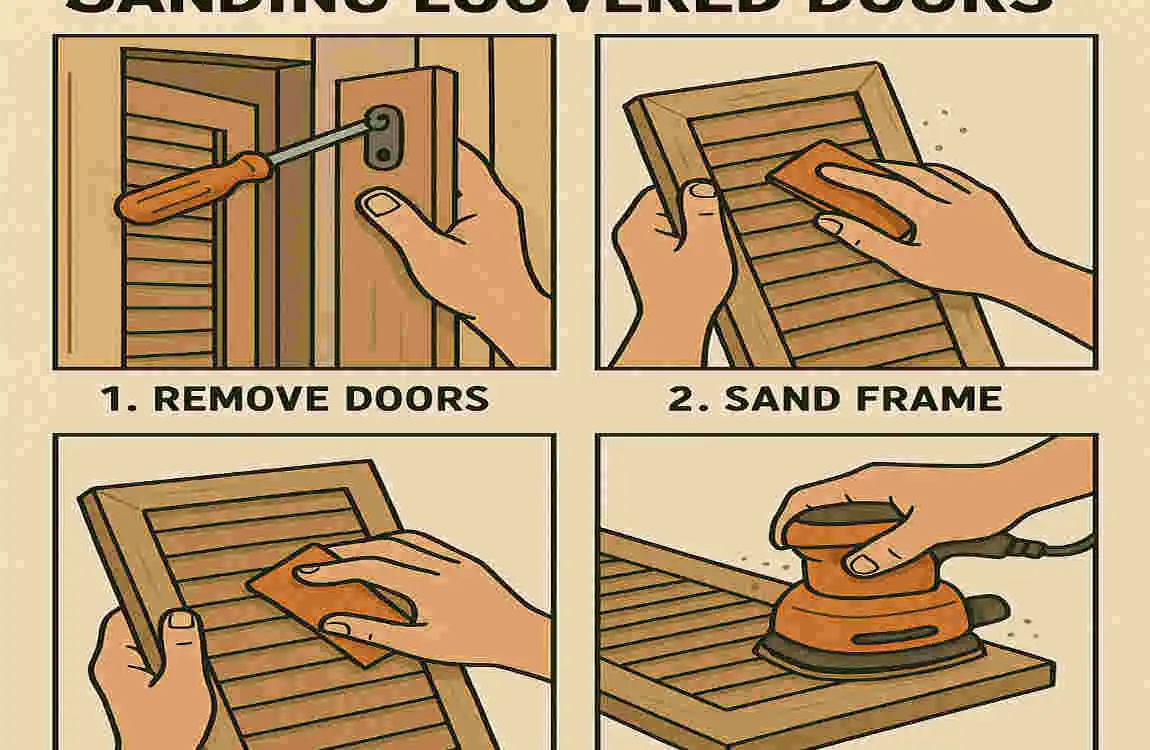
- Remove the doors: If possible, take the doors off their hinges to make sanding easier and more accessible.
- Clean the doors: Wipe down the doors with a mild detergent and water solution to remove any dirt or grime. Let them dry completely.
- Protect the surrounding area: Lay down drop cloths or plastic sheets to catch any dust or debris that may fall during sanding.
- Mask off any hardware: Use painter’s tape to cover any hinges, handles, or other hardware you don’t want to sand.
What’s the Best Way to Sand Louvered Doors?
Sanding louvered doors requires a bit of patience and attention to detail. Follow these steps for the best results:
- Start with coarse sandpaper: Begin by using 80-100 grit sandpaper to remove any old paint, varnish, or damaged wood. Use a sanding block or sponge to maintain even pressure.
- Sand between the louvers: Use a detail sander or Dremel tool with a sanding attachment to reach the narrow spaces between the louvers. Work carefully to avoid damaging the wood.
- Progress to finer grits: Once you’ve removed the old finish, switch to 120-150 grit sandpaper to smooth the surface. Finish with 180-220 grit for a silky smooth finish.
- Sand with the grain: Always sand in the direction of the wood grain to prevent scratches or swirl marks.
- Vacuum and wipe down: Regularly vacuum or brush away dust as you work, and use a tack cloth to remove any remaining particles before painting or staining.
How Long Does It Take to Sand Louvered Doors?
The time it takes to sand louvered doors depends on several factors, including the size of the doors, the condition of the existing finish, and your level of experience. On average, it may take 1-2 hours per door, but this can vary.
Can I Use a Power Sander on Louvered Doors?
Yes, you can use a power sander on louvered doors, but be cautious. A random orbital sander can be useful for the flat surfaces, but you’ll need to switch to a detail sander or Dremel tool for the narrow spaces between the louvers. Always use a light touch and keep the sander moving to avoid damaging the wood.
What Should I Do After Sanding Louvered Doors?
After sanding your louvered doors, you have a few options:
- Paint: If you plan to paint the doors, use a high-quality primer and paint specifically designed for wood surfaces. Apply thin, even coats and allow ample drying time between coats.
- Stain: If you prefer a stained finish, choose a wood stain that complements your decor. Apply the stain with a brush or cloth, following the manufacturer’s instructions.
- Seal: Whether you paint or stain, be sure to seal the doors with a protective topcoat to enhance durability and longevity.