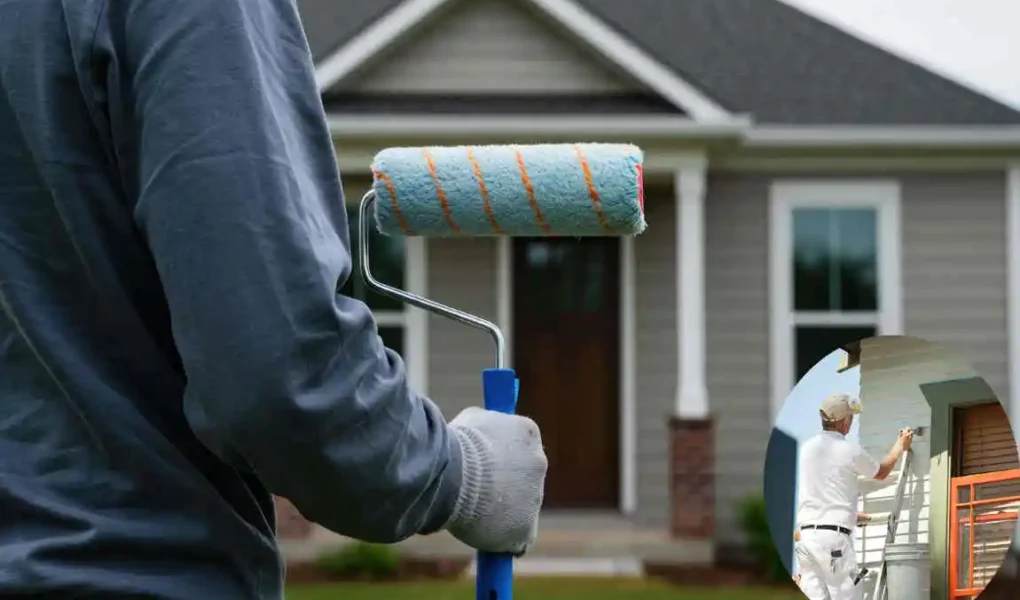
Painting the outside of your house is one of the best ways to improve its appearance and protect it from weather damage. A fresh coat of paint can make an older home look clean, modern, and well-maintained. While many people think exterior painting is difficult, the process becomes much easier when you use the right tools and techniques.
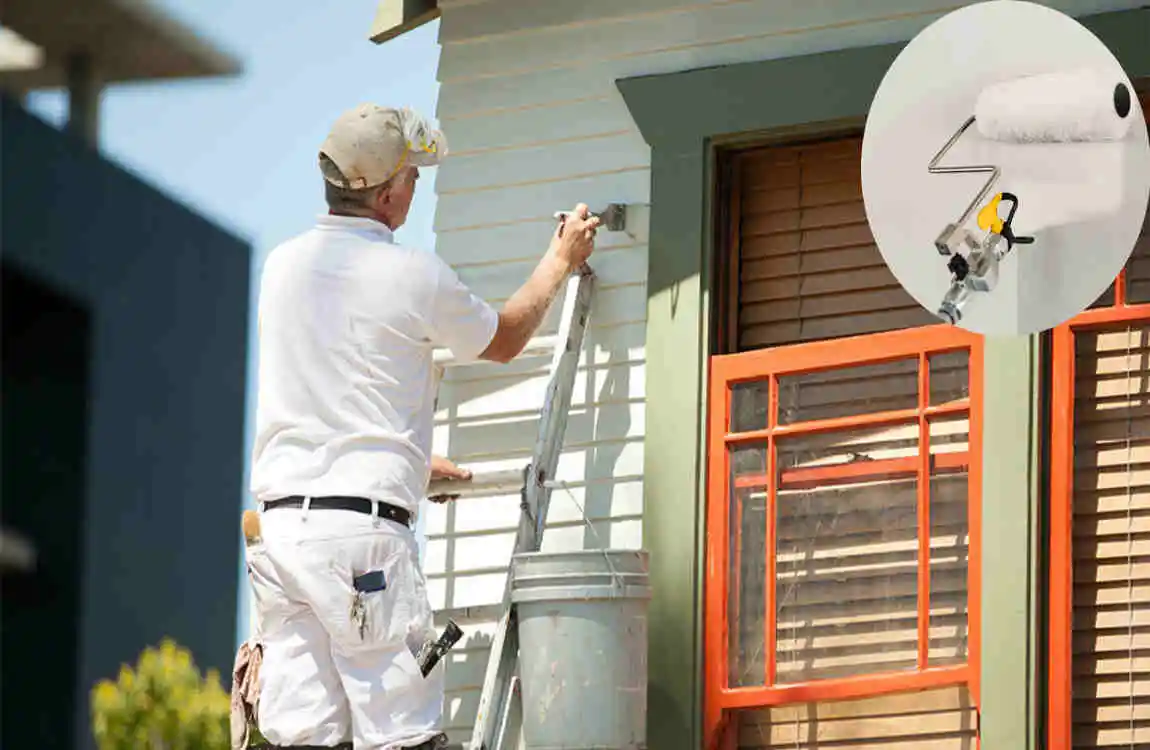
Many homeowners prefer using a roller rather than a paint sprayer because rollers are easier to handle and create less mess. If you are a beginner, learning to paint the exterior of your house with a roller can save you money while giving your home a professional-looking finish.
A roller also gives you better control over the paint. You can apply even coats without worrying about overspray covering windows, plants, or sidewalks. This makes roller painting ideal for DIY home improvement projects.
Why Use a Roller for Exterior House Painting?
Advantages of Using a Roller
Using a roller for exterior painting comes with many benefits. One of the biggest advantages is control. A roller allows you to spread paint evenly across walls without wasting too much product.
Another benefit is less mess. Paint sprayers can create overspray, especially on windy days. Rollers keep the paint exactly where you want it.
Rollers are also excellent for textured surfaces like brick and stucco because they push paint into small cracks and uneven areas more effectively.
Here are some major benefits of roller painting:
- Affordable compared to paint sprayers
- Easy for beginners to use
- Less paint waste
- Better control during application
- Great for rough surfaces
Roller vs Paint Sprayer
Many homeowners compare rollers and paint sprayers before starting an exterior project. Both tools can produce good results, but rollers are often easier for DIY painting.
FeatureRollerPaint Sprayer
Ease of Use Beginner-friendly Requires practice
Paint Control Excellent Moderate
Overspray Minimal High
Cleanup Easier More difficult
Cost Lower Higher
Sprayers can paint faster, but rollers provide more accuracy and are usually more practical for homeowners working on small or medium-sized projects.
Best Exterior Surfaces for Roller Painting
Rollers work very well on many outdoor surfaces. Some of the best surfaces include:
Wood Siding
Rollers spread paint smoothly across wooden siding while helping paint absorb evenly.
Stucco Walls
Thicker roller naps can reach deep into stucco textures for complete coverage.
Brick Surfaces
Brick walls often have rough areas that rollers can effectively cover.
Fiber Cement Siding
This modern siding material accepts roller paint applications very well.
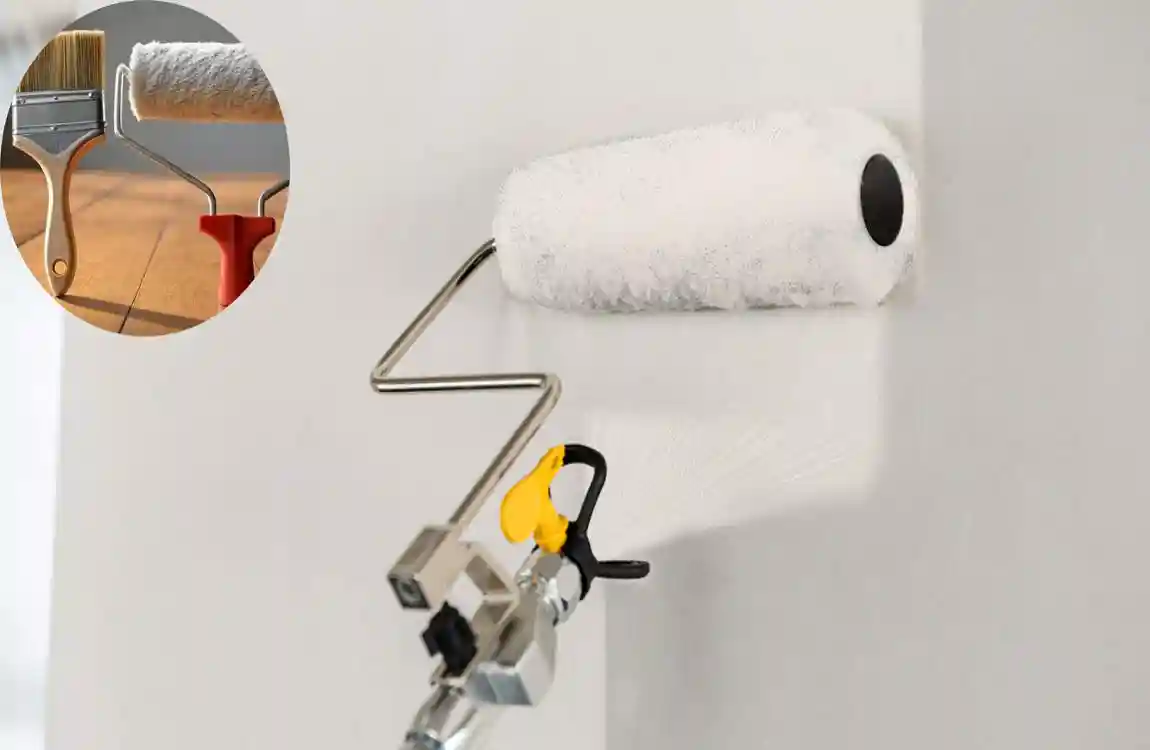
Essential Tools and Materials You Need
Choosing the Right Paint Roller
Selecting the correct roller is important for achieving smooth results.
Roller Nap Sizes Explained
The “nap” refers to the thickness of the roller cover.
Surface TypeRecommended Nap Size
Smooth surfaces 1/4 to 3/8 inch
Slightly rough surfaces 1/2 inch
Rough exterior walls 3/4 to 1 inch
Rougher walls require thicker roller naps because they hold more paint.
Best Roller Covers for Exterior Surfaces
Synthetic roller covers are commonly used with latex and acrylic paints. They are durable and provide smooth coverage.
Natural fiber rollers work best with oil-based paints but are less common for modern exterior projects.
Other Painting Supplies Checklist
Before starting, gather all necessary supplies.
Essential Tools
- Paint trays
- Extension poles
- Exterior paint
- Primer
- Painter’s tape
- Drop cloths
- Paint brushes
- Ladder
- Sandpaper
Having everything ready before painting saves time and prevents interruptions.
Best Exterior Paint Types
Choosing quality paint is just as important as using the correct roller.
Acrylic Exterior Paint
Acrylic paint is highly durable and resists weather damage well.
Latex Paint
Latex paint dries quickly and is easy to clean.
Weather-Resistant Paints
These paints help protect your home from rain, sunlight, and moisture.
Satin vs Flat Finish
- Satin finish: Easier to clean and slightly shiny
- Flat finish: Hides imperfections better
How to Prepare Your House Exterior Before Painting
Clean the Exterior Surface Properly
Preparation is one of the most important parts of exterior painting. Paint will not stick properly to dirty walls.
Pressure Washing Tips
Use a pressure washer to remove dirt, mold, and peeling paint. If you do not own one, you can rent one from a local hardware store.
Remove Peeling Paint
Scrape away loose paint before applying fresh coats. This helps create a smooth surface.
Allow Surfaces to Dry
Always let walls dry fully after washing. Painting over moisture can cause peeling later.
Repair Damaged Areas
Check your home exterior carefully before painting.
Fill Cracks and Holes
Use exterior filler or caulk to repair cracks.
Sand Rough Spots
Sanding helps smooth uneven surfaces and improves paint adhesion.
Replace Damaged Siding
Severely damaged wood or siding should be replaced before painting.
Protect Nearby Areas
Exterior painting can become messy if nearby objects are not protected.
Cover Windows and Plants
Use plastic sheets or drop cloths to protect landscaping and windows.
Tape Fixtures and Trim
Painter’s tape creates clean paint lines around trim and fixtures.
Protect Walkways and Furniture
Move outdoor furniture away from the painting area whenever possible.
Apply Primer When Necessary
Primer improves paint adhesion and durability.
When Primer Is Needed
You should use primer when:
- Painting bare wood
- Covering dark colors
- Repairing damaged areas
- Painting stained surfaces
Best Primer Types
Exterior acrylic primers are popular because they dry quickly and resist moisture.
Weather Conditions Matter When Painting Exterior Walls
Best Temperature for Exterior Painting
Weather affects paint performance more than many people realize.
The ideal temperature for exterior painting is usually between 50°F and 85°F.
Extreme heat can dry paint too quickly, while cold temperatures may prevent proper curing.
Avoid Painting in Humid or Rainy Weather
Humidity can slow drying time and create uneven finishes.
Rain can completely ruin fresh paint before it dries properly.
Always check the weather forecast before starting your project.
Best Time of Day to Paint Outside
Morning and late afternoon are usually the best times for exterior painting.
Avoid painting during direct midday sunlight because heat can cause roller marks and uneven drying.
Step-by-Step Guide on How to Paint an Exterior House with a Roller
Prepare the Paint
Before painting, stir the paint thoroughly using a paint stick.
If you are using multiple paint cans, mix them in a larger bucket. This process, called “boxing paint,” helps maintain consistent color.
Pour paint into a tray carefully to avoid spills.
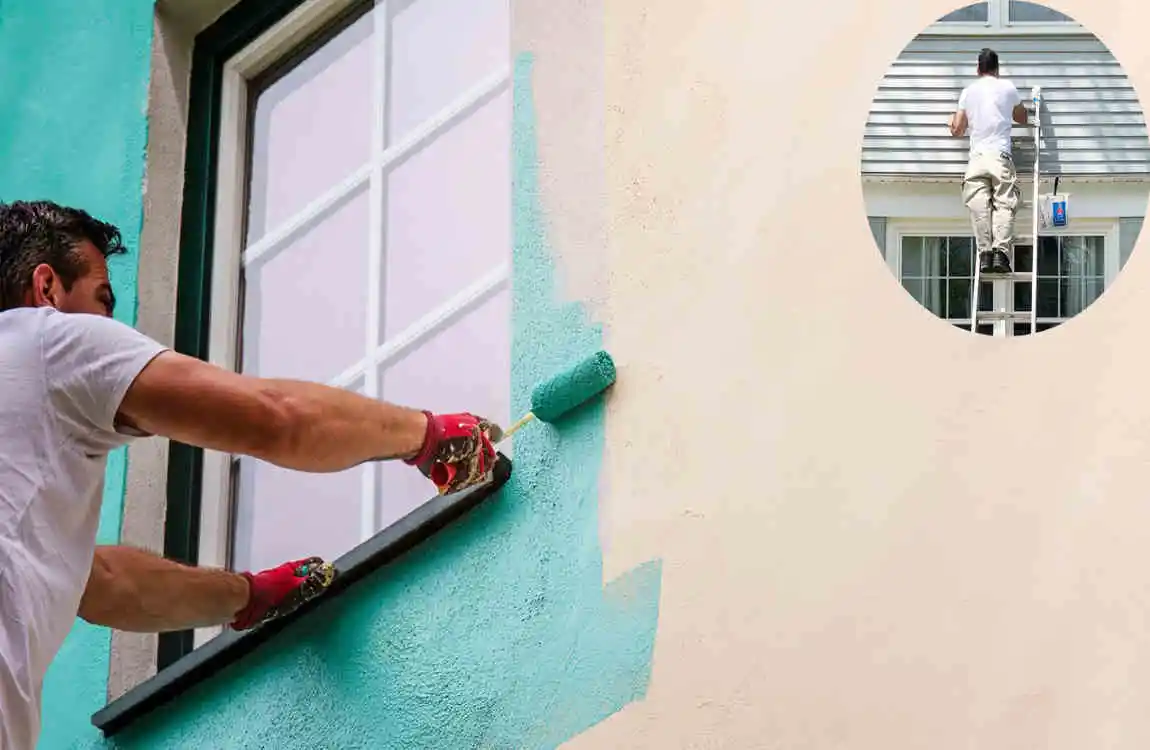
Start with Edges and Corners
Use a paint brush around windows, doors, and corners before rolling large sections.
This method is called “cutting in.” It helps create cleaner lines and smoother finishes.
Load the Roller Correctly
Dip the roller lightly into the paint tray.
Avoid completely soaking the roller, as too much paint can cause drips and splatter.
Roll the cover back and forth on the tray ridges to spread paint evenly.
Use Proper Rolling Technique
The way you move the roller affects the final finish.
Paint in “W” or “M” Patterns
This technique spreads paint evenly across the wall.
Maintain Even Pressure
Pressing too hard can leave roller marks and uneven texture.
Prevent Roller Lines
Roll slowly and overlap each section slightly.
Work in Small Sections
Painting smaller areas helps maintain a “wet edge.” This prevents visible lap marks between sections.
Do not jump randomly around the wall. Work methodically from top to bottom.
Apply a Second Coat
Most exterior projects require two coats for complete coverage and durability.
Allow the first coat to dry fully before applying the second coat.
A second coat improves color richness and better protects surfaces from the weather.
Common Mistakes to Avoid When Using a Roller
Using the Wrong Roller Nap
Using a thin roller on rough surfaces often leads to poor coverage.
Always match the roller nap to your wall texture.
Applying Too Much Paint
Overloading the roller creates:
- Drips
- Uneven texture
- Paint runs
Use moderate amounts of paint for smoother results.
Skipping Surface Preparation
Many painting problems happen because surfaces were not cleaned or repaired properly.
Poor preparation can lead to:
- Peeling paint
- Bubbling
- Shorter paint lifespan
Painting Too Fast
Rushing the project usually results in uneven finishes and missed spots.
Take your time and focus on consistency.
Tips for Achieving a Professional Exterior Finish
Maintain Consistent Pressure
Consistent roller pressure helps create an even appearance across the wall.
Changing pressure frequently can leave visible patches.
Use High-Quality Paint Products
Cheap paint may save money initially, but it often fades and peels faster.
Higher-quality exterior paints usually provide:
- Better durability
- Richer color
- Improved weather resistance
Keep the Roller Clean During Work
Paint can dry on the roller cover during long projects.
Rinse or replace dirty rollers when necessary to maintain smooth application.
Blend Sections Carefully
Always overlap painted sections slightly while the paint is still wet.
This helps avoid visible lines.
Safety Tips for Exterior House Painting
Ladder Safety Essentials
Ladder accidents are common during exterior painting.
Proper Ladder Placement
Always place ladders on stable and level ground.
Avoid Overreaching
Move the ladder instead of stretching too far to the side.
Wear Protective Gear
Safety equipment protects you during painting.
Recommended Gear
- Gloves
- Safety glasses
- Dust masks
- Non-slip shoes
Handle Paint and Chemicals Safely
Store paint out of reach of children and pets.
Keep lids tightly closed when not in use.
Ensure proper ventilation if using oil-based products.
How Long Does Exterior Roller Painting Last?
Factors That Affect Paint Durability
Several things influence how long exterior paint lasts.
Climate Conditions
Homes exposed to strong sunlight, heavy rain, or snow may need repainting sooner.
Surface Preparation
Proper cleaning and priming help paint last longer.
Paint Quality
Premium paints usually offer better durability.
Signs Your Exterior Needs Repainting
Watch for signs like:
- Fading color
- Cracked paint
- Peeling areas
- Moisture stains
These issues indicate it may be time for a fresh coat.
Exterior House Painting Costs with a Roller
DIY Roller Painting Costs
Painting your home yourself is usually more affordable than hiring professionals.
Item Average Cost
Exterior paint $100–$500
Rollers and brushes $20–$80
Primer $30–$100
Drop cloths and tape $20–$50
Actual costs depend on your home size and paint quality.
Hiring Professional Painters
Professional exterior painting costs significantly more because labor is expensive.
However, professionals may complete the job more quickly and require less physical effort from the homeowner.
Best Maintenance Tips After Painting
Cleaning Exterior Walls
Wash exterior walls gently once or twice a year to remove dirt buildup.
Avoid harsh pressure washing too often because it can damage paint.
Inspect Paint Annually
Check your home exterior every year for small cracks or peeling spots.
Early repairs prevent larger problems later.
Protect Against Moisture Damage
Keep gutters clean and direct water away from walls.
Moisture is one of the biggest causes of exterior paint failure.
Frequently Asked Questions About How to Paint an Exterior House with a Roller
Can You Paint a Whole House Exterior with a Roller?
Yes, many homeowners successfully paint entire house exteriors using rollers. It may take longer than spraying, but rollers provide excellent control and coverage.
Is Rolling Better Than Spraying Exterior Paint?
Both methods work well, but rollers are often better for beginners because they create less mess and require less equipment.
What Roller Nap Is Best for Exterior Walls?
A 3/4-inch nap works well for rough surfaces like stucco, while smoother siding may only need a 1/2-inch nap.
How Many Coats of Exterior Paint Are Needed?
Most homes require two coats for durability and full color coverage.
How Long Does Exterior Paint Take to Dry?
Drying time depends on weather and paint type, but most exterior paints dry within several hours.
| Step | What to Do | Why It Matters |
|---|---|---|
| Choose the Right Roller | Select the correct roller nap for your wall texture | Helps achieve smooth and even paint coverage |
| Prepare the Surface | Clean, sand, and repair exterior walls before painting | Paint sticks better and lasts longer |
| Use Quality Paint | Pick durable exterior paint for outdoor surfaces | Improves protection against weather |
| Load the Roller Properly | Dip the roller evenly without overloading it | Prevents drips and uneven paint marks |
| Paint in “W” Pattern | Roll paint in W or M motions | Spreads paint smoothly across the wall |
| Work in Small Sections | Paint one area at a time while keeping edges wet | Avoids visible lap marks |
| Apply Even Pressure | Roll gently and consistently | Creates a professional-looking finish |
| Let the First Coat Dry | Wait fully before applying another coat | Ensures stronger paint durability |
| Apply a Second Coat | Add another layer if needed | Improves color richness and protection |
| Clean Tools After Use | Wash rollers and brushes properly | Keeps tools reusable for future projects |