Painting the exterior of your home can seem daunting. Still, with the right tools and strategy, it becomes an achievable and rewarding project. Learning how to paint an exterior house with a roller not only saves money but also gives your home a fresh, professional-looking facelift. In this article, we’ll break down everything you need to know—from preparation to completion—so you can tackle this project confidently.
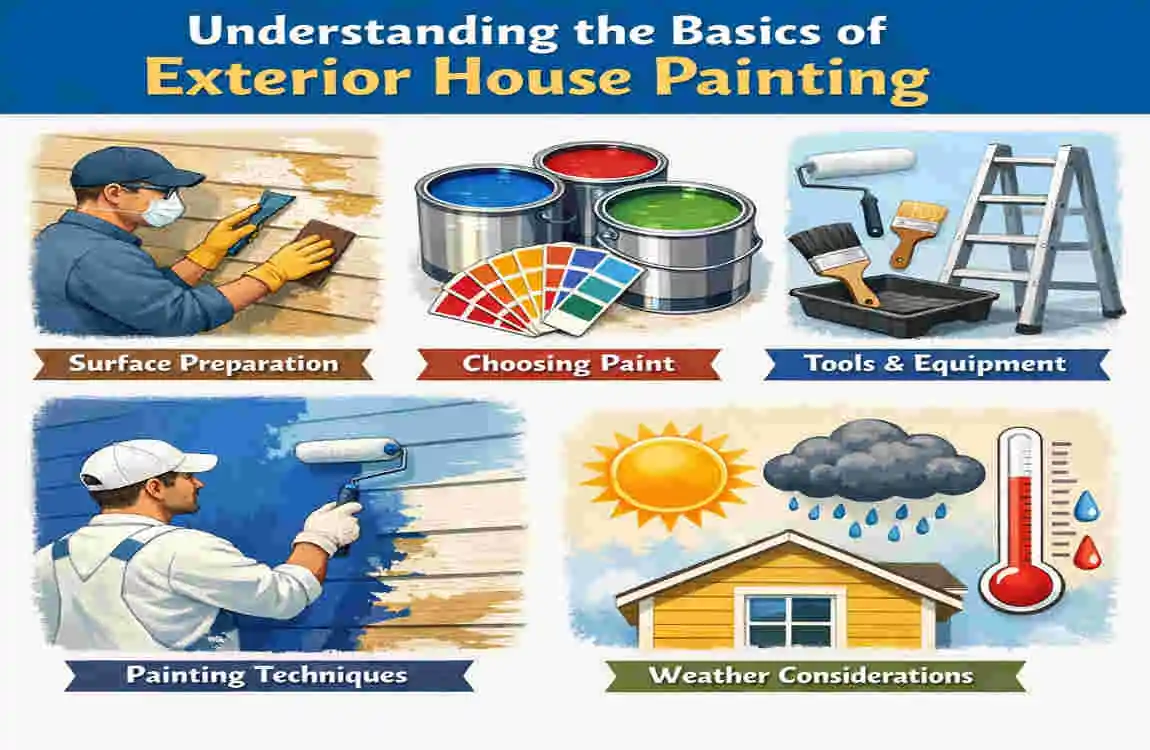
Understanding the Basics of Exterior House Painting
What Is Exterior House Painting?
Exterior house painting is the process of applying a protective and decorative coat to the outer walls of your home. The primary purpose of this is twofold:
- Protection: A good coat of paint shields your home from weather damage, such as rain, wind, and sunlight.
- Curb Appeal: A freshly painted home enhances its aesthetic appeal and can increase its value.
Painting isn’t just about making your home look good—it’s about preserving it for years to come.
Why Use a Roller for Exterior House Painting?
Using a roller for exterior painting offers several advantages:
- Speed: Rollers cover large areas quickly, making them ideal for exterior walls.
- Even Coverage: Unlike brushes, rollers distribute paint evenly, reducing streaks and uneven finishes.
- Ease of Use: Rollers are beginner-friendly and require less effort than mastering a paint sprayer.
When you understand how to paint an exterior house with a roller, you can achieve professional results while saving both time and energy.
Factors That Impact the Time to Paint an Exterior House
The amount of time it takes to paint your house depends on several factors. Let’s break them down.
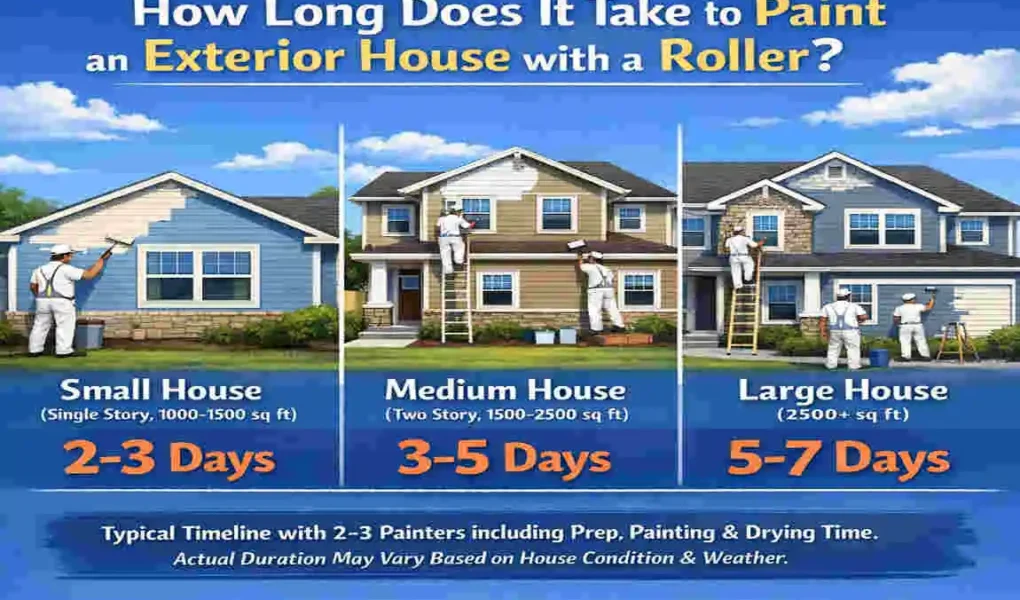
Size of the House
The square footage of your home is one of the biggest determinants of how long the project will take.
- Small House (1,000 sq. ft.): Typically takes 2-3 days.
- Medium House (2,000 sq. ft.): Expect about 4-5 days.
- Large House (3,000+ sq. ft.): May take up to a week.
Condition of the Surface
Before painting, you need to inspect and prepare the surface.
- If the walls are clean and smooth, you can dive right into painting.
- However, if there’s peeling paint, cracks, or mold, you’ll first need to clean, scrape, and make repairs, which can add a day or two to your timeline.
Type of Paint Used
Different paints have varying drying times and application methods.
- Oil-Based Paints: Provide excellent durability but take longer to dry.
- Water-Based Paints: Dry faster, making them ideal for quick projects.
Weather Conditions
Weather plays a critical role in painting projects.
- Ideal Conditions: Mild temperatures (50-85°F), low humidity, and no rain.
- Challenging Conditions: High humidity or direct sunlight can affect drying times and paint performance.
Experience Level of the Painter
An experienced painter can paint faster and more efficiently than a beginner.
- DIY Painters: May take longer due to learning curves.
- Professional Painters: Have the right techniques and tools to speed up the process.
Step-by-Step Guide: How to Paint an Exterior House with a Roller
For the best results, follow this step-by-step process.
Preparation (Before Painting)
Preparation is key to a smooth and durable finish. Here’s what you need to do:
- Clean the Surface: Use a pressure washer to remove dirt, mold, and grime.
- Repair Damages: Fill cracks and holes with caulk and sand rough areas.
- Mask Off Areas: Cover windows, doors, and areas you don’t want to paint with painter’s tape and plastic sheeting.
- Gather Tools: You’ll need rollers, extension poles, paint trays, drop cloths, and your chosen paint.
Priming the Surface
Priming helps the paint adhere better and ensures even coverage.
- When to Prime: Always prime if the surface is porous, previously unpainted, or has significant stains.
- Application: Use a roller to apply the primer evenly across the surface.
Painting the Exterior
Now it’s time to paint:
- Start at the Top: Begin painting from the top of the wall and work your way downward to avoid drips.
- Use the “M” or “W” Technique: Roll the paint in an “M” or “W” pattern, then fill it in for even coverage.
- Apply Even Pressure: Avoid pressing too hard to prevent streaks.
Drying and Applying Additional Coats
Most exterior surfaces require at least two coats of paint.
- Drying Time: Allow 4-6 hours between coats for water-based paint and 24 hours for oil-based paint.
- Recheck Coverage: Ensure no spots are missed before applying the second coat.
Final Touches and Cleanup
Once the painting is done:
- Inspect the Surface: Look for missed spots or uneven areas and touch them up.
- Clean Tools: Wash rollers, trays, and brushes immediately. Dispose of leftover paint responsibly.
How Long Does It Take to Paint an Exterior House with a Roller?
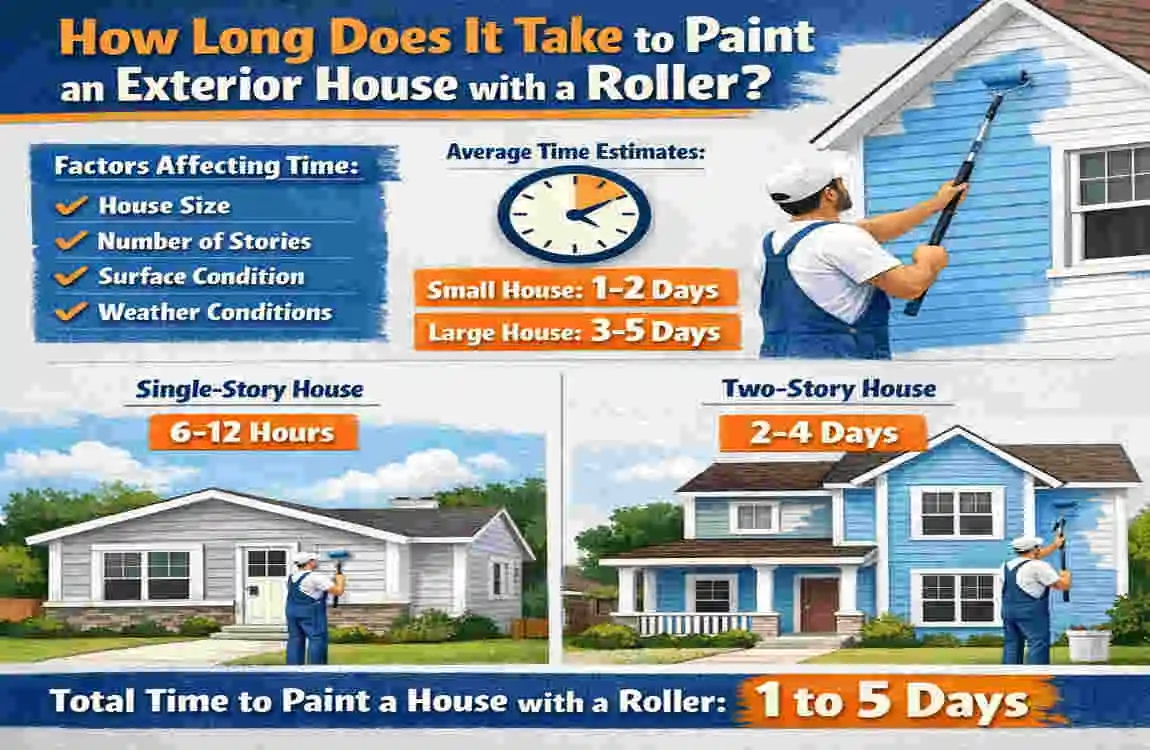
Here’s a quick breakdown of time estimates based on house size:
House Size Time Estimate
Small (1,000 sq. ft.) 2-3 Days
Medium (2,000 sq. ft.) 4-5 Days
Large (3,000+ sq. ft.) 6-7 Days or More
Efficiency Tips to Save Time
- Use Quality Tools: Invest in high-quality rollers and extension poles.
- Work in Teams: Divide tasks among family or friends to make progress faster.
- Plan Around Weather: Choose days with optimal weather conditions.
Common Challenges and How to Overcome Them
Uneven Paint Layers or Streaks
Solution: Maintain consistent pressure and use the “M” technique.
Paint Drips and Runs
Solution: Avoid overloading the roller with paint.
Reaching High Areas
Solution: Use a sturdy ladder or extension pole.
Benefits of Painting an Exterior House with a Roller
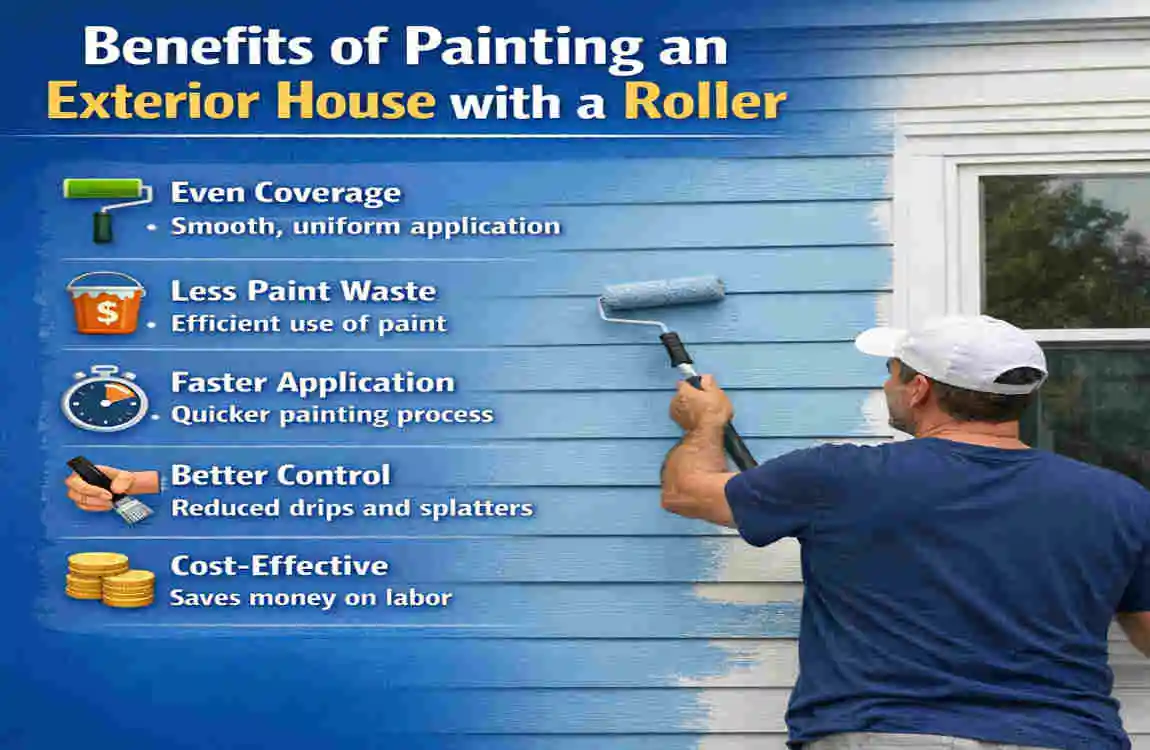
- Cost Efficiency: Save on labor costs by doing it yourself.
- Improved Aesthetics: A fresh coat of paint can instantly transform your home.
- Durability: Protect your home from the elements with quality paint.
- DIY Satisfaction: Enjoy the pride of completing a home project.
Frequently Asked Questions (FAQ)
Can I Paint the Exterior of My House by Myself?
Yes, with the right tools and preparation, it’s a manageable DIY project.
How Many Coats of Paint Are Needed?
Most projects require two coats for even and long-lasting coverage.
What Type of Roller Should I Use?
A high-density roller with a ¾-inch nap is ideal for rough exterior surfaces.
| House Size | Estimated Time (DIY Beginner) | Estimated Time (Experienced Painter) |
|---|---|---|
| Small (up to 1,000 sq. ft.) | 2-3 days | 1-2 days |
| Medium (1,000 – 2,500 sq. ft.) | 4-6 days | 2-3 days |
| Large (2,500+ sq. ft.) | 7-10 days | 4-6 days |