If your kitchen table looks worn, scratched, or just plain outdated, refinishing it can give it a fresh new life. This is one of the most rewarding DIY projects because it is affordable, practical, and easy to personalise. Instead of buying a brand-new table, you can restore the one you already own and make it match your home better.
What Does Refinishing a Kitchen Table Mean?
Understanding Table Refinishing vs Restoring
People often use the words refinishing, restoring, and repairing as if they mean the same thing, but they are a little different.
- Refinishing means changing the table’s surface by removing the old finish and applying a new one.
- Restoring usually means bringing the table back to its original look or condition.
- Repairing focuses on fixing broken parts like cracks, loose legs, or damaged wood.
When you learn how to refinish a kitchen table, you are mostly improving how the surface looks and feels. This can include sanding, staining, painting, and sealing.
Why Refinish Your Kitchen Table?
There are many good reasons to do this project yourself.
- You save money compared to buying a new table.
- You control the style, colour, and final look.
- You remove damage like stains, scratches, and old finishes.
- You extend the life of your furniture.
A refinished table can completely change the feel of your kitchen without a huge budget.
Tools and Materials Needed to Refinish a Kitchen Table
Essential Tools
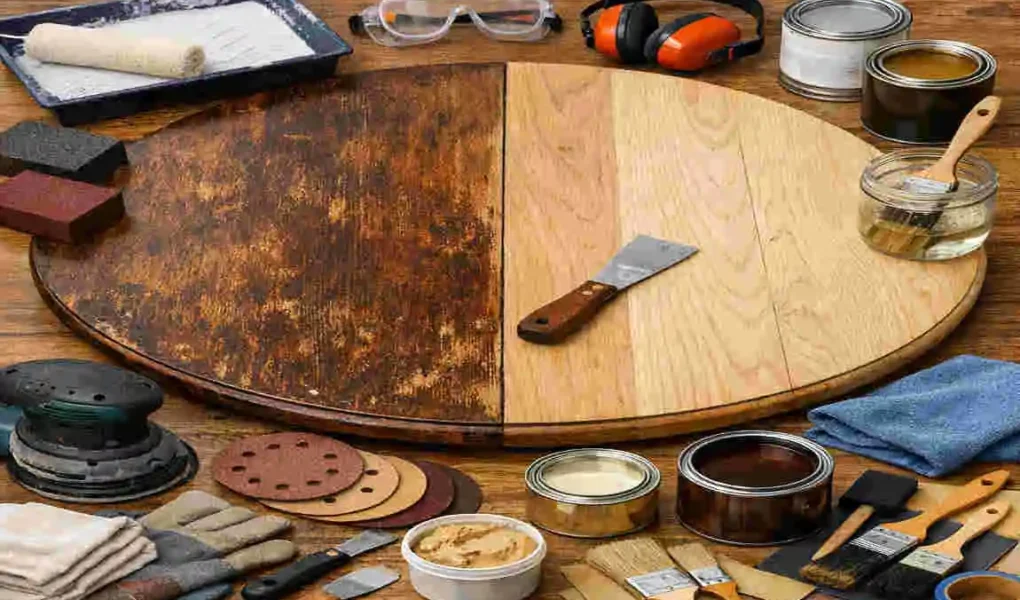
Before you begin, gather the basics. Having everything ready makes the work go more smoothly.
- Sandpaper in different grits
- Electric sander
- Paintbrushes or foam brushes
- Clean cloths
- Protective gloves and mask
Refinishing Supplies
You will also need the right products for the finish you want.
- Wood cleaner
- Wood stain or paint
- Primer
- Polyurethane or another protective finish
- Wood filler
Safety Equipment
Safety matters, especially when sanding or using stain.
- Safety glasses
- Dust mask or respirator
- Good ventilation in the room
Quick Material Guide
ItemPurpose
Sandpaper Removes old finish
Wood stain Adds colour
Sealant Protects surface
Wood filler Repairs damage
How to Prepare Your Kitchen Table Before Refinishing
Clean the Table Surface
Preparation is one of the most important parts of how to refinish a kitchen table. If the table is dirty, dusty, or greasy, the new finish will not stick well.
Use a wood cleaner or a mild cleaning solution to remove food residue, oil, and grime. Wipe it dry with a clean cloth and make sure the surface is fully clean before moving on.
Inspect for Damage
Look closely at the table top, edges, and legs. Check for:
- Cracks
- Deep scratches
- Loose joints
- Dents or small holes
If you see damage, fix it before sanding and finishing. This helps the final result look smooth and polished.
Choose Your New Table Style
Before you begin, decide what look you want. This makes the process easier.
Popular styles include:
- Natural wood look for a warm and simple feel
- Modern painted finish for a clean style
- Rustic farmhouse style for a cosy look
- Two-tone design for a trendy, balanced appearance
How to Refinish Kitchen Table Step-by-Step
Remove the Existing Finish
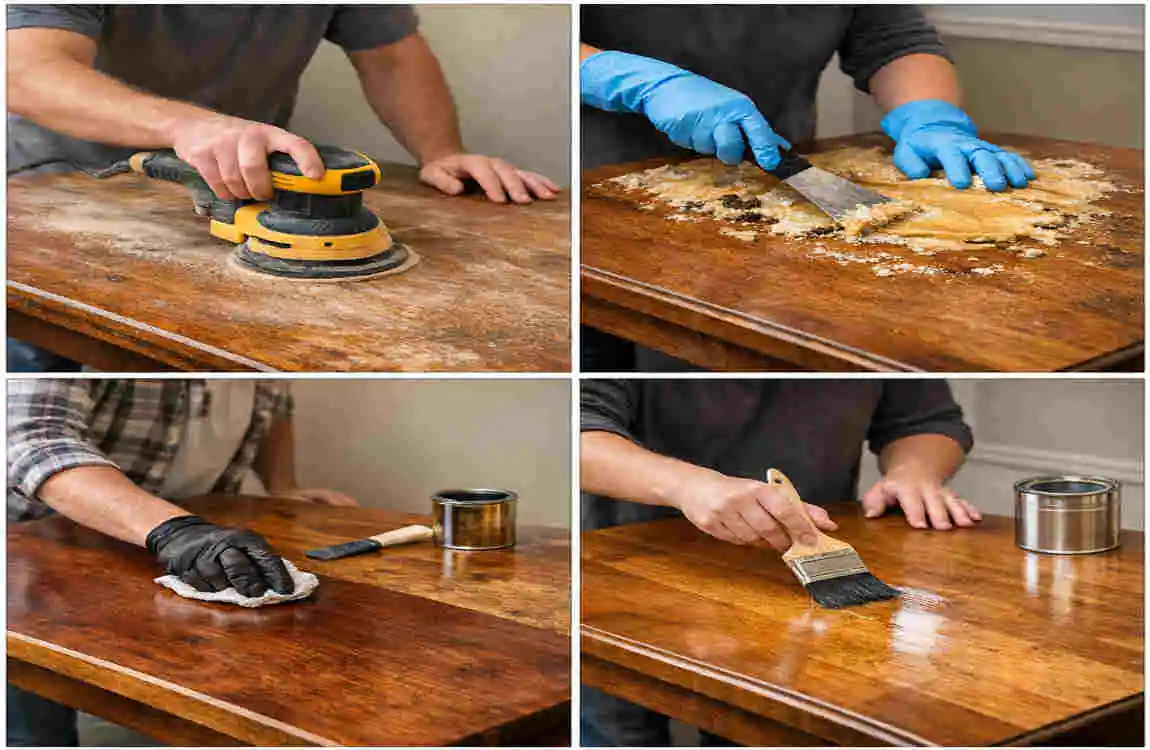
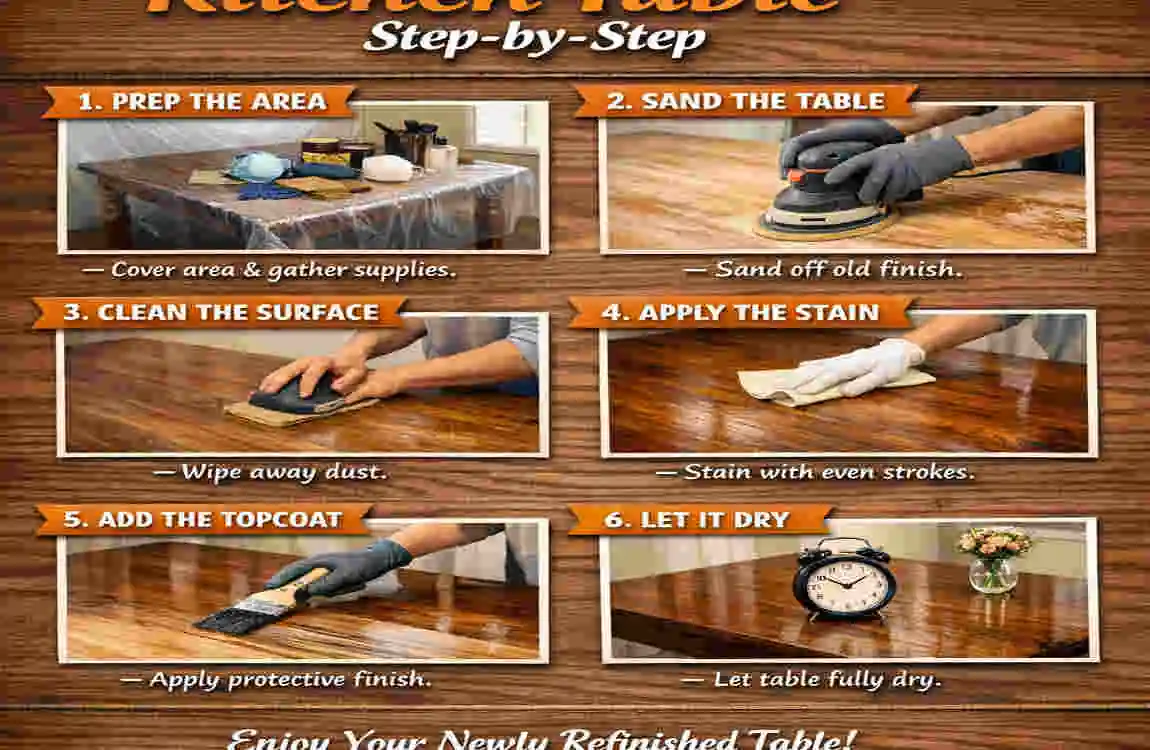
The first major step in refinishing a kitchen table is removing the old surface layer. This might be paint, varnish, or stain.
You can do this in two ways:
- Sanding, which slowly removes the finish
- Chemical stripper, which softens the old finish so it can be scraped off
If you use a stripper, follow the label instructions carefully. If you use sanding, start with a coarse grit and work slowly.
Sand the Kitchen Table
Sanding creates a smooth base for the new finish. Start with coarse sandpaper to remove the old coating, then move to medium, and finally to fine grit for a smoother result.
Always sand with the wood grain, not against it. This helps avoid scratches and makes the table look better.
Take your time here. Good sanding is one of the biggest secrets to learning how to refinish a kitchen table well.
Repair Imperfections
After sanding, you may notice small holes, dents, or cracks more clearly. Use wood filler to patch these areas.
Let the filler dry completely, then sand the repaired spots again until they blend into the surface. This step helps the table look even and professional.
Apply Wood Stain or Paint
Now comes the part where the table really starts to change.
If you want a wood stain, apply it with a brush or cloth and wipe away extra stain for an even colour. If you want paint, start with primer first, so the paint sticks better and lasts longer.
A few helpful tips:
- Apply thin coats
- Work slowly and evenly
- Avoid too much product in one spot
- Let each coat dry before adding another
Choose colours that match your kitchen. Light tones feel bright and airy, while dark shades feel rich and bold.
Add a Protective Finish
A protective finish helps the table stand up to daily use. This is especially important for kitchen furniture because tables face spills, heat, and constant cleaning.
Common options include:
- Polyurethane
- Wax
- Other sealants
Polyurethane is a popular choice because it gives strong protection and a smooth surface. Apply it in light coats and let it dry properly between layers.
Allow Proper Drying Time
Drying is not the same as curing. A table may feel dry on the outside but still needs time to harden fully.
Keep the table in a clean, dust-free area while it dries. Do not place dishes, decorations, or heavy items on it too soon. Patience now will help protect your work later.
Popular Kitchen Table Refinishing Ideas
Farmhouse Kitchen Table Makeover
This style is warm, inviting, and slightly worn in a charming way—soft natural colours and a distressed finish work well here.
Modern Painted Kitchen Table
A painted table can look fresh and stylish. White, black, grey, or even a bold colour can make a simple table feel new.
Rustic Reclaimed Wood Style
This look keeps some texture and character. It works well if you want the table to feel old, natural, and full of personality.
Two-Tone Kitchen Table Design
A two-tone table usually has a painted base and a stained tabletop. It gives a balanced look and fits many modern homes.
Common Mistakes When Refinishing a Kitchen Table
Skipping Proper Cleaning
If you do not clean the table well, the finish may peel or look uneven. Clean first, always.
Not Sanding Enough
Old finish left behind can stop stain or paint from sticking properly. Sanding is a key part of how to refinish a kitchen table successfully.
Applying Too Much Stain
Heavy stain can create blotches and dark patches. Thin layers usually look better.
Rushing the Drying Process
If you rush, the finish may stay soft, sticky, or easy to damage. Let each layer dry fully before moving on.
How Much Does It Cost to Refinish a Kitchen Table?
DIY refinishing is usually much cheaper than buying a new table. Your cost will depend on the size of the table and the products you choose.
Item Estimated Cost
Sandpaper $5–$20
Stain or Paint $10–$40
Sealant $15–$50
Tools $20–$100
If you already own some tools, your total cost may be even lower. Professional refinishing costs more, but it may be worth it for antique or valuable furniture.
How Long Does It Take to Refinish a Kitchen Table?
A simple project usually takes a few days.
- Cleaning: 1–2 hours
- Sanding: 2–5 hours
- Painting or staining: 2–3 hours
- Drying and curing: 24–72 hours
The work itself may not take very long, but drying time is important. This is why refinishing a kitchen table is as much a patience project as a hands-on one.
Tips for Maintaining a Refinished Kitchen Table
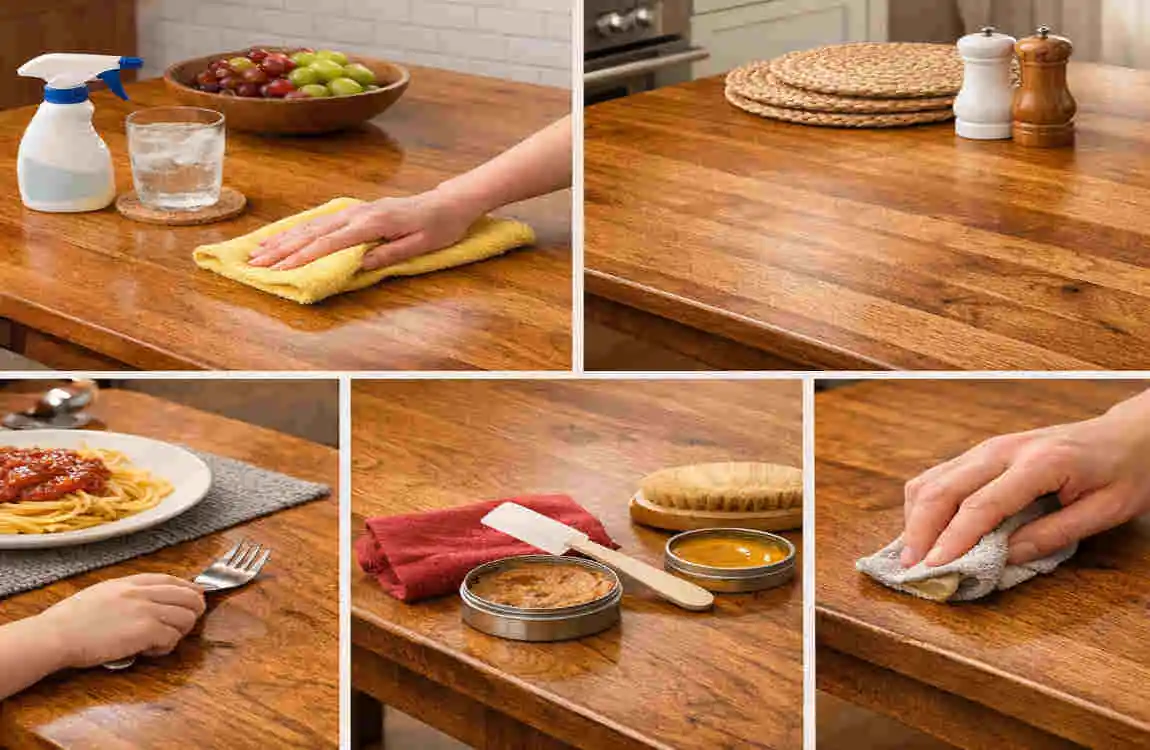
Protect the Surface
Use placemats, coasters, and trivets to keep the surface safe from heat, spills, and scratches.
Clean Properly
Use mild soap and a soft cloth. Avoid strong cleaners that can damage the finish.
Reapply Protective Finish When Needed
If you notice dull spots, worn edges, or water marks, it may be time to refresh the finish.
DIY Kitchen Table Refinishing vs Hiring a Professional
DIY Advantages
- Lower cost
- Full control over style
- Great learning experience
Frequently Asked Questions
How long does it take to refinish a kitchen table?
Most kitchen tables take a few days, including prep work, finishing, and drying time.
Can I refinish a kitchen table without sanding?
Some products allow no-sanding refinishing, but sanding usually gives better and longer-lasting results.
What is the best finish for a kitchen table?
Polyurethane is one of the most popular choices because it gives strong protection.
Can I paint over an old kitchen table?
Yes, but clean, sand, and prime it first for better durability.
How many coats of stain should I apply?
Usually one or two coats is enough, depending on the shade you want.
What type of sandpaper should I use?
Start with coarse grit, then move to finer grit for a smooth finish.
| Step | What to Do | Quick Tips |
|---|---|---|
| Clean the Table | Remove dirt, grease, and old polish | Use mild soap and let the surface dry completely |
| Remove Old Finish | Sand away paint, stain, or damaged coating | Start with medium-grit sandpaper and finish with fine grit |
| Repair Damage | Fill cracks, scratches, and dents | Use wood filler that matches the table color |
| Sand Smoothly | Smooth the entire surface before refinishing | Always sand in the direction of the wood grain |
| Apply Stain or Paint | Add your preferred color or finish | Apply thin, even coats for a professional look |
| Seal the Surface | Protect the table with polyurethane or clear coat | Choose a durable finish for everyday kitchen use |
| Let It Cure | Allow enough drying time before use | Avoid placing heavy items until fully cured |