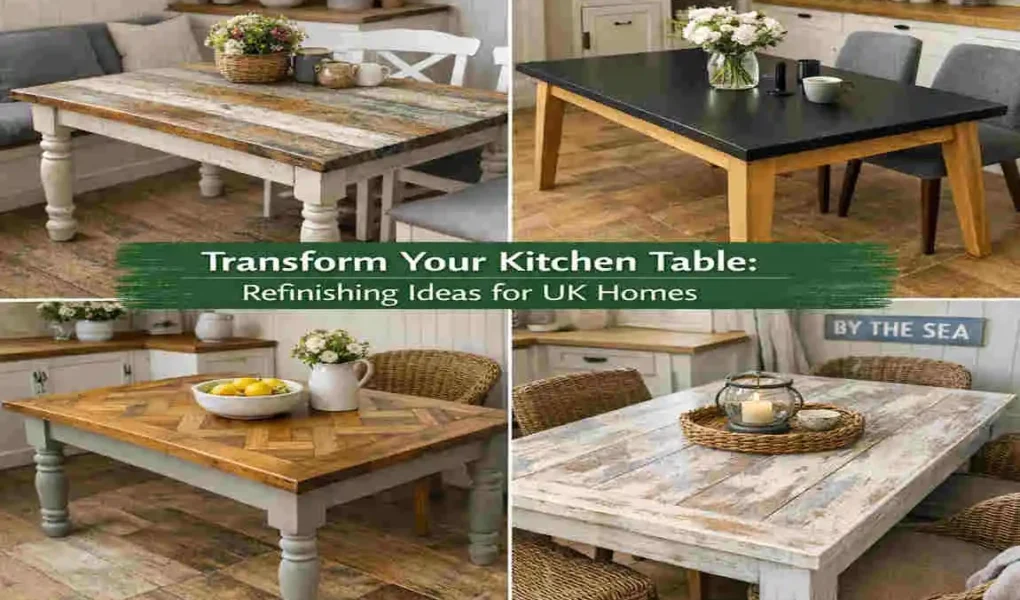
Is your kitchen table looking tired, scratched, or just a little out of date? If so, you do not need to replace it right away. A good refinish can completely change the feel of your room and give old furniture a fresh new life.
For many UK homes, the kitchen table is more than just a place to eat. It is where homework gets done, tea is shared, and daily life happens. That is why learning how to refinish kitchen table pieces can be such a useful skill. It helps you save money, reduce waste, and create a piece that better suits your home.
| Refinishing Idea | Description | Best For UK Homes | Estimated Cost | Time Required |
|---|---|---|---|---|
| Sanding & Staining | Strip old finish, sand smooth, apply wood stain | Classic look, highlights natural grain | £30-£60 (materials) | 2-3 days |
| Chalk Paint Finish | Use chalk paint for a matte, vintage effect | Cottage style, shabby chic interiors | £25-£50 (paint + sealant) | 1-2 days |
| Distressed Look | Sand edges after painting for rustic charm | Rustic UK kitchens, farmhouse style | £30-£70 | 2-3 days |
| Glossy Paint | Apply high-gloss paint for a modern, sleek table | Contemporary urban homes | £40-£80 | 2 days |
| Two-Tone Refinishing | Combine stain and paint for contrast | Trendy, personalized designs | £50-£90 | 3 days |
Why Refinishing Your Kitchen Table is Worth It
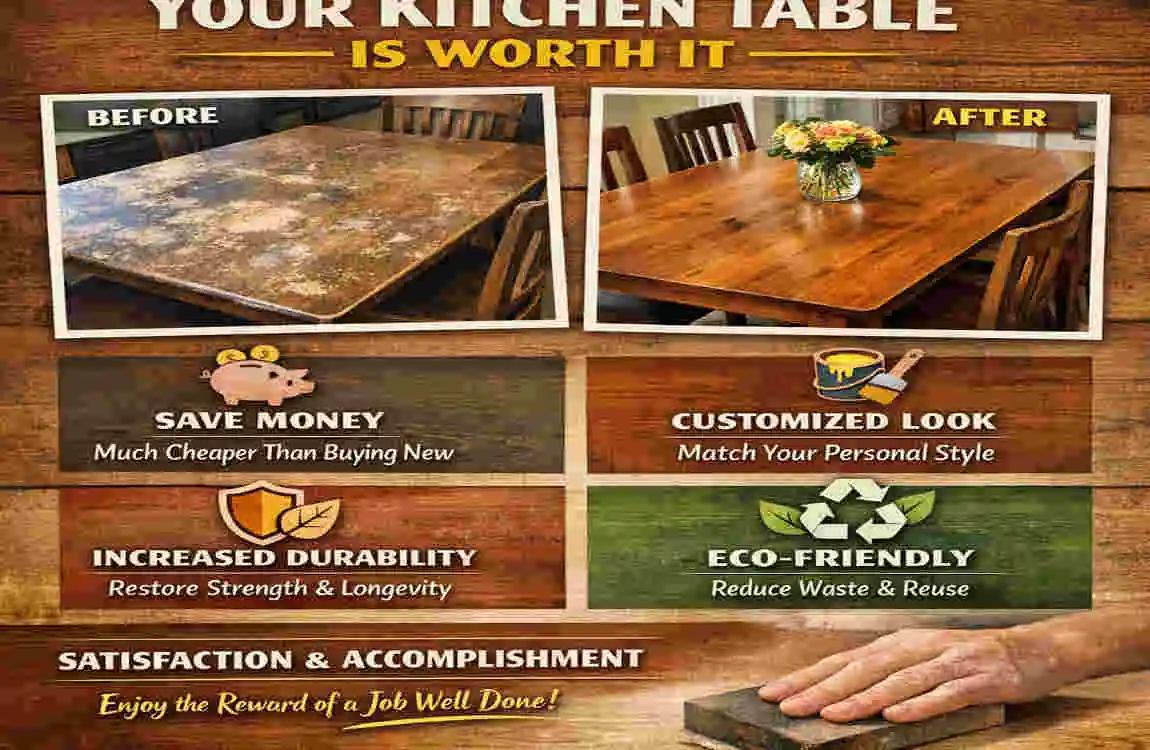
Save Money Without Losing Style
Buying a brand-new table can be expensive, especially if you want something sturdy and attractive. Refinishing is usually far more affordable. In many cases, you only need a few basic supplies and a bit of time. That makes it a smart choice for homeowners who want a fresh look without a big spend.
A Better Choice for the Environment
Refinishing is also a more sustainable option. Instead of sending an old table to landfill, you reuse what you already have. That matters because wood furniture often has plenty of life left in it. A little effort can keep it in use for many more years.
Make It Match Your Home
One of the best parts of refinishing a wood table is the freedom to choose your style. You can go light and airy, dark and dramatic, painted and modern, or warm and rustic. This means your table can fit your décor rather than clash with it.
Extend the Life of the Furniture
A table may look worn, but that does not always mean it is done. Scratches, dull patches, and old finishes can be fixed. With the right care, refinishing can strengthen the surface and help the table last much longer.
Tools and Materials You’ll Need
Before you begin any kitchen table refinishing project, gather everything first. That way, the job feels easier and smoother from start to finish.
Essential Supplies
- Sandpaper in different grits
- Paint or wood stain
- Wood filler
- Brushes or small rollers
- Sealant or varnish
- Drop cloths
- Protective gloves and a face mask
A Simple UK Tip
If you want to keep costs down, check local hardware stores or larger UK home improvement shops for budget-friendly supplies. Many also offer eco-conscious or low-VOC finishes, which are better for indoor use. It is worth comparing a few options before you buy.
How to Refinish Kitchen Table: Step-by-Step Guide
Prepare the Space
Start by moving the table to a well-ventilated area. If possible, work in a garage, shed, or room with open windows. Cover the floor with a drop cloth to protect it from dust, paint, or stain.
Then clean the table carefully. Use a mild cleaner to remove grease, dirt, and sticky marks. This matters because paint or stain will not stick well to a dirty surface.
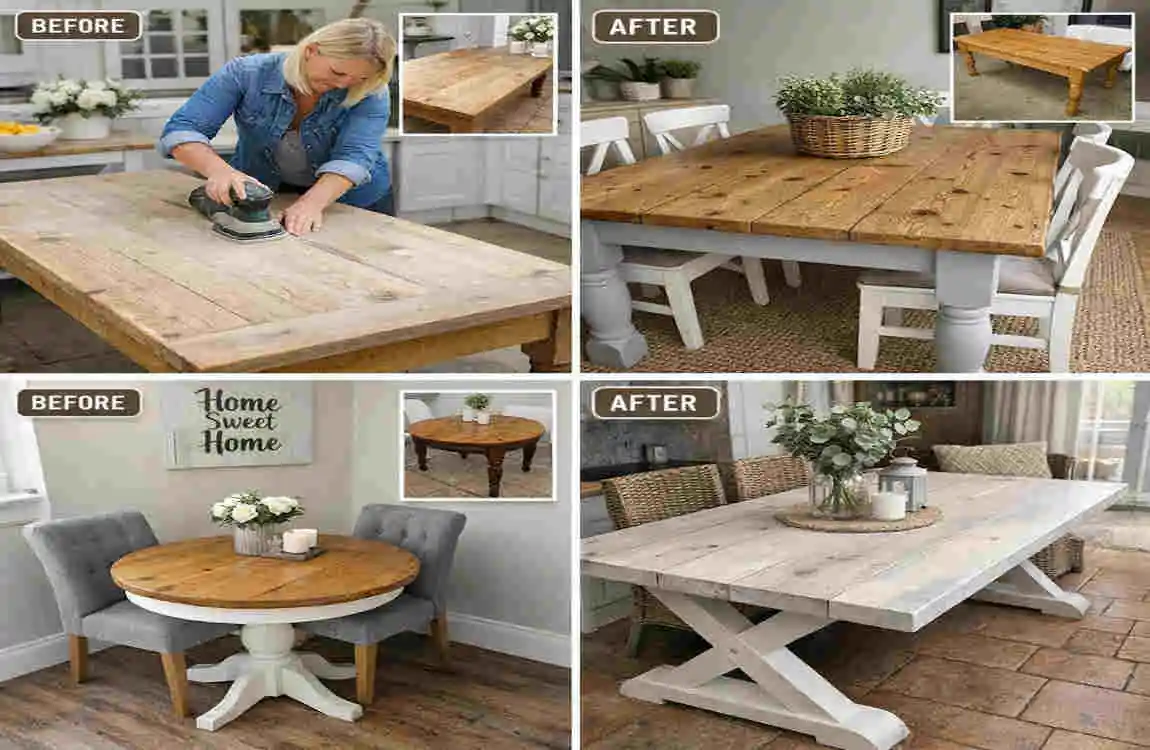
Sand the Table
Sanding is one of the most important steps in refinishing a kitchen table. It helps remove the old finish and creates a surface that accepts paint or stain more evenly.
Start with medium-grit sandpaper, then move to a finer grit for a smoother finish. Always sand with the grain of the wood, not against it.
For different woods:
- Oak: usually strong and grainy, so it may need a little extra smoothing
- Pine: softer and easier to damage, so use light pressure
- Laminate: may need special prep, and not every stain will work well
Repair Damage
Look for scratches, dents, chips, and small holes. Fill these with wood filler and let it dry fully before sanding again. This helps create a neat and even surface.
If the table has loose joints or wobbly legs, fix those before moving on. A beautiful finish will not help much if the table is unstable.
Apply Paint or Stain
Now comes the creative part. You can choose between painting and staining, depending on the look you want.
Painting is great if you want a bold colour or a modern feel. It can also hide older marks and uneven wood grain.
Staining works well if you want to keep the natural wood look. It brings out the grain and gives a warmer, more traditional style.
Apply thin, even coats. It is better to do two light coats than one thick one. That helps avoid drips and streaks.
Add the Finishing Touches
Once the paint or stain has dried, protect it with sealant or varnish. This is especially important for kitchen tables, which are subject to daily use, spills, and heat.
A good top coat adds durability and gives the table a more professional appearance. If you want a softer look, you can finish with a light polish once everything is fully dry.
Tip: Before-and-after photos can be very helpful here. They show just how much the table has changed and can make the whole project feel more rewarding.
Popular Refinishing Styles for UK Homes
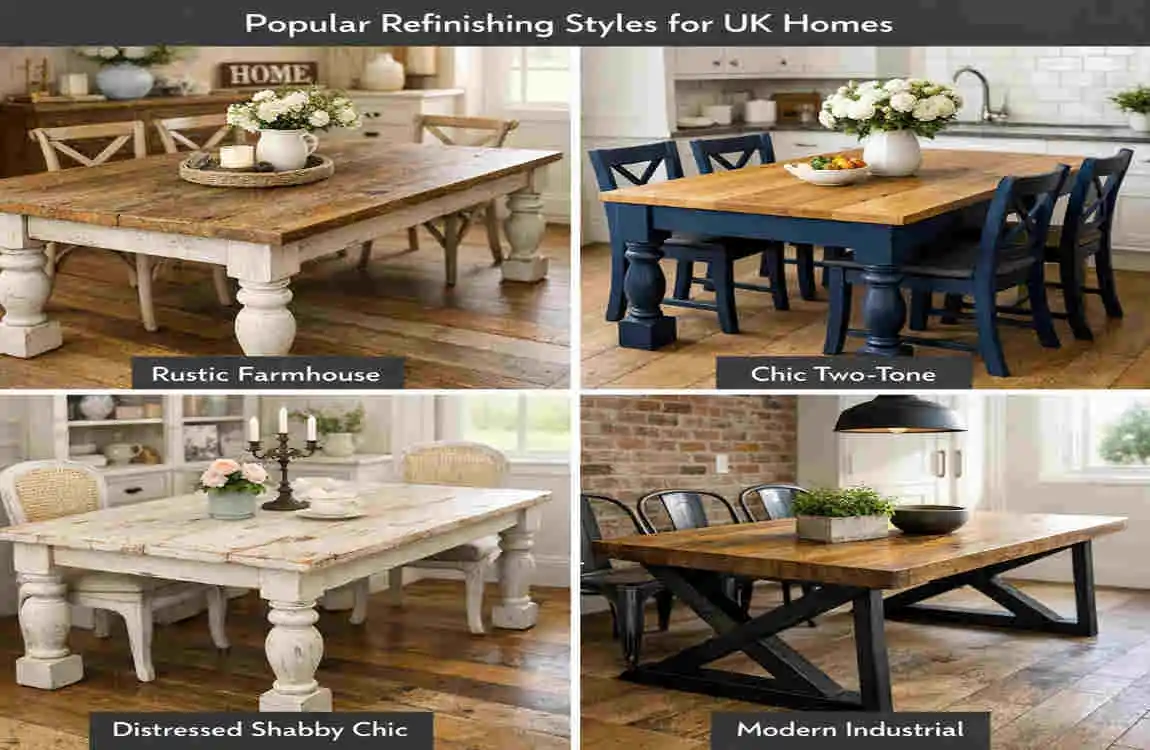
Rustic Charm
This style suits homes with a country feel. Think worn edges, soft brown tones, and a slightly aged look. It works beautifully in cottages and older homes.
Modern Minimalism
If you prefer a clean look, go for smooth finishes and neutral colours like white, grey, or black. This style feels fresh and simple, and it works well in smaller spaces.
Vintage Elegance
Chalk paint and antique-style details can give a table a classic feel. This look is especially lovely if you enjoy traditional décor with a softer touch.
Bold and Contemporary
A bright table can become the centrepiece of your kitchen. Deep blue, green, or even a patterned finish can add personality to the room.
UK Home Style Table
Style Best For Look and Feel
Rustic Charm Cottages, farmhouse kitchens Warm, natural, lived-in
Modern Minimalism Flats, modern homes Clean, simple, fresh
Vintage Elegance Traditional interiors Soft, classic, timeless
Bold and Contemporary Statement spaces Bright, stylish, eye-catching
Common Mistakes to Avoid
Skipping Sanding
This is one of the biggest errors. If you do not sand properly, the new finish may peel or look uneven.
Using the Wrong Product
Not every stain or paint works on every surface. Always check whether the product is suitable for your table’s material.
Rushing the Drying Time
Each layer needs time to dry fully. If you rush, the finish may become sticky, patchy, or damaged.
Applying Too Much Finish
Heavy coats can cause drips and make the table look messy. Keep each layer thin and even.
Caring for Your Refinished Kitchen Table
Once your project is complete, a little care will help it stay beautiful.
Cleaning Tips
Use a soft cloth and mild soap. Avoid harsh cleaners, since they can damage the finish. Wipe spills quickly so they do not soak into the surface.
Preventing Wear and Tear
Use coasters, placemats, and heat-resistant pads. These simple habits can protect the table from scratches, stains, and heat marks.
Touch-Up Tips
If small marks appear over time, do a light repair instead of starting over. A tiny bit of filler, stain, or polish can often fix the problem.
When people ask how to refinish kitchen table surfaces so they last, the answer is usually simple: choose the right finish, then care for it regularly.
Refinishing vs. Replacing: Which Is Better?
For most people, refinishing is the better first step. It usually costs less and creates less waste. It also lets you keep a table that may already suit your room size and layout.
Replacing makes sense if the table has serious structural damage, such as broken legs, deep rot, or unsafe joints. In those cases, a new table may be the smarter choice.
Still, if the frame is solid, refinishing is often the best value. It gives you a fresh result without the full cost of buying new.
Real-Life Inspiration for UK Homes
Imagine a small London flat where an old pine table is painted soft grey to match a modern kitchen. Or a family home in Yorkshire where a worn oak table is stained darker for a warmer, more classic look.
These simple changes can make a room feel new again. That is the real appeal of kitchen table refinishing projects: they are practical, personal, and surprisingly satisfying.
Frequently Asked Questions
Can I refinish a table without sanding it?
Sometimes, yes, but sanding usually gives the best result. If the old finish is glossy or damaged, skipping sanding can lead to poor adhesion.
What type of paint or stain works best?
That depends on the table and the look you want. For a painted finish, choose a durable furniture paint. For a natural look, use a wood-furniture stain.
How long does it take?
A simple project can take a weekend, but drying time may add a little longer. The table itself may only take a few hours of hands-on work.
Can I do it myself?
Yes, most people can handle this as a DIY project with patience and care. If the table is badly damaged or antique, a professional may be safer.