Electrical wiring is one of the most important parts of any home, especially in small houses where space is limited and every connection matters. If the wiring is done properly, it ensures safety, smooth electricity flow, and long-term reliability. But if it is done poorly, it can pose serious risks, such as short circuits, fire hazards, and frequent power failures.
Many small homeowners try to handle wiring themselves without proper knowledge. This often leads to common mistakes such as overloaded circuits, poor grounding, and unsafe connections. That’s why understanding how to wire a small house in a structured and safe way is extremely important.
Understanding Electrical Wiring Basics

Before learning how to wire a small house, it is important to understand how electrical systems actually work. Wiring is not just about connecting cables—it is a structured system designed to distribute electricity throughout your home safely.
What Is Home Electrical Wiring?
Home electrical wiring is a network of insulated wires that carries electricity from the main power source to different parts of your house.
Simply put, electricity flows from:
- Power source → Electrical panel → Circuits → Outlets and appliances
This system ensures that each room gets the right amount of electricity without overloading the system.
Key Components of a Small House Wiring System
Every small house electrical system includes a few essential components:
- Circuit breakers: Protect your home from overload and short circuits
- Electrical panel: The central hub that distributes electricity
- Outlets and switches: Points where you use electricity
- Wires (live, neutral, ground): The paths that carry electrical current
Each component plays a critical role in keeping your home safe and functional.
Types of Wiring Used in Small Houses
Different wiring methods are used depending on construction style and budget:
- Non-metallic (NM) cable: Common in modern homes, easy to install
- Conduit wiring: Wires are protected inside pipes, safer but more expensive
- Surface wiring: Installed on walls, often used in temporary setups
- Concealed wiring: Hidden inside walls for a clean appearance
Choosing the right type depends on safety needs, design preference, and cost.
Planning Your Small House Wiring System
Good planning is the foundation of safe wiring. Without it, even high-quality materials can fail.
Importance of Electrical Layout Planning
Planning helps you:
- Avoid overloaded circuits
- Reduce energy loss
- Improve safety
- Organize power distribution
In small houses, proper planning ensures every room gets balanced electricity.
Creating a Wiring Diagram
A wiring diagram is a simple map of your electrical system.
Steps include:
- Drawing your house layout
- Marking outlets and switches
- Planning appliance locations
- Connecting everything to the main panel
This step makes the entire installation easier and more organized.
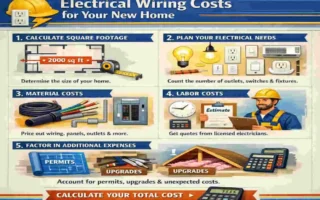
Estimating Power Load Requirements
Every appliance uses a certain amount of electricity. If you exceed capacity, your system may fail.
Common examples:
- Lights: low load
- Fans: medium load
- Air conditioners: high load
Always distribute heavy appliances on separate circuits.
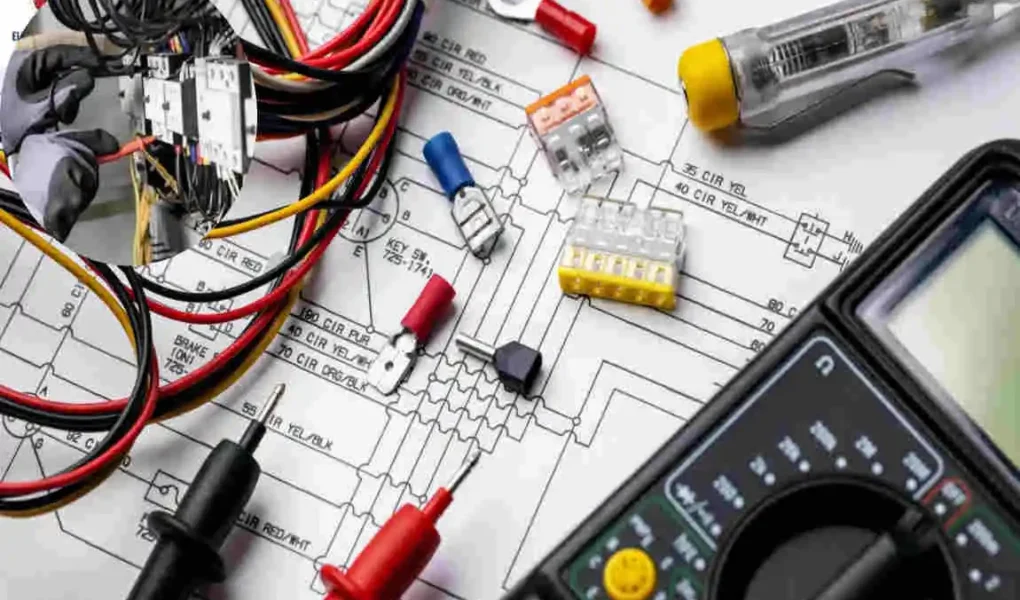
Essential Tools and Materials for Wiring
Before starting, you need the right tools and materials.
Must-Have Tools
- Wire cutters
- Screwdrivers
- Voltage tester
- Fish tape
These tools help you install and test wiring safely.
Essential Materials
- Copper wires (different sizes)
- Electrical boxes
- Switches and sockets
- Circuit breakers
Using high-quality materials improves safety and durability.
Safety Equipment
- Insulated gloves
- Safety goggles
- Rubber-soled shoes
Never skip safety equipment—it protects you from electric shock.
Step-by-Step Guide: How to Wire a Small House
This section explains the practical process of wiring a small house.
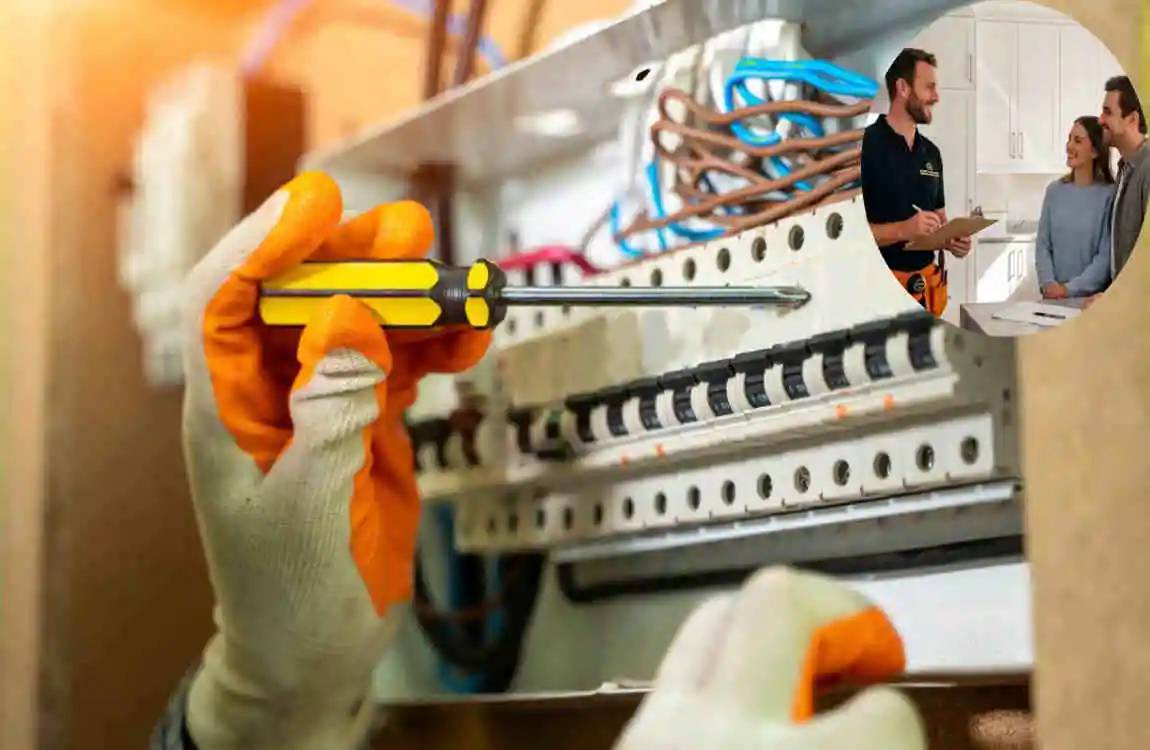
Turning Off the Main Power Supply
Before starting any work, always switch off the main power. This is the most important safety step. Even a small mistake can lead to serious injury if power is active.
Installing the Electrical Panel
The electrical panel is the heart of your home’s wiring system.
Steps:
- Install it in a dry and accessible place
- Secure it firmly to the wall
- Connect the main power supply carefully
This panel distributes electricity to all circuits.
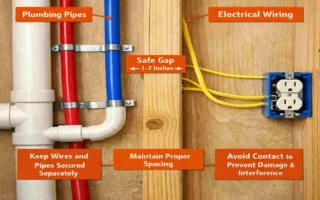
Running Electrical Wires Through Walls
Wires are usually installed inside walls or conduits.
Key points:
- Run wires vertically or horizontally
- Avoid sharp bends
- Keep wires organized
Proper installation reduces future maintenance issues.
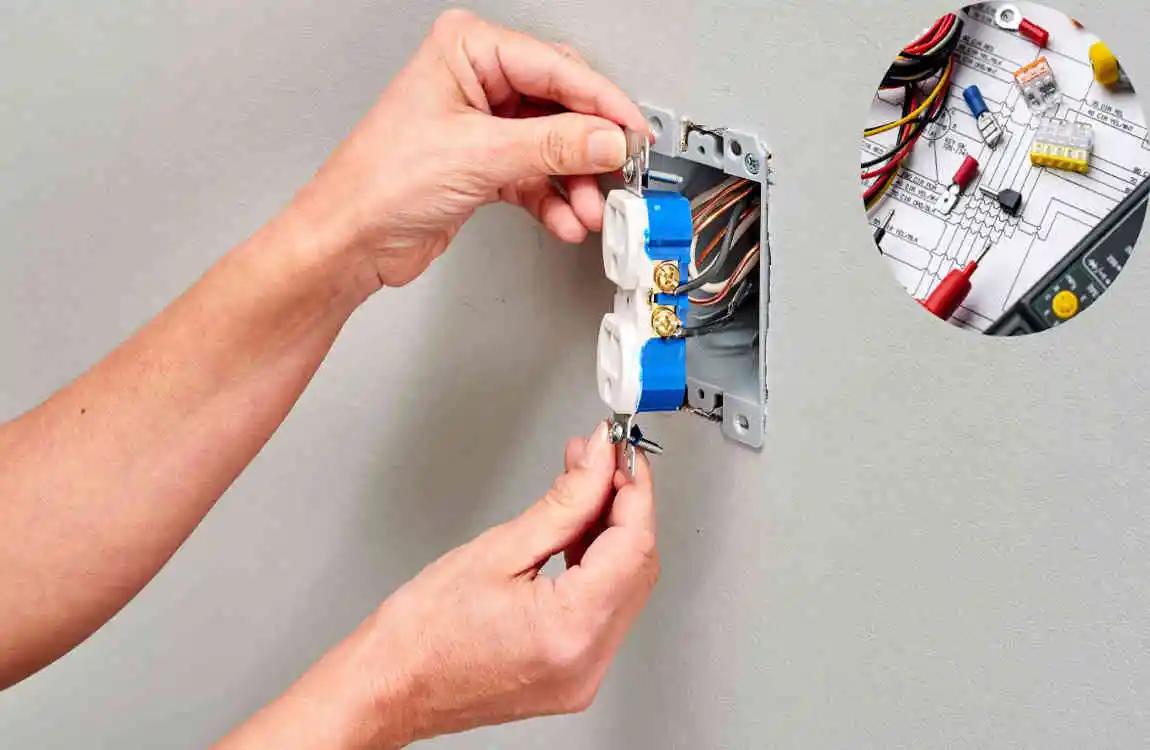
Installing Outlets and Switches
Outlets should be placed where they are most useful:
- Near beds
- Kitchen counters
- Living room corners
Make sure connections are tight and properly insulated.
Connecting Circuits to the Breaker Panel
Each room should have a separate circuit. This helps prevent overload.
You should:
- Label each circuit
- Keep the kitchen and heavy appliances separate
- Balance load across circuits
Grounding the Electrical System
Grounding protects you from electric shock.
It works by:
- Redirecting excess electricity into the earth
- Preventing appliance damage
- Increasing system safety
Never ignore this step.
Testing the Wiring System
After installation:
- Use a voltage tester
- Check all outlets
- Test switches one by one
Fix any loose or incorrect connections immediately.
Essential Wiring Techniques for Safety and Efficiency
Proper Wire Sizing
Using the correct wire size is very important. Thin wires can overheat, while thick wires may be unnecessary.
Always match the wire size to the load requirements.
Color Coding of Wires
Wires follow a standard color system:
- Black/Red: Live wire
- White: Neutral wire
- Green: Ground wire
This helps avoid confusion during installation.
Avoiding Overloaded Circuits
Signs of overload:
- Flickering lights
- Frequent breaker trips
- Warm switches or outlets
Solution: distribute appliances across multiple circuits.
Neat Wiring Practices
Good wiring is not just functional—it should also be clean.
Tips:
- Bundle wires properly
- Avoid tangled connections
- Label everything clearly
This makes future repairs easier.
Common Wiring Mistakes to Avoid
Incorrect Wire Connections
Wrong connections can reverse polarity and damage appliances.
Ignoring Grounding
Without grounding, your home becomes unsafe during electrical faults.
Using Low-Quality Materials
Cheap wires and switches may fail quickly, posing a hazard.
Overcrowding Electrical Boxes
Too many wires in a single box increases fire risk and reduces airflow.
Safety Guidelines for Small House Electrical Work
Electrical Safety Rules
Always:
- Turn off the power before work
- Use insulated tools
- Avoid wet areas
When to Call a Professional Electrician
Call an expert when:
- Wiring becomes too complex
- You are unsure about connections
- Local regulations must be followed
Local Electrical Code Awareness
Every area has safety rules. Following them ensures legal and safe installation.
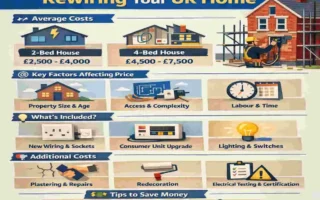
Cost Estimation for Wiring a Small House
Wiring cost depends on many factors.
Item Estimated Cost Impact
Wires Medium to High
Labor High
Switches & sockets Medium
Electrical panel High
Key Factors:
- House size
- Material quality
- Labor charges
- Design complexity
Maintenance Tips for Home Wiring Systems
Regular maintenance keeps your system safe.
- Check wiring every few months
- Look for burnt smells or sparks
- Replace damaged switches
- Avoid overloading sockets
A little care prevents big problems.
FAQs
Q Can I wire a small house myself?
Yes, but only if you understand safety rules and basic electrical knowledge. Otherwise, professional help is recommended.
Q What wire size is best for small homes?
It depends on the load, but commonly 14 to 12 gauge copper wire is used for general wiring.
Q How long does it take to wire a small house?
Usually 3–7 days, depending on house size and complexity.
Q Is conduit wiring better than hidden wiring?
Yes, conduit wiring is safer and easier to maintain, but it costs more.