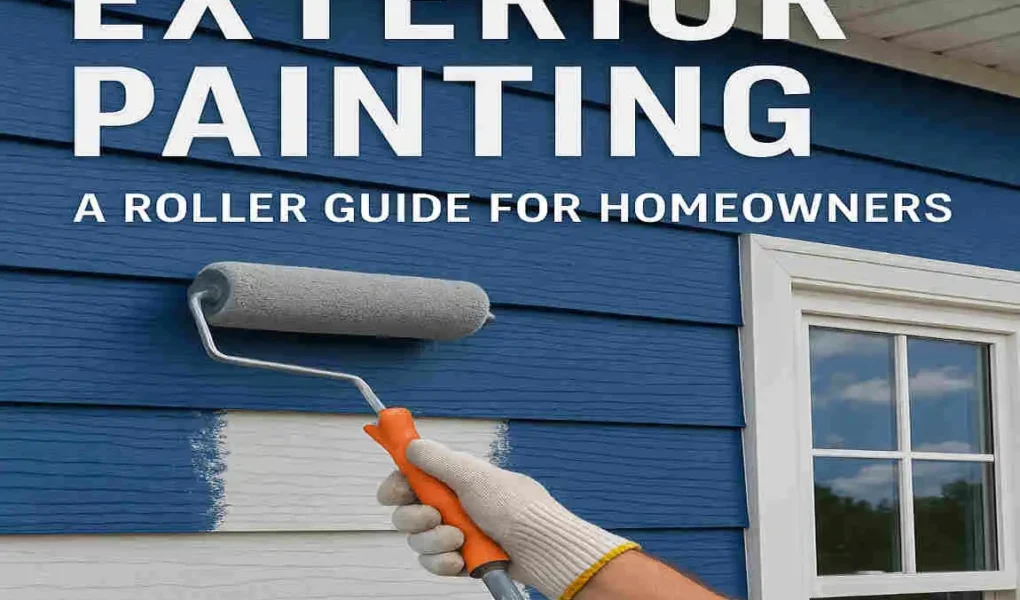
Painting the exterior of a home is a transformative project that boosts curb appeal and protects your house from the elements. Using a roller for exterior painting is a popular choice among homeowners because it is easy to use, provides controlled and even coverage, and is well-suited for large flat surfaces. This guide introduces essential roller techniques and tips to help homeowners achieve a professional-looking finish while painting their home’s exterior. From surface preparation to the proper roller loading and application methods, this roller guide ensures durable and beautiful results with every coat.
Benefits of Painting the Exterior of Your Home

Painting the exterior of your home offers a fresh look that enhances curb appeal. A well-painted house stands out in the neighborhood and reflects your personal style.
Beyond aesthetics, new paint serves as a protective barrier against weather elements. It shields siding from moisture, sun damage, and pests. This can prolong the lifespan of your home’s exterior materials.
Moreover, a quality paint job increases property value. Prospective buyers often favor homes with modern exteriors that require minimal maintenance.
Painting is also an excellent opportunity for you to express creativity. You can experiment with colors and finishes that resonate with you while revitalizing your space.
Choosing the Right Tools and Materials
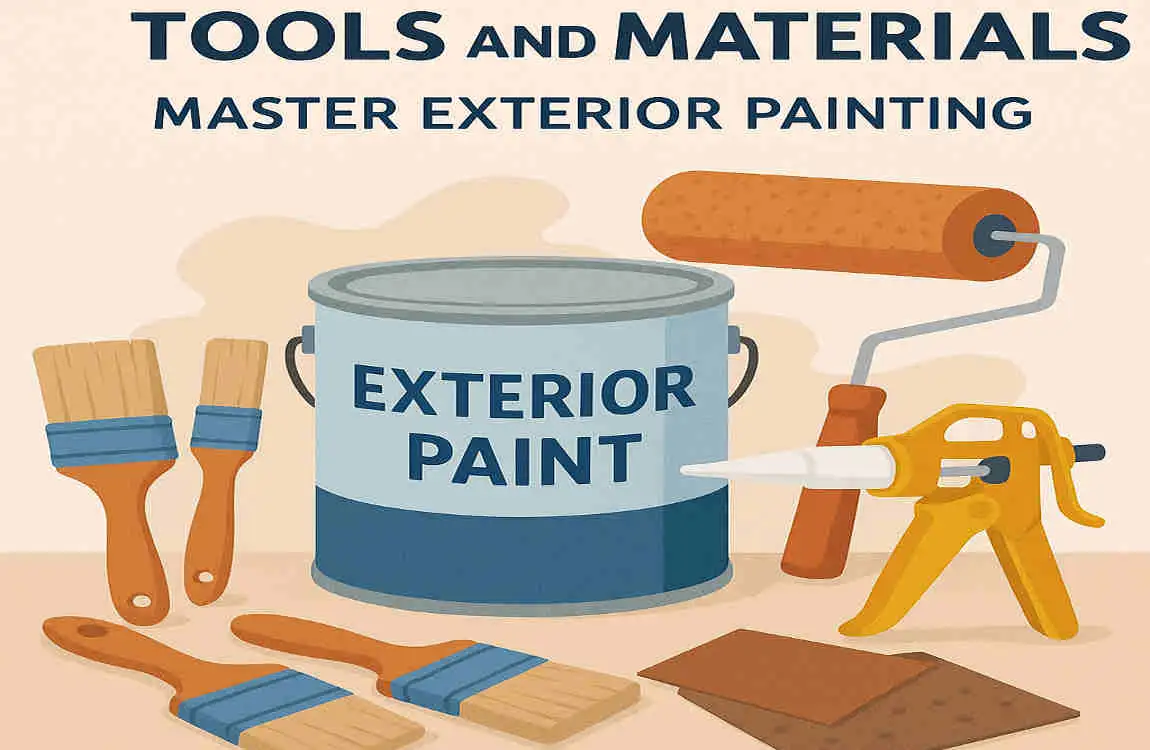
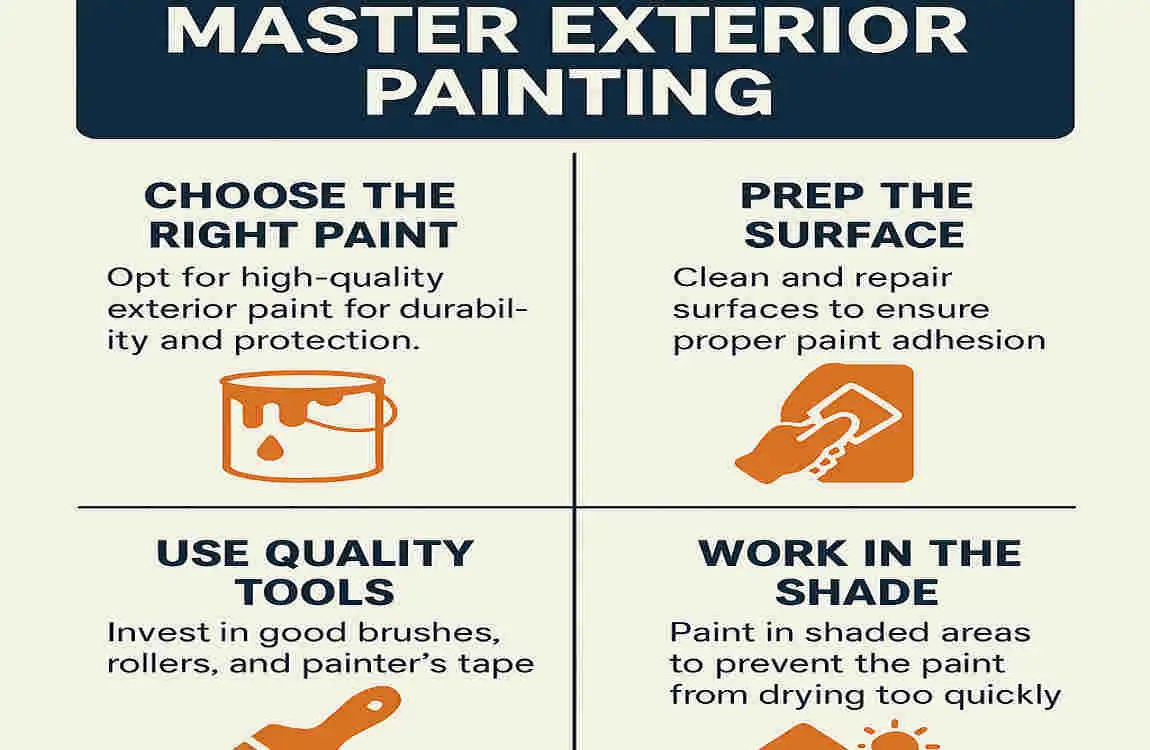
Selecting the right tools and materials is crucial for a successful exterior painting project. Start with high-quality paint specifically designed for outdoor use. Look for options that offer durability, mildew resistance, and UV protection.
For application, invest in a good roller. Choose one with a nap length suitable for your surface type—short naps work well on smooth surfaces, while thicker naps are ideal for textured areas.
Don’t forget to grab essential accessories: painter’s tape helps create clean lines, while drop cloths protect sidewalks and landscaping from spills or splatters.
Consider using extension poles to reach higher areas without needing ladders too often. A sturdy ladder will still be necessary, but having the right tools can make your job easier and safer.
Gather brushes of varying sizes for cutting in around edges and detailed spots where rollers aren’t effective. Quality tools lead to better results; they’re worth the investment!
Preparing Your Home for Painting
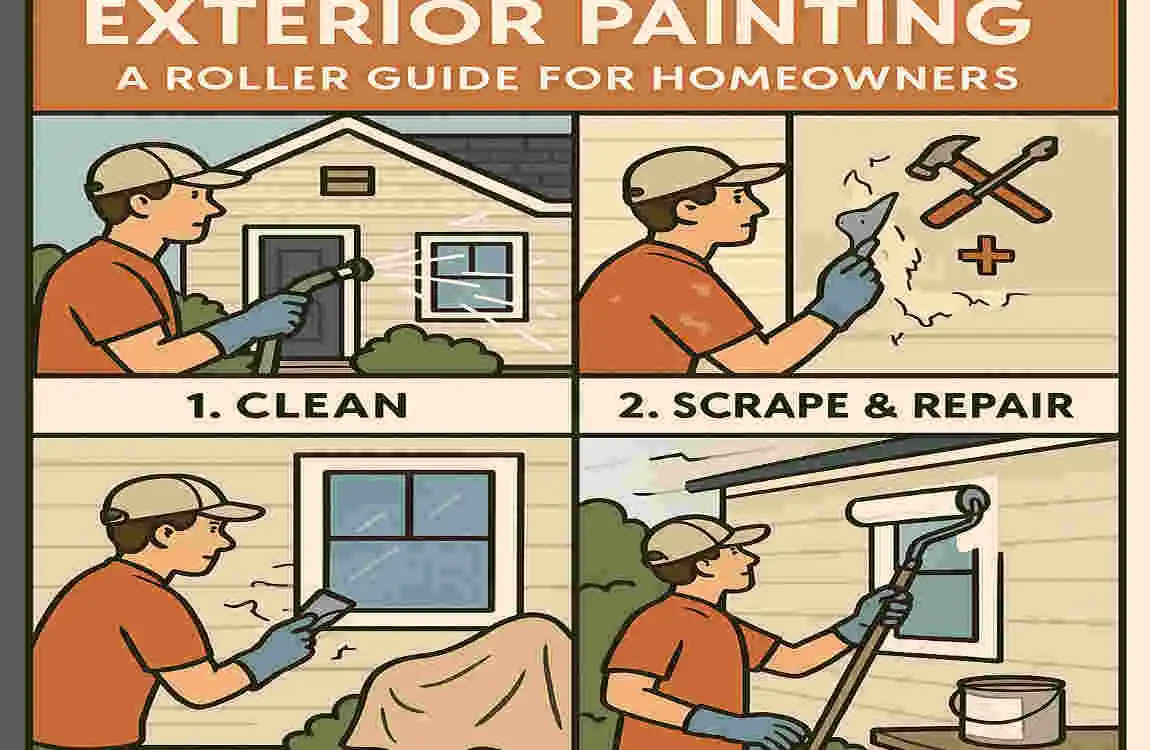
Before you start painting, preparation is key. Begin by clearing the area around your home. Move any outdoor furniture and cover plants to protect them from paint splatters.
Next, inspect your house exterior surfaces for damage: repair cracks or holes with appropriate filler. Make sure to sand rough patches so they’re smooth when painted.
Cleaning is essential too. Use a pressure washer or hose to remove dirt, mildew, and loose paint. A clean surface helps the new paint adhere better.
Don’t forget about safety measures! Ensure you have ladders that are secure and stable if you’re working at heights.
Tape off windows and doors using painter’s tape for sharp lines later on. Protect areas that shouldn’t be painted carefully; this will save time during cleanup while ensuring a neat finish.
The Painting Process: Step-by-Step Guide
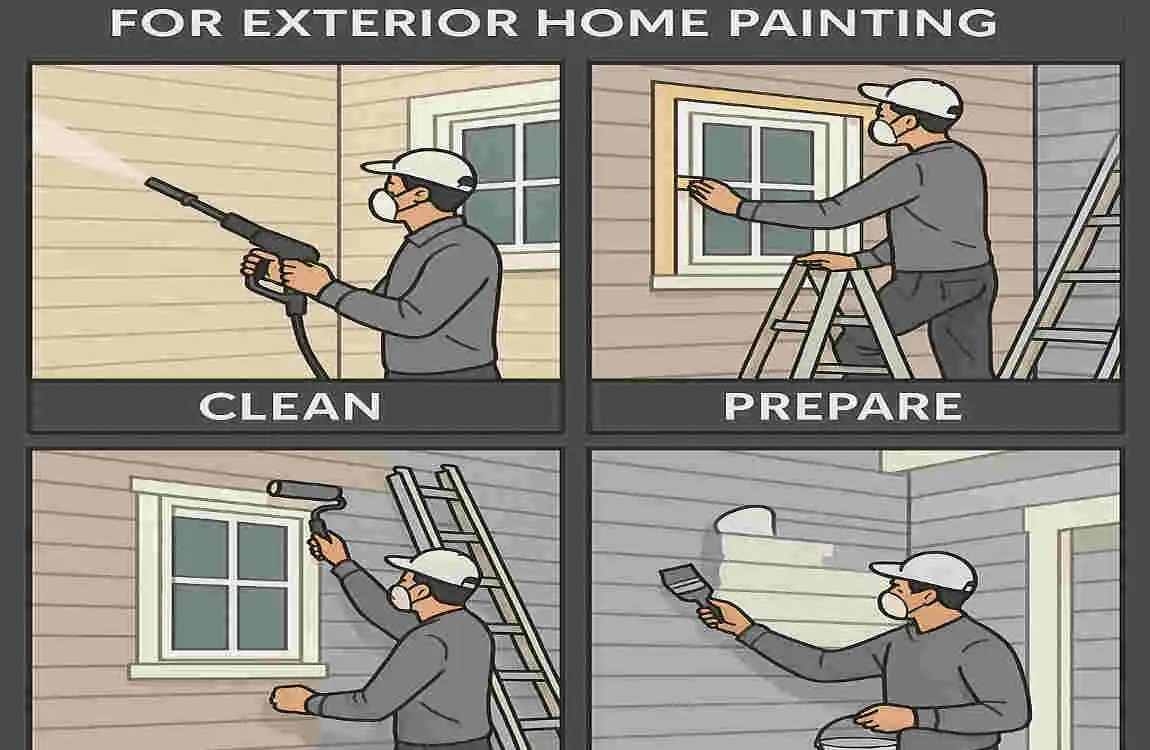
The best time to start is early in the morning when the temperatures are cooler. This will help your paint to dry evenly and prevent it from bubbling.
Begin with a primer if you’re painting over bare wood or a drastic color change. This step creates a solid foundation for your topcoat.
Use an extension pole for your roller. It saves you from constant bending and easily reaches high spots, ensuring even coverage throughout.
Apply paint in manageable sections, rolling in a W pattern. This technique helps avoid streaks and allows for smooth blending of edges.
After the first coat dries, check for missed spots or thin areas. A second coat usually enhances the durability and richness of color
Don’t forget to cut in around windows, doors, and trim using a brush before rolling on the main surfaces. Paint these areas carefully to ensure precision without splatters.
Take breaks as needed, but don’t let painted areas sit too long before adding another layer; aim for consistency while everything is still fresh.
Tips and Tricks for a Professional Finish
To achieve a professional finish when painting your home’s exterior, start with quality materials. Invest in high-grade paint and rollers explicitly designed for exterior surfaces. They make a significant difference.
Don’t rush the drying process between coats. Allow adequate time for each layer to dry completely before applying the next one. This ensures better adhesion and longer paint longevity.
Use painter’s tape around windows, modern doors, and trim to create clean lines. Remove it while the paint is still slightly wet to avoid peeling any dried paint off with it.
Consider using a spray nozzle on your roller for even distribution of paint, especially in textured areas. It helps cover uneven surfaces seamlessly.
Take your time while rolling on the final coat. Apply even pressure and overlap strokes slightly to prevent streaks or missed spots. Attention to detail will elevate your work from ordinary to exceptional.
Maintaining Your Paint Job
To keep your exterior paint looking fresh, regular maintenance is key. Start by inspecting the surface for any signs of wear or damage. Look for peeling, cracking, or fading.
Clean the walls annually with a gentle pressure wash to remove dirt and grime. This simple task can significantly extend the life of your paint job.
Make it a habit to touch up areas where paint has chipped away immediately. This prevents moisture from seeping in and causing more extensive damage.
Consider seasonal checks too—especially after harsh weather conditions like heavy rain or snow. Addressing issues right away will save you time and money down the line.
Ensure that gutters are clear to prevent water overflow that could jeopardize your paint’s integrity. A little attention goes a long way in preserving your home’s exterior charm.
How to Paint an Exterior House with a Roller FAQ
What tools do I need to paint the exterior of my house with a roller?
To paint your house exterior efficiently with a roller, you’ll need the following tools:
- A 5-gallon bucket with a metal roller ramp.
- A professional-grade roller handle with a roller cover (choose the nap thickness based on the porosity of your siding).
- A sturdy professional-grade roller pole that extends from two to four feet.
- A one-gallon “cutting pot” and a top-quality 3-inch angled tip paint brush for cutting in.
How do I prepare the roller for painting?
To prepare your roller for painting, follow these steps:
- Dip the roller into the paint and roll it back and forth on the roller ramp in the bucket.
- Repeat this process several times to ensure the roller cover is entirely saturated with paint.
- A properly loaded roller should not drip when moved and should not require you to apply force against the surface to transfer the paint to the wall.
What is the best technique for applying paint to the exterior of the house?
When rolling paint onto the house exterior, use the following technique:
- For siding, roll the paint on vertically with a 9-inch roller. You may need to jam the roller under the siding lips to ensure a thick coat of paint.
- Work in sections, reloading the roller when needed. Roll the paint onto the surface evenly.
- For textured surfaces, consider using a SprayRoller, which continuously feeds paint into the roller, allowing you to work without interruption.
Should I use a roller or a brush for painting exterior walls?
The choice between a roller and a brush depends on the surface you’re painting:
- Use a brush on narrow surfaces, edges, and smaller areas.
- Use a short, small-diameter roller for large, long surfaces, such as siding and trim.
- For weatherboard, a brush might be more efficient than a roller, since rolling would require sideways strokes, which can be more complicated than brushing.
What type of roller should I use for different exterior surfaces?
The type of roller you should use depends on the surface texture:
- Use a long-pile roller for rough surfaces.
- Use a foam roller for smooth surfaces.
How do I handle hard-to-reach areas when painting with a roller?
For hard-to-reach areas, consider the following:
- Use an extension ladder with a two-gallon bucket equipped with a screen and a 7-inch roller, attached with ladder hooks.
- For areas the roller can’t reach, use a brush to cut in and paint those spots.