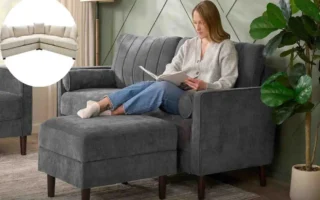
Imagine you’re getting ready to sell your home, plan a big renovation, or even buy new furniture. One of the first things you’ll need is a clear idea of your house’s size. That’s where knowing the square meters comes in—it’s like having a blueprint for all your decisions.
Accurate measurements aren’t just numbers on a page; they can make or break your plans. For homeowners, buyers, and real estate pros, getting this right means avoiding costly mistakes. Think about it: overestimating could lead to wasted materials, while underestimating might leave you short on space.
Understanding Square Meters and Their Importance
What Square Meters Really Mean
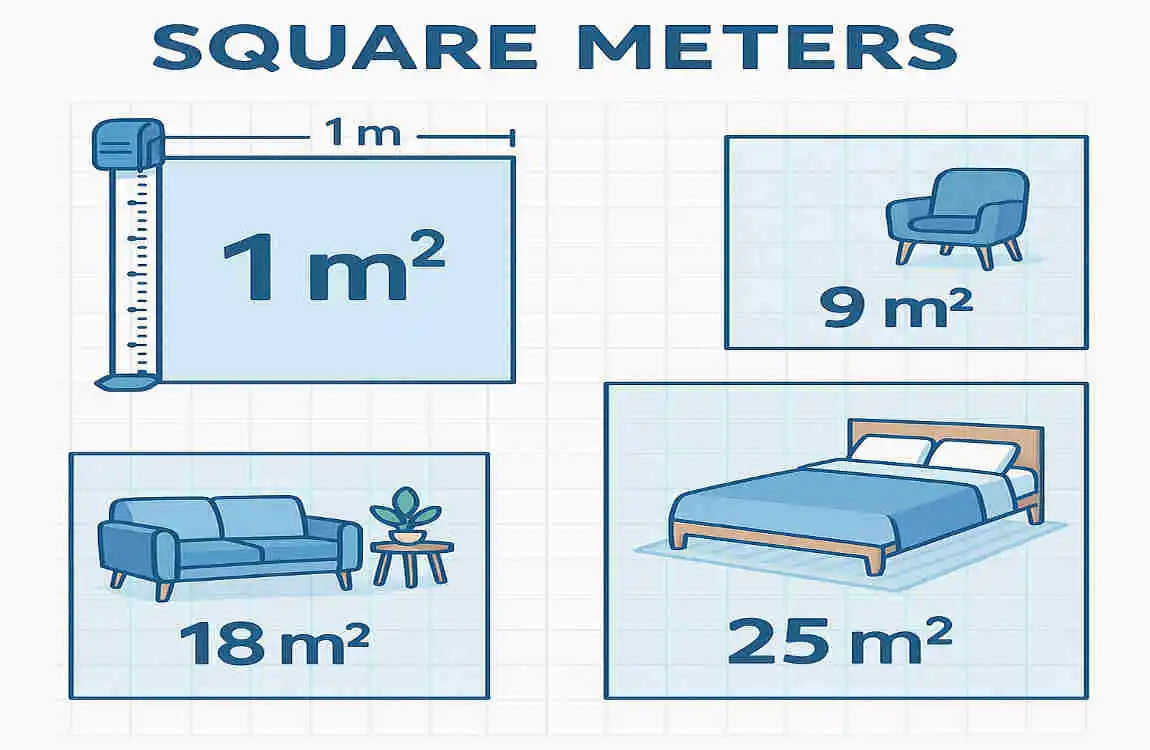
Square meters are simply a unit of area. Picture a flat space, like a room’s floor—one square meter is a square that’s one meter long on each side. When we talk about a house, we’re adding up all those squares to get the total livable or usable space.
You might hear people use this for everything from apartments to big estates. It’s a universal unit, especially in places like Europe and Australia, but it’s catching on everywhere. Why? Because it’s precise and easy to visualize. If you’re wondering how to calculate the square meters of a house, start by grasping this basic idea.
How Square Meters Differ from Other Units
Don’t confuse square meters with square feet—that’s a common mix-up. One square meter equals about 10.76 square feet, so if your house is 100 square meters, that’s roughly 1,076 square feet. Acres are even bigger; one acre is about 4,047 square meters, used more for land than homes.
Switching between units can trip you up, especially in real estate listings. But sticking to square meters keeps things consistent. Have you ever bought a home based on square feet, only to realize the metric conversion changed everything? Let’s avoid that headache.
Why Square Meters Matter for Home Value and More
Knowing your house’s square meters directly affects its worth. Bigger spaces often mean higher prices, but accuracy is key—real estate agents use this to set fair values. For renovations, it helps you budget for paint, flooring, or extensions without guesswork.
In transactions, precise measurements build trust. Buyers want to know precisely what they’re getting, and sellers avoid disputes. Plus, for things like insurance or taxes, square meters matter. Think about your own home: how might knowing this number change your next project?
Basic Principles of Calculating Square Meters in a House
The Core Formula You Need
At its heart, calculating house square meters is simple math. You multiply the length (in meters) by the width (in meters) to get the area in square meters. For a basic rectangular room, that’s it—no fancy equations required.
Say your living room is 5 meters long and 4 meters wide. Boom: 5 × 4 = 20 square meters. This formula scales up for the whole house. If you’re new to this, grab a notepad and try it on a small space. You’ll see how quickly it clicks.
Dealing with Irregular Shapes
Not every room is a perfect rectangle. What if you have an L-shaped kitchen or a room with a bay window? Break it down. Divide the space into smaller rectangles or triangles, calculate each one, and add them up.
For a triangle, use (base × height) ÷ 2. It’s like piecing together a puzzle. This method ensures you don’t miss anything. Do you have an oddly shaped room at home? Sketch it out— you’ll find it’s easier than you think.
Accuracy Tips: What to Measure and What to Skip
Measure from wall to wall for the actual interior space. Include areas like hallways, but decide on closets—do they count as livable? Exclude items such as thick walls or utility shafts unless specified.
Precision matters because minor errors add up in a whole house. Use a steady hand and consistent units. Remember, we’re focusing on how to accurately calculate a home’s square meters, so double-check as you go.
Tools Needed for Measuring House Square Meters
Traditional Tools That Still Work Great
Start with the classics: a good old tape measure. It’s affordable and reliable for most jobs. Pull it taut across a room, and you’re set.
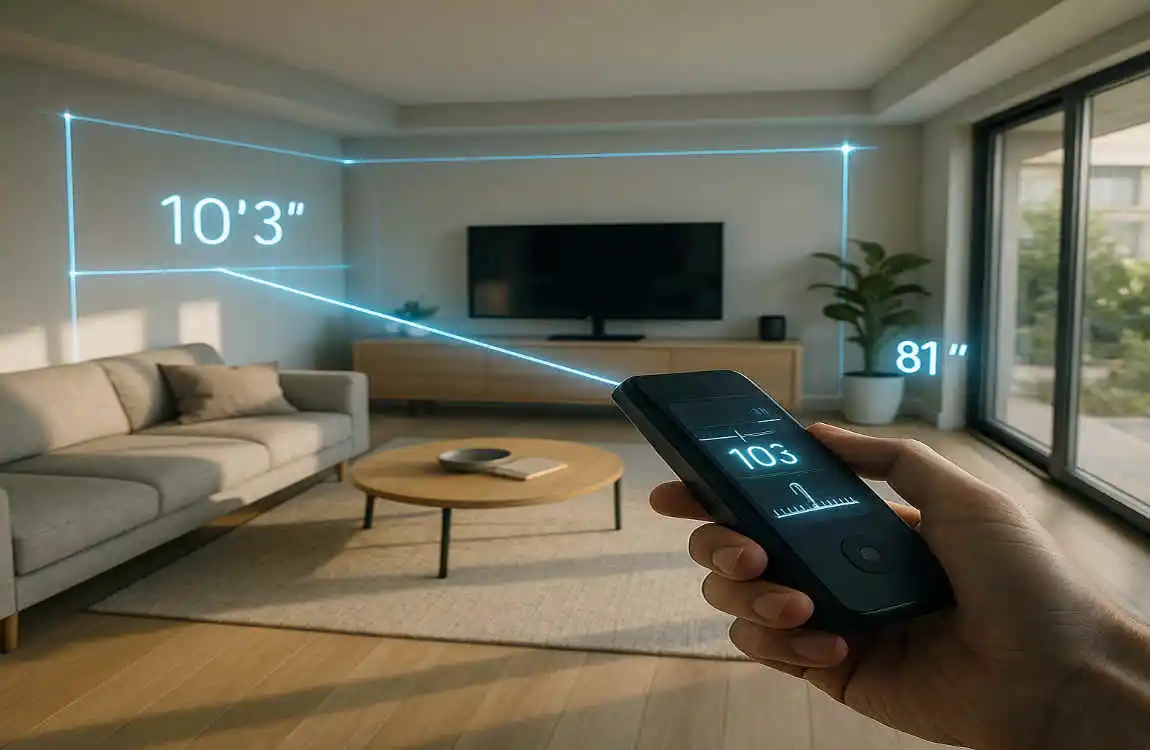
Upgrade to a laser distance measurer for hands-free ease. Point, click, and get instant readings. These have been around, but the 2025 models are more innovative with Bluetooth connectivity.
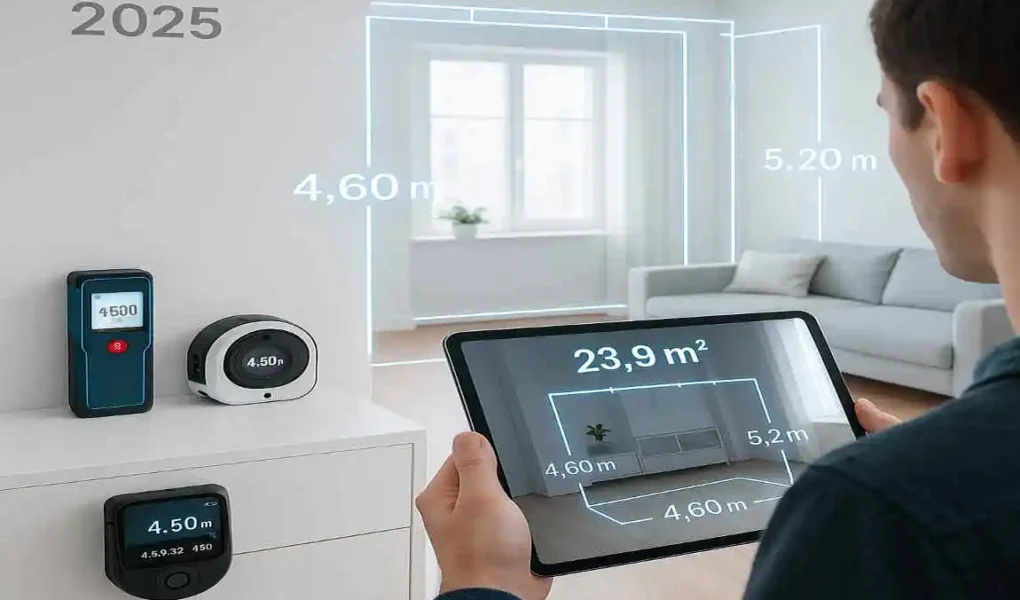
Digital Tools Taking Over in 2025
Smartphone apps turn your phone into a measuring wizard. Apps like Measure or RoomScan use your camera to automatically map spaces.
Then there’s advanced gear like digital laser devices with AR overlays. In 2025, expect updates with AI for error correction. Drones even scan exteriors now—perfect for significant properties.
Pros and Cons: Which Tool Fits You?
Every tool has upsides and downsides. Let’s break it down:
- Tape Measure: Pros: Cheap, no batteries needed. Cons: Prone to human error, hard for long distances.
- Laser Measurer: Pros: Fast and accurate. Cons: Needs a clear line of sight, can be pricey.
- Smartphone Apps: Pros: Free or low-cost, portable. Cons: Less precise on complex shapes, and it depends on phone quality.
- Drones/3D Scanners: Pros: Covers large areas quickly. Cons: Expensive, requires tech skills.
Choosing depends on your needs. If you’re a DIYer, start simple. Pros? Go high-tech.
Tips for Picking the Right One
Consider your house size and budget. For a small apartment, a tape does fine. Bigger homes? Invest in lasers.
Test tools in stores or read reviews. In 2025, look for ones with app integration for easy data saving. What tool do you have handy? Give it a try today.
Tool Type Cost Range (2025)Accuracy Level Best For Drawbacks
Tape Measure $10–$30 Medium (human-dependent) Small rooms, budget users Manual effort, potential errors
Laser Distance Measurer $50–$150 High Indoor spaces, quick jobs, need flat surfaces
Smartphone App Free–$20 Medium-High On-the-go measuring Battery drain, app glitches
Digital 3D Scanner/Drone $200–$1000+ Very High Large or complex homes Steep learning curve, cost
Step-by-Step Techniques to Calculate Square Meters of a House
Get Ready and Clear the Space
First, gather your tools—tape, laser, or App. Clear furniture or clutter so you can measure freely. This prep saves time and boosts accuracy.
Turn on good lighting and work in a quiet moment. You’re setting yourself up for success here.
Measure Each Room’s Dimensions
Walk room by room. Measure length and width at floor level, noting them down immediately.
For consistency, measure in meters from the start. If a room is irregular, break it into parts as we discussed.
Do the Math for Individual Areas
Apply the formula: length times width. Calculate each room separately.
Add up subsections for odd shapes. Keep a running total—apps can help with this.
Add It All Up for the Total
Sum every room’s square meters. Don’t forget common areas like hallways.
This gives your house’s total. It’s exciting to see the significant number!
Check and Avoid Pitfalls
Double-measure key spots. Common errors? Mixing up length and width or forgetting conversions.
Use sketches: Draw a simple floor plan with dimensions labeled. It visualizes everything.
Here’s a numbered list of the whole process for quick reference:
- Prepare tools and clear areas.
- Measure length/width per room.
- Calculate each area’s square meters.
- Sum totals for the whole house.
- Verify with a second check.
Handling Complex House Layouts and Features
Measuring Multi-Level Homes
Houses with stairs? Measure each floor separately, then add them up. Stairs themselves? Calculate it as a rectangle or a triangle, depending on its shape.
Balconies count if they’re enclosed, but patios might be separate. Think of your home’s levels—how would you approach it?
Including Garages, Patios, and More
Garages: Measure like any room, but decide if it’s livable space. Patios: Use exterior measurements for outdoor areas.
For non-standard spots like attics, check if they’re finished. Include them if usable.
Walls: Interior vs. Exterior Considerations
Interior measurements focus on usable space—wall-to-wall inside. Exterior? That’s for total footprint, including wall thickness.
Know the difference: Real estate often uses ‘interior’ in listings. Which one fits your needs?
When to Include or Exclude Areas
Exclude non-livable areas, such as chimneys or vents. Include closets if they’re part of rooms.
Rules vary by country—check local guidelines. This ensures your calculation matches real-world uses.
Using Technology for Precise Home Measurement in 2025
The Latest Tech Trends
2025 brings cool stuff like 3D scanning. Devices use LiDAR (light detection tech) to map rooms in minutes, creating digital models.
Drones fly around for exterior scans, ideal for roofs or yards. It’s like having a robot assistant.
Apps That Do the Work for You
Apps like Magic Plan let you snap photos, and the AI automatically calculates square meters. No manual math needed.
Others integrate with AR glasses for real-time overlays. Download one and test it—what do you think?
Benefits Over Old-School Methods
Tech is faster: Scan a house in hours, not days. Accuracy jumps with sensors spotting tiny details.
Store data digitally for easy sharing. For pros, it’s a game-changer; for you, it’s convenient.
Costs and Recommendations
DIY apps are cheap or free. Pro scanners? $500+. Weigh if you need frequent use.
For casual users, start with free apps. Pros? Hire services for complex jobs. Ready to go tech-savvy?
Common Mistakes and How to Avoid Them
Misreading or Miscalculating Dimensions
People often swap house length and width or read tapes wrong. Solution: Label measurements clearly and use digital tools for auto-calc.
Take your time—rushing leads to errors. You’ve got this; slow down.
Forgetting Non-Livable Spaces
Subtract walls or ducts? Many forget, inflating totals. Always account for them in plans.
Visualize: Draw exclusions on your sketch. It keeps things realistic.
Relying on Guesses Instead of Tools
Eyeballing? It’s tempting but inaccurate. Stick to tools for precision.
Double-check with a friend or app verification. Accuracy pays off.
Double-Check Tips
Measure twice, calculate once. Use online calculators for backups.
If numbers seem off, re-measure. This avoids big headaches later.