If you want to learn how to fix home plumbing under the sink, the good news is that many leaks are small and easy to handle. Under-sink leaks are common because this area has many joints, washers, pipes, and connections working together every day.
Even a tiny drip can turn into a bigger problem. It can lead to mold, water damage, bad smells, and higher water bills. That is why it helps to catch the leak early and fix it fast.
Common Causes of Under Sink Plumbing Leaks
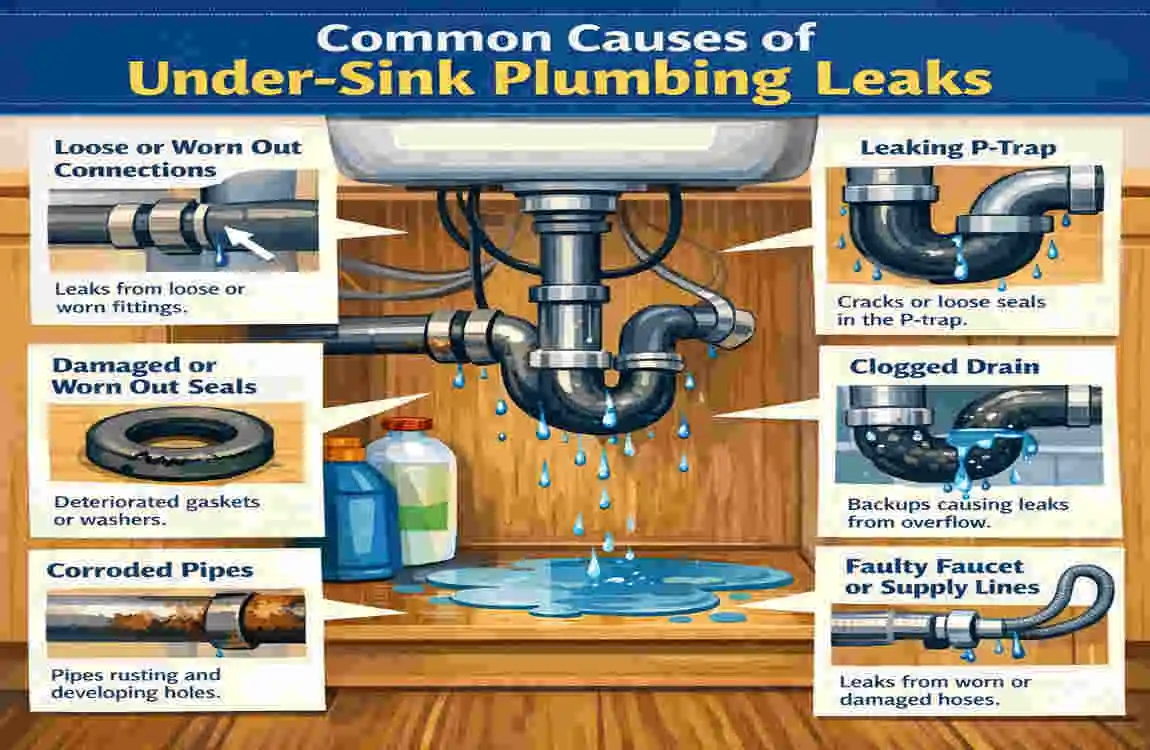
Loose Slip Nuts
Slip nuts can loosen over time because of normal use, vibration, or small movements in the pipes. When this happens, water starts dripping from the joints.
The fix is often simple. In many cases, you only need to tighten the connection gently with a wrench. Be careful not to overtighten, or you may damage the fitting.
Worn-Out Washers or Gaskets
Washers and gaskets help create a tight seal. Over time, they wear out, crack, or flatten. When that happens, water can escape around the joint.
A worn washer often causes a slow drip instead of a fast leak. If tightening does not help, the washer may need replacement.
Damaged Drain Pipes
Drain pipes can crack, rust, or become loose at the joints. Older metal pipes are more likely to corrode, while plastic pipes can split if they are stressed or bumped.
If the pipe is cracked, tightening will not solve the problem. In that case, replacement is usually the best choice.
Leaking Water Supply Lines
The hot and cold water supply lines can leak near the shutoff valve or where they connect to the faucet. These leaks may show up as dampness, small puddles, or water running down the line.
Look for wet spots, corrosion, or mineral buildup around the fittings.
Faulty Sink Strainer
The sink strainer sits where water drains from the sink into the pipe. If its seal fails, water can leak from the bottom of the sink.
You may notice dripping under the sink after using the faucet, especially when the basin fills and drains.
Tools You’ll Need
Before you start, gather a few simple tools.
ToolPurpose
Adjustable wrench Tighten fittings
Bucket Catch water
Towels Dry the area
Plumber‘s tape Seal threaded fittings
Replacement washers Replace worn seals
Flashlight Locate hidden leaks
Slip-joint pliers Remove plumbing fittings
Having these ready makes the repair easier and cleaner.
How to Fix Home Plumbing Under Sink Step-by-Step
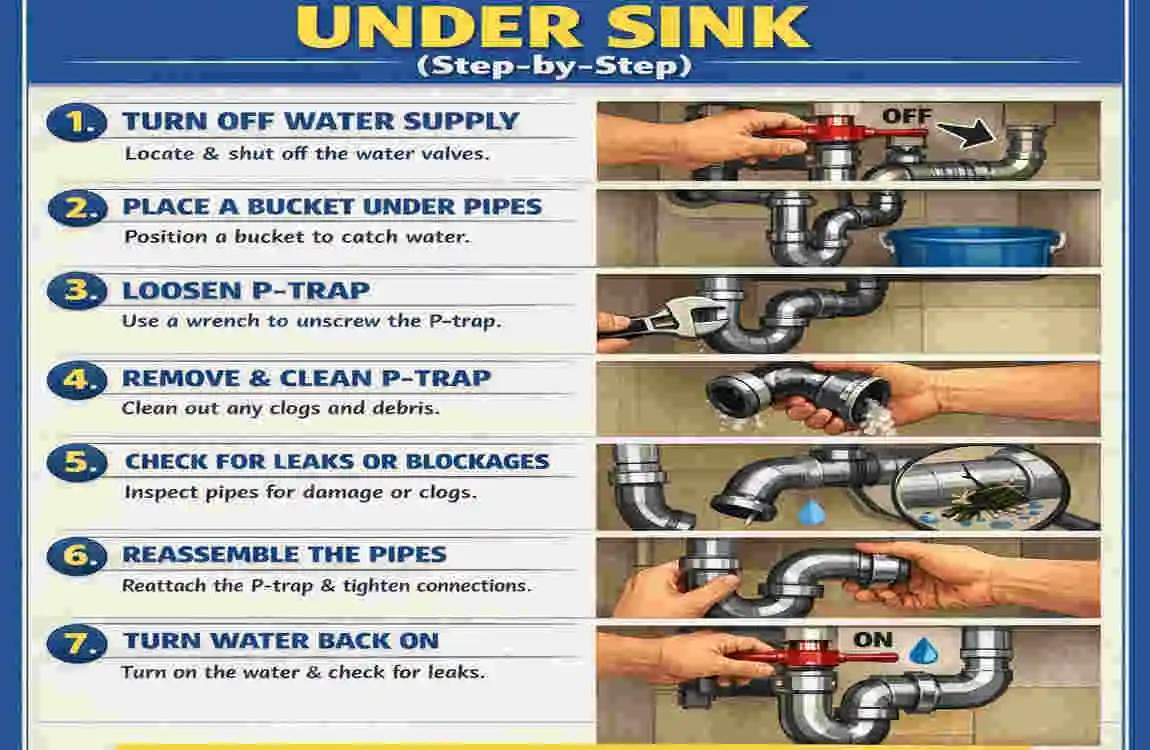
Turn Off the Water Supply
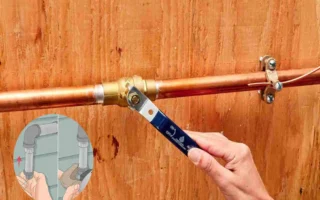
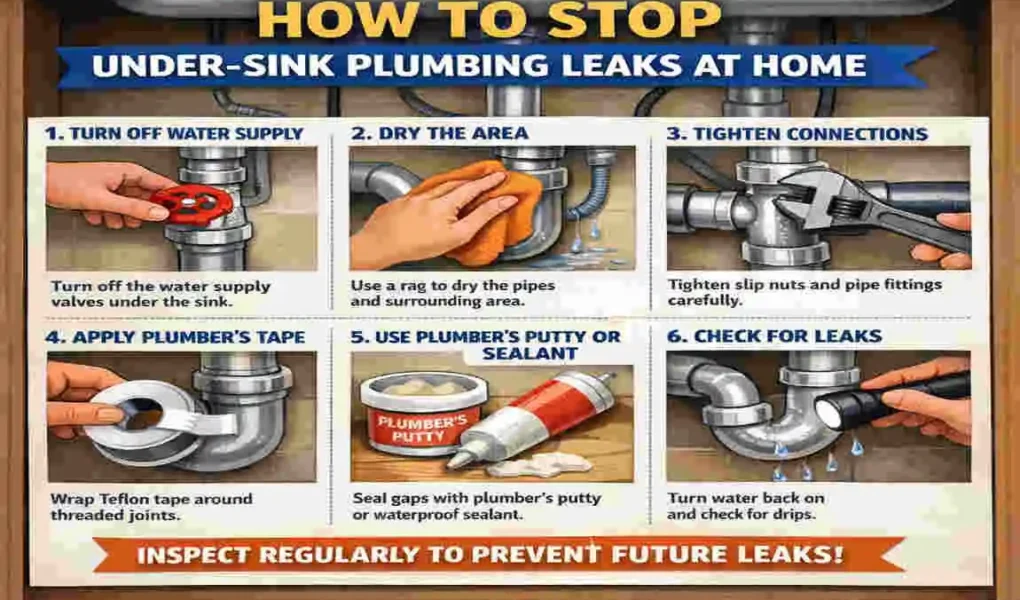
Start by turning off the shutoff valves under the sink. If you do not see separate valves, turn off the main water supply to the home.
After that, turn on the faucet for a few seconds to make sure the water is off and the pressure is gone.
Find the Leak Source
Use a flashlight and dry the pipes with a towel. Then look closely at:
- Drain pipes
- Supply lines
- Sink basket area
- Valve connections
- Pipe joints
A dry surface makes it easier to see where fresh water appears.
Tighten Loose Connections
If a fitting looks loose, tighten it carefully. Use an adjustable wrench or slip-joint pliers, but do not force it.
Overtightening can make the leak worse. A firm but gentle turn is usually enough.
Replace Damaged Washers
If the leak is still there, the washer may be worn out. Remove the fitting, take out the old washer, and install a new one of the same size.
Make sure the parts go back in the correct order. A badly placed washer can cause another leak right away.
Apply Plumber’s Tape
Use plumber’s tape on threaded connections only. It helps improve the seal and reduce small leaks.
Wrap the tape in the same direction as the threads so it does not bunch up while tightening.
Test for Leaks
Turn the water back on slowly. Run both hot and cold water for a minute. Watch each joint closely.
If you see no dripping, dry the area and check again after a few hours. Sometimes a leak shows up only after the pipes settle back into place.
When You Should Replace Under Sink Plumbing
Some problems are too serious for a simple repair. You should replace the plumbing if you see:
- Rusted metal pipes
- Cracked PVC pipes
- Severe corrosion
- Constant recurring leaks
If the same leak keeps returning, replacement may save time and money in the long run.
Tips to Prevent Future Under Sink Leaks
Here are a few easy habits that can help:
- Inspect plumbing every few months
- Keep the cabinet dry
- Replace worn washers early
- Avoid hanging heavy items from pipes
- Tighten fittings if they become loose
- Check for moisture after repairs
Small checks now can prevent bigger repair bills later.
Common Mistakes to Avoid
A few simple mistakes can make the leak worse.
- Overtightening fittings
- Ignoring tiny drips
- Using the wrong replacement parts
- Forgetting plumber’s tape
- Not shutting off the water supply
Take your time and work carefully. That will save you from repeat repairs.
DIY Repair vs Hiring a Plumber
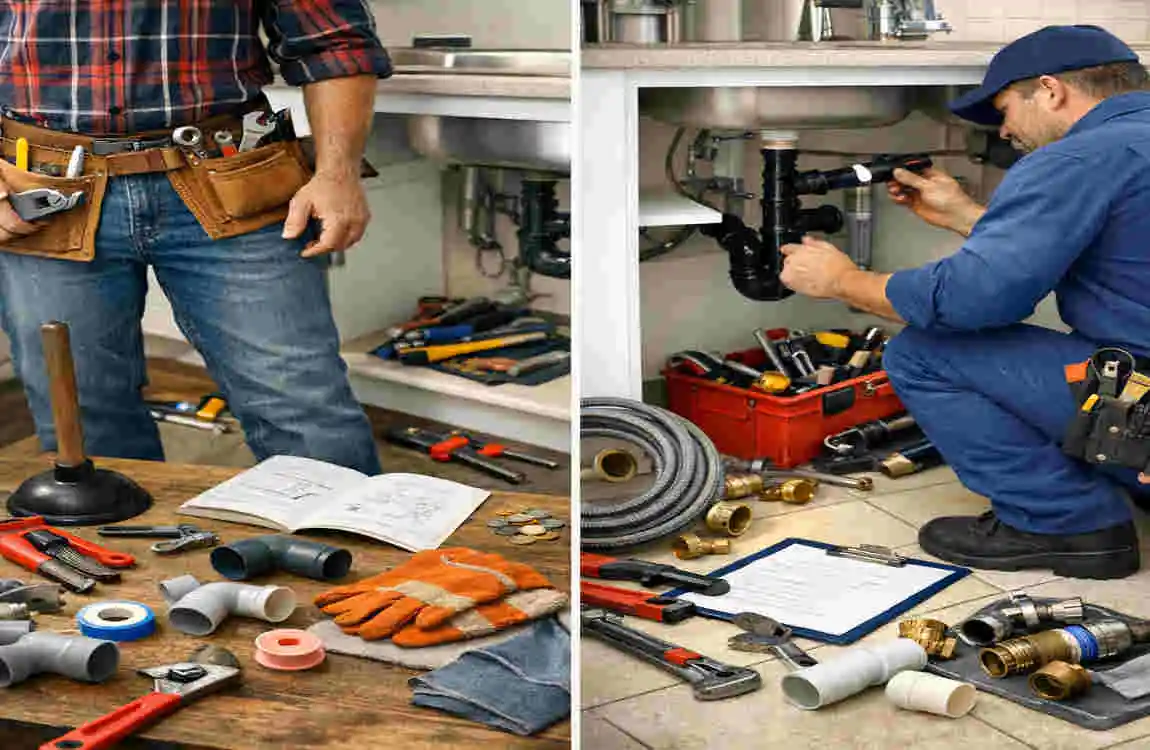
DIY Repair Professional Repair
Lower cost Best for major leaks
Quick for small leaks Handles pipe replacement
Good for beginners Long-term solutions
Basic tools required Specialized equipment
If the issue is small, DIY can work well. If the leak is serious, a plumber is the safer choice.
Signs You Need a Professional Plumber
Call a professional if you notice:
- Water damage inside the cabinet
- Burst or cracked pipes
- Mold growth
- Persistent leaks after repair
- Low water pressure with leaking pipes
These signs usually mean the problem is bigger than a simple tightening job.
FAQs
How do I know where my under-sink leak is coming from?
Dry all pipes first, then run water while checking each connection, supply line, and drain fitting to find the leak.
Can I fix an under-sink plumbing leak myself?
Yes. Most small leaks from loose fittings, worn washers, or supply lines can be fixed with basic tools.
What causes plumbing under the sink to leak?
Common causes include loose slip nuts, damaged washers, cracked pipes, faulty sink strainers, and leaking water supply lines.
Should I use plumber’s tape on every connection?
No. Use plumber’s tape on threaded pipe connections, not on slip-joint fittings that seal with washers.
When should I replace under-sink pipes instead of repairing them?
Replace pipes if they are cracked, badly corroded, or still leaking after several repairs.
How often should I inspect under-sink plumbing?
Inspect it every 3–6 months to catch small leaks before they become major problems.
| Problem | Cause | How to Fix It | Difficulty |
|---|---|---|---|
| Loose drain connection | Slip nuts have loosened over time | Tighten the slip nuts by hand, then use pliers for a slight extra turn | Easy |
| Worn P-trap washer | Rubber washer is cracked or worn | Replace the damaged washer and reassemble the P-trap | Easy |
| Leaking faucet supply line | Loose or damaged supply hose | Tighten the connection or replace the supply line | Easy |
| Damaged drain pipe | Cracked or corroded pipe | Replace the damaged section of pipe | Moderate |
| Faulty sink drain seal | Old plumber’s putty or gasket has failed | Remove the drain, apply new plumber’s putty or gasket, and reinstall | Moderate |
| High water pressure | Excessive pressure stresses plumbing fittings | Install or adjust a pressure-reducing valve if needed | Moderate |
| Corroded shut-off valve | Aging valve leaks around the stem or body | Replace the shut-off valve | Moderate |
| Temporary emergency leak | Small crack or pinhole leak | Apply waterproof plumbing repair tape or epoxy until a permanent repair is made | Easy |