Laminate flooring has become a popular choice in many homes because it looks stylish, feels smooth underfoot, and is more affordable than hardwood. It gives a clean and modern look while being relatively easy to install and maintain. However, despite its advantages, laminate flooring has one major weakness—water damage.
Even a small leak or spill can create a serious problem if water seeps underneath the surface. Unlike tiles or vinyl, laminate is not fully waterproof. Once water gets trapped under it, the damage can spread quietly and quickly.
That is why knowing how to dry laminate flooring with water under it is extremely important for any homeowner. Quick action can mean the difference between saving your floor and replacing it entirely.
| Drying Technique | How It Works | Best Use Case |
|---|---|---|
| Air Circulation (Fans) | Improves airflow to evaporate moisture | Light surface moisture |
| Dehumidifier Use | Removes excess humidity from the air | Trapped moisture under floor |
| Wet Vacuum Extraction | Sucks out standing water from gaps | Fresh spills or leaks |
| Subfloor Drying | Exposes and dries hidden damp areas | Water under planks |
| Controlled Heat Drying | Speeds up evaporation carefully | Moderate water exposure |
| Plank Removal & Air Drying | Allows direct drying of affected areas | Severe water damage |
Understanding Water Damage in Laminate Flooring
Before learning drying techniques, it is important to understand how laminate flooring reacts to water and why it is so easily damaged.
How Laminate Floors React to Water
Laminate flooring is made of multiple layers:
- A protective top layer
- A decorative printed layer
- A fiberboard core
- A backing layer
The problem lies in the fiberboard core, which is highly moisture-sensitive. When water enters through joints or edges, it gets absorbed by this layer.
Once water is trapped underneath:
- The core starts swelling
- Planks begin to lift
- The surface becomes uneven
Unlike solid wood, laminate cannot easily return to its original shape after swelling.
Common Causes of Water Under Laminate Flooring
Water can get under laminate flooring in many everyday situations:
- Plumbing leaks under sinks or walls
- Spilled liquids that seep into seams
- Flooding or heavy rain entering through doors
- Appliance leaks, especially washing machines or dishwashers
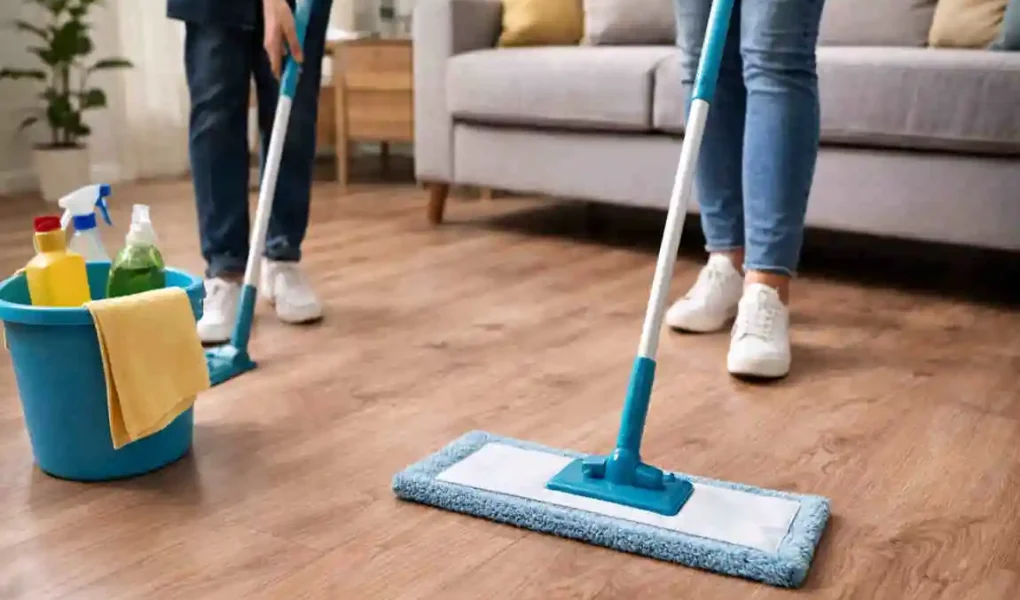
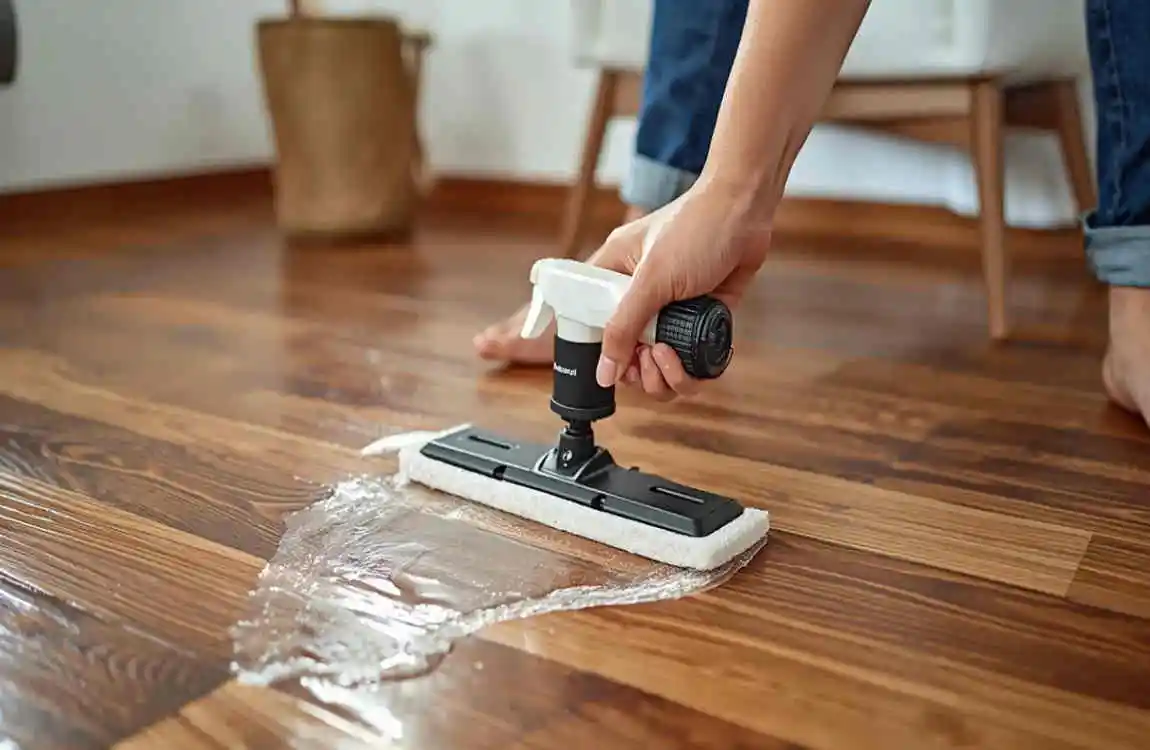
- Mopping with excessive water
Even small, repeated moisture exposure can accumulate over time and cause hidden damage.
Early Warning Signs of Water Damage
Spotting the problem early is very important. Look for these signs:
- Edges of the flooring lifting or buckling
- Soft or spongy feeling when walking
- Musty or damp smell in the room
- Visible gaps between planks
- Discoloration or dark patches
If you notice any of these signs, you should immediately start thinking about how to dry the laminate flooring under water before the damage spreads further.
Immediate Steps When You Notice Water Under Laminate Flooring
Time is extremely important when dealing with wet laminate floors. The faster you act, the better your chances of saving the flooring.
Stop the Water Source Immediately
The first step is always to stop the cause of the water.
- Turn off the main water supply if needed
- Fix leaking pipes or appliances
- Stop any ongoing spill or flooding source
If you skip this step, your drying efforts will not be effective.
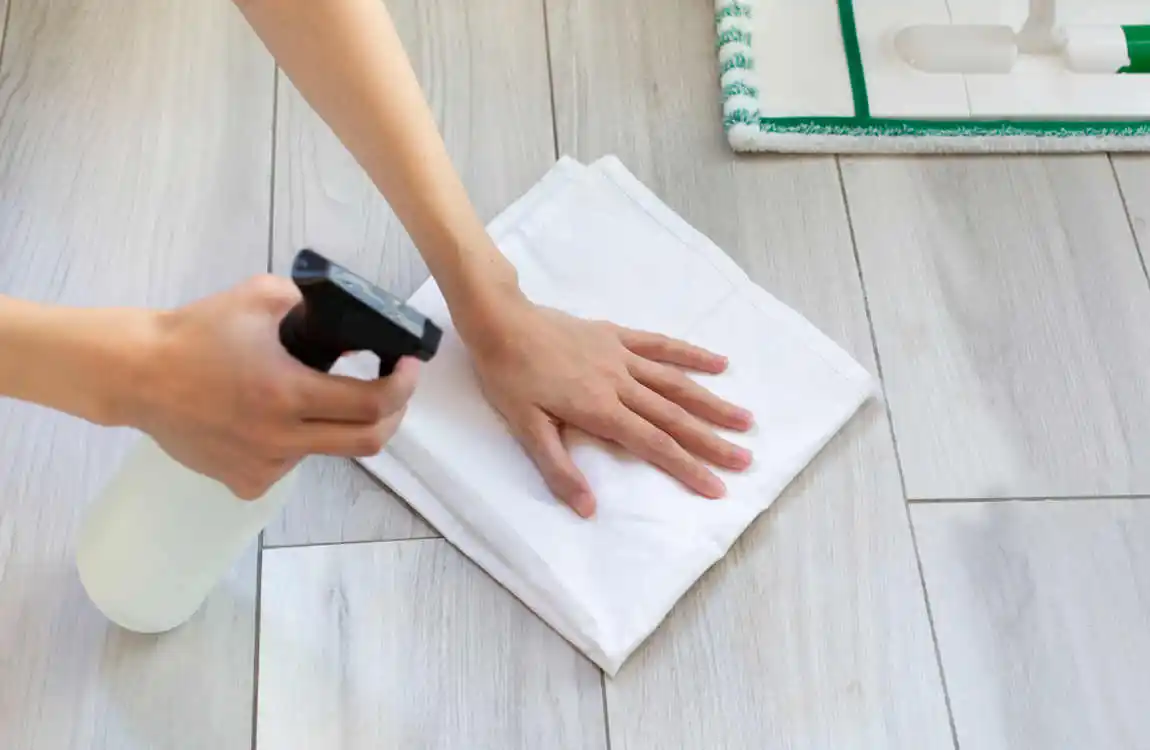
Remove Surface Moisture
Before dealing with hidden water:
- Use dry towels or absorbent cloths
- Mop up visible water carefully
- Avoid pushing water into seams
The goal is to remove as much surface moisture as possible.
Clear the Room
Next, create space for proper drying:
- Move furniture away from affected areas
- Remove rugs and mats
- Allow air to circulate freely
A clutter-free space speeds up the drying process.
Safety Precautions
Water and electricity can be dangerous together.
- Avoid stepping on wet electrical areas
- Turn off the power if water is near the sockets
- Wear gloves if the water may be contaminated
Safety should always come first.
How to Dry Laminate Flooring with Water Under It
This is the most important section of the guide. If water has gone underneath your laminate flooring, simply wiping is not enough. You need a structured drying approach.
Lift and Inspect the Flooring
Carefully remove affected planks using a flat tool.
- Start from the most damaged area
- Lift planks gently to avoid breaking locks
- Inspect how far water has spread
- Mark or label planks for easy reinstallation
This step helps you understand the full extent of the damage.
Use Air Circulation Techniques
Airflow is one of the most effective natural drying tools.
- Place fans around the room
- Use air movers if available
- Open windows for cross ventilation
Position fans so air moves across the floor, not just upward. Continuous airflow helps evaporate trapped moisture faster.
Dehumidifiers for Deep Drying
A dehumidifier removes moisture from the air, which speeds up drying underneath the flooring.
- Run it continuously for several hours or days
- Keep doors and windows closed for better efficiency
- Maintain indoor humidity below 50% if possible
This step is essential for deep moisture removal.
Wet Vacuum Extraction Method
A wet/dry vacuum can effectively remove hidden water.
- Use it along seams and edges
- Extract water from the gaps between planks
- Repeat multiple times for best results
This method is especially useful right after flooding or heavy leaks.
Drying the Subfloor
Even if the laminate looks dry, the subfloor may still hold moisture.
- Check wooden subfloors for dampness
- For concrete floors, allow extra drying time
- Use a moisture meter if available
Never reinstall flooring until the subfloor is completely dry.
Heat Drying (Controlled Use)
Heat can speed up drying, but it must be used carefully.
- Use low or moderate heat only
- Avoid direct high heat on the flooring
- Combine with fans for better circulation
Too much heat can cause warping or cracking, so control is important.
Reinstall or Replace Damaged Planks
After drying:
- Reuse planks if they are not swollen
- Replace severely damaged pieces
- Lock planks back carefully
If swelling has occurred, replacement is usually the better option.
Tools You Need for Drying Laminate Flooring
Having the right tools makes the process much easier and faster.
Essential Equipment List
- Wet/dry vacuum
- Industrial fans
- Dehumidifier
- Moisture meter
- Pry bar for lifting planks
Tools and Their Purpose
Tool Purpose Importance
A dehumidifier removes moisture from the air. High
Wet Vacuum Extracts trapped water High
Air Fan Improves airflow Medium
Moisture Meter Detects hidden dampness High
Pry Bar Helps lift flooring safely Medium
Mistakes to Avoid When Drying Laminate Flooring
Many homeowners make mistakes that worsen the damage.
Common Mistakes
- Ignoring hidden moisture under the flooring
- Not removing affected planks
- Using excessive heat too quickly
- Reinstalling flooring too early
Why These Mistakes Are Dangerous
These errors can lead to:
- Mold growth under the flooring
- Permanent swelling and warping
- Weak or unstable subfloor structure
- Expensive future repairs
Taking time to dry properly saves money in the long run.
How Long Does It Take to Dry Laminate Flooring?
Drying time depends on how much water has entered.
- Light moisture: 24–48 hours
- Moderate water exposure: 2–4 days
- Severe flooding: up to a week or more
Factors like temperature, airflow, and humidity also affect drying speed.
Preventing Future Water Damage in Laminate Flooring
Prevention is always easier than repair.
Proper Installation Practices
- Install moisture barriers underneath
- Seal edges near walls and doors
- Ensure tight locking between planks
Regular Maintenance Tips
- Clean spills immediately
- Check plumbing regularly
- Avoid excessive water while mopping
- Use protective mats in wet areas
Smart Home Protection Ideas
- Install water leak sensors
- Use humidity control devices
- Monitor appliances regularly
When to Call a Professional
Sometimes DIY methods are not enough.
Call a professional if:
- Water damage is widespread
- Mold or a strong odor appears
- Flooring is severely warped
- Subfloor is damaged
Professionals use advanced drying equipment that can save time and prevent further damage.
FAQs – How to Dry Laminate Flooring with Water Under It
Can laminate flooring be saved after water damage?
Yes, if you act quickly and remove moisture properly.
How do I know if water is under my laminate flooring?
Look for swelling, softness, or a damp smell.
Can I use a heater to dry laminate floors?
Yes, but only with low-controlled heat.
Do I need to remove all the flooring if water gets underneath?
No, only affected areas usually need removal.
What is the fastest way to dry laminate flooring?
Using fans, dehumidifiers, and removing wet planks together works fastest.