A floor that creaks, dips, or feels bouncy can be more than just annoying. It can make your home feel older than it is, and in some cases, it can point to a deeper problem under the surface. If you have ever walked across a room and felt the floor move under your feet, you already know how unsettling that can be.
A weak floor affects more than comfort. It can affect safety, daily use, and even property value. A sturdy floor helps support furniture properly, reduces noise, and makes the whole room feel solid. That is why learning how to stiffen up a floor is so useful for homeowners.
| Key Action | Purpose | ||
|---|---|---|---|
| Inspect the Floor’s Condition | Identify sagging or damage | Find weak spots needing repair | |
| Reinforce Floor Joists | Add sister joists or strengthen | Increase structural support | |
| Add Bridging Between Joists | Install cross-bracing/blocking | Distribute weight evenly | |
| Install Additional Support Beams | Add new beams beneath floor | Provide extra load-bearing help | |
| Lay Down Plywood/Subfloor | Install thick plywood layers | Enhance floor stiffness | |
| Secure Floorboards | Use screws/nails and adhesive | Eliminate squeaks and movement |
Why Stiffening a Floor Is Important

Understanding the Risks of Weak Floors
A weak floor may seem like a small issue at first. Maybe it squeaks when you walk on it. Maybe a section feels softer than the rest. Over time, though, these signs can become bigger problems.
One of the most common issues is floor bounce. This happens when the floor flexes too much under normal weight. It can make walking uncomfortable and can even crack tile, separate flooring joints, or loosen fasteners. If the floor keeps moving, the problem often gets worse.
Another issue is sagging. A sagging floor can signal damaged joists, weak support, or old materials that are no longer holding up well. In some cases, moisture damage is the real cause. Water can weaken wood and cause rot, reducing the floor’s strength.
Weak floors can also create safety hazards. A loose board, uneven surface, or soft spot can lead to trips and falls. For families with kids, older adults, or heavy furniture, this matters even more.
Benefits of a Stiffened Floor
A stiffened floor brings several clear benefits.
First, it improves safety. When the floor is firm and level, the risk of trips, slips, and sudden movement decreases. That creates a safer home for everyone.
Second, it improves comfort. A solid floor feels better underfoot. It reduces bounce, lowers noise, and makes each room feel more stable.
Third, it can help protect property value. Buyers notice floor movement, uneven spots, and squeaks. A stronger floor sends a message that the home has been cared for.
A well-built floor also helps your home last longer. Industry guidance on home construction consistently stresses that structural strength matters because small framing problems can spread over time if left alone. A sturdy floor system helps the entire room perform better.
If you are ready to fix the issue at its source, keep going. The next steps show you exactly how to stiffen up a floor the right way.
Tools and Materials You’ll Need
Before you start, gather your tools and materials. Having everything ready will save time and help you work more safely.
Basic Tools
Here are the main tools you will likely need:
- Hammer for light fastening and adjustments
- Drill for screws and pilot holes
- Level to check flatness and alignment
- Saw for cutting wood to size
- Tape measure for accurate spacing
- Utility knife for trimming underlayment or adhesive materials
- Screwdriver or impact driver for fastening boards and plywood
- Safety gear like gloves, eye protection, and a dust mask
Common Materials
Depending on the job, you may need:
- Plywood for subfloor reinforcement
- Screws for stronger fastening than nails
- Construction adhesive to reduce movement and squeaks
- Joist hangers for added framing support
- Blocking lumber for bridging between joists
- Sister joists for strengthening weak joists
- Support beams or posts for major reinforcement
Quick Table: Tools and Materials at a Glance
ItemWhat It DoesBudget-Friendly Option
Drill/driver Drives screws quickly Basic corded drill
Plywood Reinforces the subfloor Standard structural plywood
Screws Holds materials more firmly Coated wood screws
Construction adhesive Reduces movement and noise General-purpose subfloor adhesive
Level Checks flatness Small torpedo level
Saw Cuts wood to size Handsaw if the job is small
Sourcing Tips
Try to choose dry, straight lumber with no twisting or visible damage. For plywood, pick structural-grade material rather than thin decorative sheets. If you are unsure, ask at the lumber yard for flooring or subfloor-grade panels.
For budget-friendly work, you do not always need the most expensive option. In many cases, a solid mid-grade screw, standard plywood, and reliable adhesive are enough. The key is choosing materials that are appropriate for the load and the floor condition.
Step-by-Step Guide: How to Stiffen Up a Floor

Inspect the Floor’s Condition
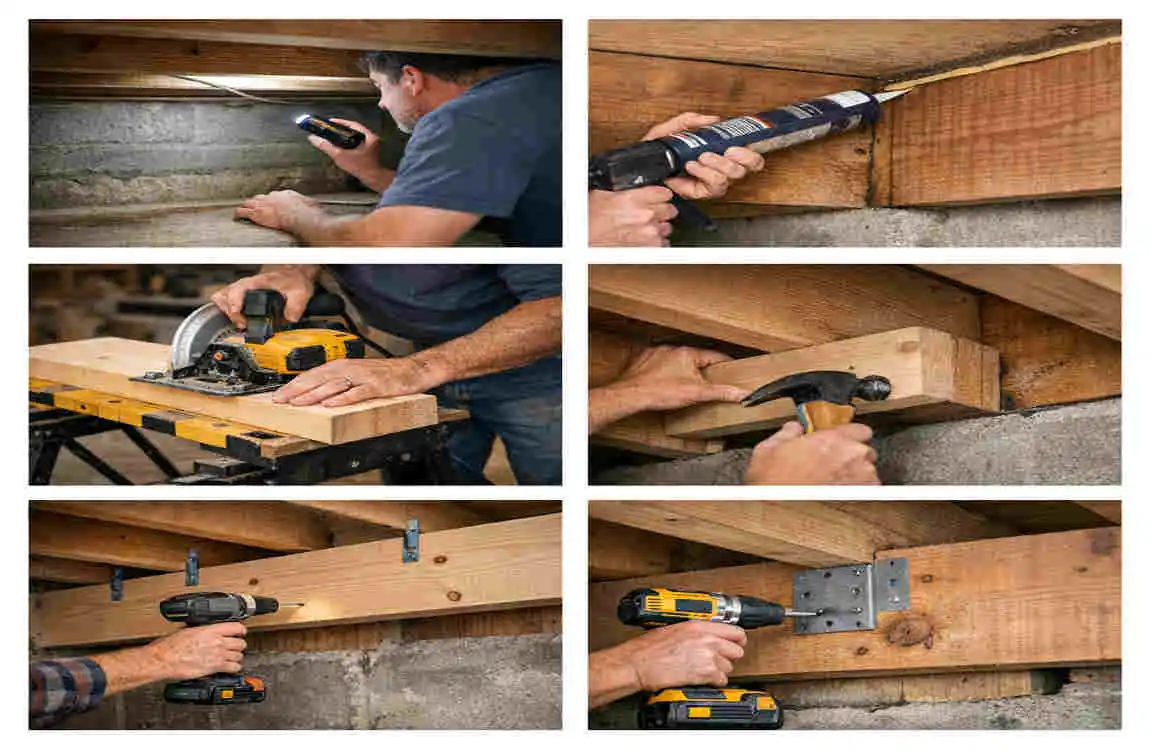
Before you fix anything, you need to know what is causing the problem. A floor can feel weak for several reasons, and each one may need a different solution.
Start by walking slowly across the room. Notice where the floor feels soft, bouncy, or uneven. Listen for squeaks, pops, or creaks. These sounds often point to loose boards or movement between materials.
Next, inspect the area below the floor if you can. Look at the joists, beams, and subfloor from underneath. Check for signs of water damage, wood rot, cracks, holes, or sagging. If you see dark stains, mold, or soft wood, moisture may be the main problem.
Use a level to check for low spots or slopes. A small slope may be harmless, but a clear dip often needs attention. Mark the trouble areas so you can focus your repair work where it matters most.
This first step matters because it helps you avoid wasting time on the wrong fix. If the issue is weak joists, for example, adding more plywood alone will not solve it.
Reinforce Floor Joists
The joists are the main support pieces under your floor. If they are weak, damaged, or undersized, the floor above them will move too much.
One of the best ways to strengthen joists is by adding sister joists. This means placing a new joist next to the old one so they work together. The new piece should be the same depth as the existing joist and long enough to cover the weak section.
Before installing, clean the old joist surface. Remove debris, loose nails, or anything that prevents a tight fit. Apply construction adhesive along the side of the old joist, then clamp the sister joist in place. Secure it with screws or bolts, depending on the job.
For best results, sister as much of the joist length as possible. A longer sister joist spreads the load more effectively and improves stiffness more than a short patch.
If the joists are badly damaged, cracked, or rotted, do not assume a quick fix will be enough. In those cases, replacement may be safer than repair.
Add Bridging Between Joists
Bridging helps joists share the load. It reduces twisting and keeps the floor more stable under foot traffic and furniture weight.
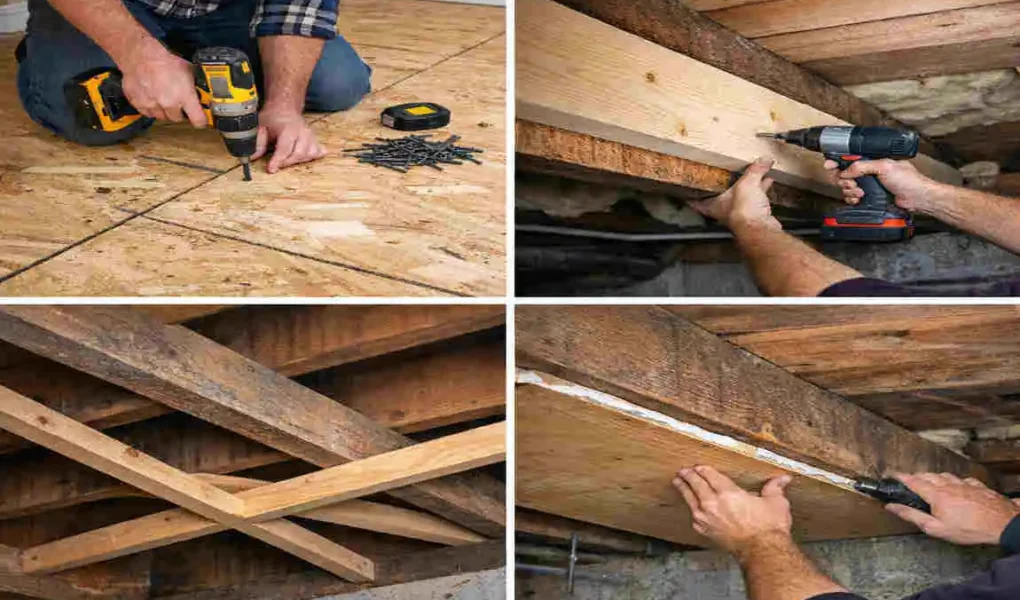
There are two common types of bridging: solid blocking and cross-bracing. Solid blocking uses short pieces of lumber fitted between joists. Cross-bracing uses angled strips to connect the joists in a crisscross pattern.
For many DIY projects, solid blocking is the easier choice. Cut the blocking pieces to fit snugly between the joists. Install them at the mid-span area, where the floor often flexes the most. Use screws or nails to fasten each piece tightly in place.
A simple example: if your joists are spaced evenly, you can place blocking at the center point between supports to help reduce bounce. This makes the joists act more like a team instead of separate pieces.
Bridging is a smart step because it helps distribute weight across the frame. It also reduces twisting, which can cause squeaks and make the floor feel less solid.
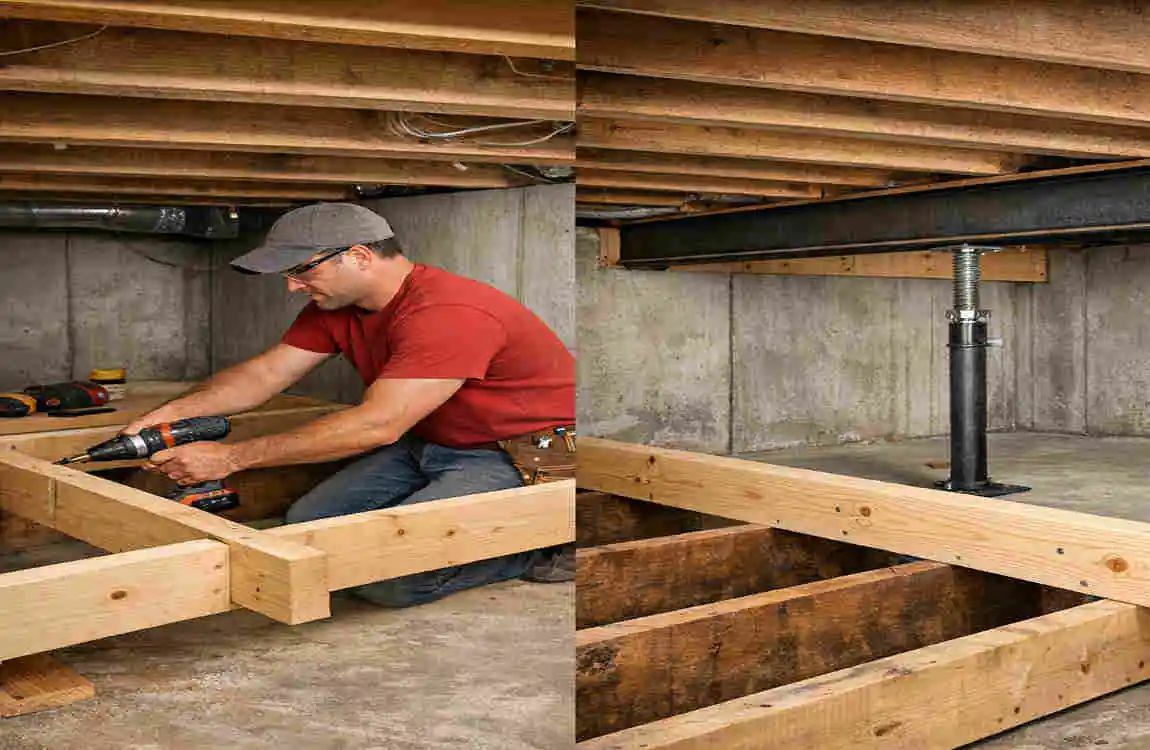
Install Additional Support Beams
If the floor still feels weak after joist repair and bridging, you may need to add support from below. This is especially useful for long spans or older homes with underbuilt framing.
Support beams can be placed under the joists to shorten the span. Shorter spans mean less flex and more stiffness. In some cases, a beam is paired with posts or support columns for even more strength.
This step is more structural than the others, so careful planning matters. Measure the area first. Make sure the new beam will fit without interfering with plumbing, wiring, or ductwork.
Safety is very important here. When working with load-bearing parts of the home, never remove support before the replacement is in place. If the beam or post system seems complex, it is wise to call a professional.
Adding a support beam can make a major difference in how a floor feels. It is one of the strongest ways to reduce bounce and create a firmer surface.
Lay Down Plywood or Subfloor Reinforcement
Once the frame below is stronger, you can improve the surface above it. Plywood helps spread weight across the floor and reduces movement between joists.
For most flooring jobs, 3/4-inch plywood is a strong choice for reinforcement. In some cases, a second layer of thinner plywood may be added to an existing subfloor, depending on the flooring type and the amount of flex.
Start by cleaning the subfloor. Remove debris, dust, or old adhesive that could stop the new plywood from sitting flat. Measure and cut the panels so they fit properly.
When installing, stagger the seams so they do not line up with the seams of the old layer. This helps the floor stay stronger. Leave a small gap around the edges for natural expansion. Fasten the plywood with screws, not nails, for a tighter, more durable hold.
You can also use construction adhesive between layers to reduce squeaks and movement. Apply it in even lines before setting the panel in place.
If you want the floor to feel solid for a long time, this step is a big one. A well-installed plywood layer helps the entire system work better.
Secure the Floorboards
Loose floorboards often cause squeaks, vibration, and a weak walking feel. Tightening them can make a noticeable difference.
Start by identifying the exact boards that move or make noise. If you can reach them from below, drive screws upward into the subfloor or joists to pull everything tight. If you are working from the top, use screws where appropriate to avoid future movement.
When possible, replace old nails with screws. Screws grip more firmly and are less likely to loosen over time. If the boards are still in good shape, you may not need to replace them. Sometimes a careful re-fastening is enough.
For extra stability, use a thin line of adhesive where the board meets the subfloor. This helps limit friction and reduces squeaks.
Take your time with this step. A floor that is firmly fastened feels better, sounds quieter, and holds up better under daily use.
Pro Tip for DIYers
Do not rush the repair. Many people focus only on the visible floor and forget what is happening underneath. That is a mistake.
Always fix the root cause first. If the joist is damaged, reinforce it before covering it. If moisture caused the problem, solve the moisture issue before adding new material. Otherwise, the floor may weaken again.
Also, do not over-tighten fasteners so they split the wood. Tight is good, but damaged wood is not.
Common Mistakes to Avoid
Skipping the Inspection
A lot of people jump straight into repairs without checking the full structure. That can lead to missed damage and wasted effort. Always inspect first so you know what you are really fixing.
Using the Wrong Materials
Not all lumber, screws, or plywood are the same. Thin or low-grade material may save money at first, but it often fails sooner. Use materials that match the floor’s weight and purpose.
Ignoring Load-Bearing Limits
A floor is not just a surface. It is part of the home’s structure. If you add weight without checking the support system, you can make the problem worse. Always consider how much load the floor needs to support.
Working Too Quickly
Fast work often leads to gaps, loose fasteners, and uneven panels. Take your time, measure twice, and make sure each step is done properly.
Forgetting Moisture Problems
If water damage caused the sagging or bounce, new wood alone will not solve it. Fix leaks, improve ventilation, and let wet areas dry fully before closing them up.
Simple Ways to Avoid These Mistakes
- Inspect the floor from above and below
- Use quality materials that match the job
- Follow spacing and fastening guidelines
- Fix moisture problems before installing new wood
- Do not cover damaged parts without repairing them first
When to Call a Professional
Some floor issues are perfect for experienced DIYers. Others are not.
You should call a professional if you notice significant sagging, deep cracks, rotten joists, termite damage, or significant structural movement. These signs can indicate serious framing issues that require expert attention.
A contractor is also the better choice when the floor supports a large room, spans a wide area, or sits above difficult framing. The same goes for homes with plumbing, electrical, or heating lines running through the floor system.
Hiring a professional can save time and reduce risk. A skilled contractor can inspect the structure, identify hidden problems, and choose the right fix for the whole system.
When choosing help, look for someone with solid experience in floor framing, subfloor repair, or structural carpentry. Ask about past work, repair methods, and their approach to safety. A reliable expert should explain the problem clearly and give you confidence in the plan.
Maintenance Tips for Long-Lasting Floors

A stiffened floor still needs care. Good maintenance helps your repair last longer and keeps new problems from forming.
Keep the Floor Dry
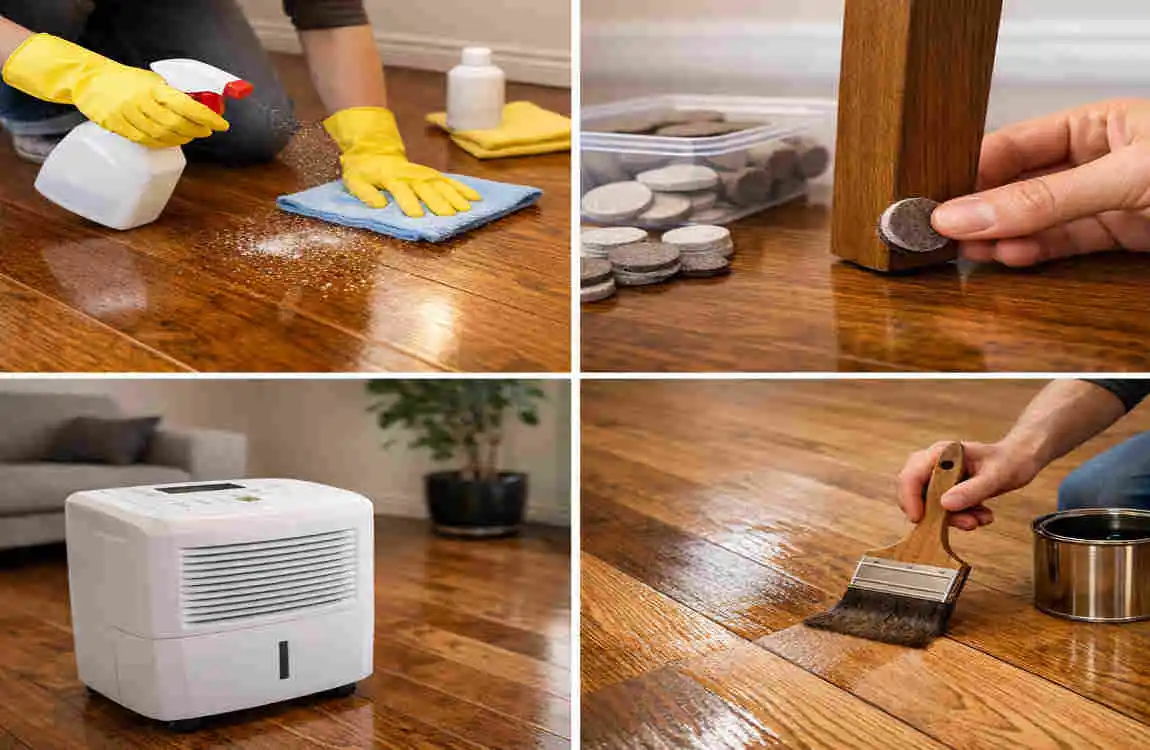
Moisture is one of the biggest enemies of wood. Fix leaks quickly, wipe up spills, and use ventilation in damp areas. If you notice condensation, stains, or a musty smell, investigate early.
Check the Fasteners
Over time, screws and nails can loosen slightly from foot traffic and natural movement. Inspect them regularly, especially in high-use rooms. Tightening a few fasteners early is much easier than doing a full repair later.
Watch for New Movement
Walk across the floor every few months and listen for squeaks or bounce. Small changes are often the first sign of a bigger issue. Catching them early can save you time and money.
Inspect Seasonally
A quick seasonal check is a smart habit. Look for changes after wet, cold, or heavy use. Floors can shift with temperature and humidity, so regular attention helps you stay ahead of trouble.
Keep Heavy Loads Balanced
Very heavy furniture or equipment can put extra pressure on certain areas. Spread the weight when possible. Use furniture pads or support pieces if needed.
FAQ
What are the best materials for stiffening a floor?
The best materials usually include structural plywood, strong screws, construction adhesive, blocking lumber, and sister joists. If the floor has major weakness, support beams may also be needed. The right mix depends on the damage and the type of floor you have.
How long does it take to stiffen up a floor?
It depends on the size of the job. A small repair may take a few hours, while a larger floor reinforcement project can take a full weekend or longer. If you need to repair joists or add support beams, the work may take longer because planning and safety checks are important.
Can I stiffen a floor without professional help?
Yes, you can handle some floor stiffening tasks yourself if the damage is minor and you have basic tools. Refastening boards, adding plywood, or reinforcing small weak spots are often DIY-friendly. But if you see structural damage, serious sagging, or moisture-related rot, it is safer to call a professional.
Are internal links useful in this article?
Yes, if you publish this on your website, you can add related internal articles such as How to Fix Creaky Floorboards or The Best Tools for Home Renovation Projects. That helps readers explore more helpful topics and keeps them on your site longer.