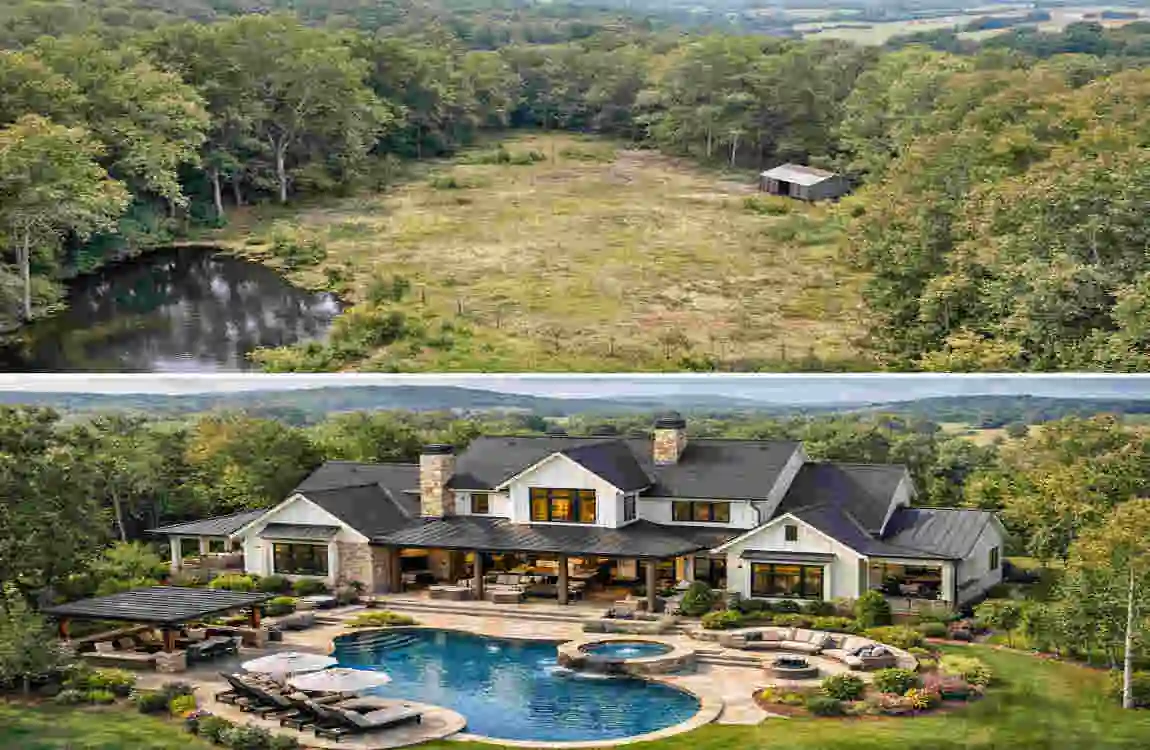
You’ve done the hard part. You’ve scoured listings, walked through tall grass, and finally signed the deed. You have the dirt. You have the view. You have the dream. But now, you are standing in the middle of an empty lot asking yourself the big question: “How do I build a house on my land without losing my mind?”
It is a common pain point. Looking at a raw piece of property can be overwhelming. Unlike buying an existing home, there are no walls to paint or floors to refinish—just potential and a whole lot of decisions to make. But here is the good news: building your own home is one of the most rewarding journeys you can embark on.
By managing the project yourself or working closely with a custom builder, you can save 20% to 30% compared to buying a turnkey property. You get to customize everything, from the direction your kitchen window faces to the exact shade of tile in the bathroom.
Assess Your Land and Dream Home Vision
Before you pour a single drop of concrete, you need to understand what you are working with. Not all land is created equal, and checking land before building a house is the most critical first step.
Evaluate Land Suitability
You might love the view, but does the soil love a foundation? You need to verify that your land can actually support a structure.
- Soil Tests: This determines if the ground is too sandy, too rocky, or full of clay. Poor soil can lead to expensive foundation issues later.
- Topography: Is the land flat or sloped? A sloped lot offers great views but will cost significantly more to grade and secure.
- Flood Zones: Always check if your land sits in a flood plain. This affects your insurance rates and construction requirements.
Define Your Vision
Now for the fun part. What do you want to build? You don’t need blueprints yet, but you need a solid idea.
- Size: How many square feet?
- Style: Are you thinking Modern Farmhouse, Traditional, or sleek Contemporary?
- Budget Range: Be honest with yourself about what you can afford.
Essential Tools and Experts
It is highly recommended to hire a land surveyor early on. For a cost between $500 and $2,000, they will mark your exact property lines so you don’t accidentally build your garage on your neighbor’s property (it happens more than you think!). You can also use free online home planners to start visualizing the layout.
Questions to Ask Yourself Before Building
- Does the land have access to utilities (water, electricity, gas)?
- How is the cell phone reception and internet availability?
- Are there trees I absolutely want to save?
- Where does the sun rise and set in relation to where I want the house?
- Is the access road wide enough for heavy construction trucks?
Land Types vs. Build Feasibility
Land Type, Build Feasibility, Cost Implication
Flat / Level High Lowest cost for site prep.
Sloped / Hillside Medium Higher cost for excavation and retaining walls.
Wooded Medium Cost added for clearing and stump removal.
Rocky Low to Medium High cost if blasting is required for the foundation.
Create a Realistic Budget and Secure Financing
Budgeting to build a house on my land is where dreams meet reality. The biggest mistake potential homeowners make is assuming the house’s price is the only price.
Breaking Down the Costs
You need to view your budget in buckets.
- Land Prep (10%): Clearing trees, leveling the ground, and bringing in utilities.
- Permits and Fees (5%): The paperwork isn’t cheap.
- Foundation (15%): The literal base of your home.
- Framing and Exterior (35%): The shell, roof, windows, and siding.
- Interior and Systems (35%): Plumbing, electric, HVAC, drywall, cabinets, and flooring.
Financing Options
Unless you are paying cash, you will likely need a construction loan. Unlike a regular mortgage, this is a short-term loan that pays the builder in “draws” or stages. Once the house is done, it converts into a permanent mortgage.
- Personal Savings: Great for the down payment and initial soft costs (such as architectural fees).
- Government Schemes: Depending on where you live, look for incentives. For example, in Pakistan, the Naya Pakistan Housing scheme offers favorable rates for new builds. In the US, FHA construction loans are an option for those with lower credit scores.
Sample Budget for a 2,000 Sq Ft Home ($300,000 Total)
CategoryPercentageEstimated Cost
Materials 50% $150,000
Labor 30% $90,000
Permits & Design 10% $30,000
Site Prep 10% $30,000
Total 100% $300,000
Navigate Legal and Zoning Requirements
Before you can swing a hammer, you have to push some paper. Understanding the permits required to build a house on my land is crucial to avoiding legal nightmares.
The “Rules” of the Land
Zoning laws govern every piece of land. These dictate what you can build.
- Zoning Approval: Ensures your land is zoned for residential use.
- Building Permit: This is the big one. It proves your plans meet safety codes.
- Environmental Clearance: Necessary if you are near wetlands or protected areas.
Step-by-Step Approval Process
- Contact Local Authority: In the US, this is your county building department. In places like Pakistan, you would visit the Lahore Development Authority (LDA) or similar regional offices.
- Submit Plans: Hand over your review blueprints.
- Wait: This process takes an average of 4 to 8 weeks.
Common Red Flags
Keep an eye out for these terms on your property deed:
- Setbacks: How far your house must be from the property line.
- Easements: A portion of your land that utility companies or the city has a right to access (you cannot build on top of an easement!).
- Bylaws: Specific local rules (e.g., Punjab building bylaws) that dictate height restrictions or mandatory open spaces.
Hire Your Dream Team—Architects, Engineers, and Contractors
You generally cannot do this alone. Choosing pros to build a house on my land is the difference between a smooth project and a disaster.
The Key Players
- Architect: They turn your vision into drawings. They handle the aesthetics and flow.
- Structural Engineer: They make sure the architect’s drawing won’t collapse. They calculate load-bearing walls and foundation strength.
- General Contractor (GC): The project manager. They hire subcontractors (plumbers and electricians) and keep the schedule moving.
Vetting Tips
- Check Licenses: Never hire an unlicensed contractor.
- Read Reviews: Look for patterns in complaints.
- Visit Past Sites: Ask to see a home they built 3 years ago. How is it holding up?
Cost Considerations
ProfessionalEstimated Cost
Architect $5,000 – $15,000 (or 5-10% of project)
Structural Engineer $500 – $2,000
General Contractor 10% – 20% of total build cost
Contract Must-Haves
Never start work on a handshake. Your contract must include the Scope of Work (exactly what they are doing), the Payment Schedule (pay based on milestones, not dates), and a Timeline with penalties for unjustified delays.
Design and plan Your Custom Home
This is the creative phase. Home design for building on your land involves balancing your wish list with your budget.
From Sketches to Blueprints
You can start with a napkin sketch, but eventually, you need professional plans. If you are tech-savvy, free software like SketchUp allows you to build 3D models of your ideas to show your architect.
Energy Efficiency Matters
Building new gives you the chance to be green.
- Solar-Ready: Even if you don’t buy panels now, run the conduit so you can add them later.
- Insulation: Spend extra here. Good insulation lowers your bills forever.
- Orientation: Position windows to capture natural light and heat.
Must-Have Features for Dream Homes
- Open floor plan living areas.
- A dedicated mudroom or drop zone.
- Ample kitchen pantry storage.
- Outdoor living space (deck or patio).
- Main suite on the main floor (for aging in place).
- Smart home wiring.
- Energy-efficient windows.
Obtain Permits and Final Approvals
You have your team and your plans. Now you go back to the office.
The Submission Process
Your architect or contractor usually handles this. They will submit the “construction documents” to the city. The city engineer will review them to ensure they meet the building code.
Avoiding Delays
The most common reason for permit delays is incomplete applications. Ensure every form is filled out and every required diagram is attached. If the city asks for a revision, turn it around immediately. Do not let it sit on your desk.
Prepare the Land—Site Work and Foundation
Now, we break ground! Land prep to build a house on my land transforms the site from wild nature to a construction zone.
Clearing and Grading
Heavy machinery arrives to clear trees, rocks, and debris. Then, they “grade” the land, which means leveling it out to create a flat pad for the house and ensuring water drains away from where the foundation will be.
Utilities Hookup
Before the concrete pours, temporary power and water need to be set up for the workers.
Foundation Types
The foundation is the most important structural element.
Foundation TypeProsCons
Slab on Grade: Cheapest, quickest, and most durable. No storage, plumbing is buried in concrete.
Crawl Space Access to pipes, warmer floors. Can be damp, requires moisture control.
Full Basement: doubles square footage and storage. Most expensive, risk of flooding.
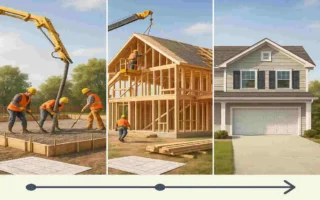
Construct the Structure—Framing to Roofing
This is the most exciting phase. In a matter of weeks, your house goes from 2D drawings to a 3D reality. Construction steps to build a house on my land move fast here.
Framing 2-4 Weeks
The skeleton of the house goes up. Walls, floor joists, and roof trusses are installed. You can finally walk from “room” to “room.”
Sheathing and Roofing
Once the frame is up, it gets covered in plywood (sheathing). Then, the roof goes on immediately to protect the wood from rain. This is called “drying in” the house.
Exterior Finishes
Windows and doors are installed. Siding, brick, or stucco is applied to the outside.
Materials Guide
- Wood: The standard for framing. Flexible and easy to work with.
- Concrete: Used in some regions (like Pakistan) for the entire structure. It is more expensive but incredibly durable and termite-proof.
Safety Checklist
Ensure your contractor has a safety plan. Hard hats and secure scaffolding are non-negotiable.
Interior Build-Out, Systems, and Finishing Touches
Now the house looks like a house on the outside, but inside it is just studs.
Rough-Ins
This is when the house’s “guts” are installed.
- Plumbing: Pipes are run through the walls.
- Electrical: Wires are pulled to every outlet and switch box.
- HVAC: Ductwork is installed for heating and cooling.
Insulation and Drywall
Once the rough-ins pass inspection, insulation is installed in the walls. Then, drywall (sheetrock) goes up, is taped, and sanded. Suddenly, the rooms feel real and quiet.
The Pretty Stuff
- Flooring: Tile, hardwood, or carpet goes down.
- Cabinetry: Kitchen and bath cabinets are hung.
- Trim: Baseboards, window casings, and doors are painted and installed.
Final Inspections, Move-In, and Beyond
You are almost there.
The Punch List
You and your contractor will walk through the house and make a list of everything that isn’t quite right—a scratched floor, a missing light switch plate, a sticking door. The contractor must fix these before final payment.
Certificate of Occupancy
The building inspector comes for one last look. If everything is up to code, they issue a Certificate of Occupancy. You cannot legally live in the house without this.
Warranty and Maintenance
Ask your builder for a binder containing all warranties for your roof, windows, and appliances. Set up a maintenance plan immediately (e.g., change filters every 3 months).
Celebration
Your first night in the house is special. Order pizza, sit on the floor if you don’t have furniture yet, and enjoy the silence of a home you built.
Common Pitfalls and How to Avoid Them
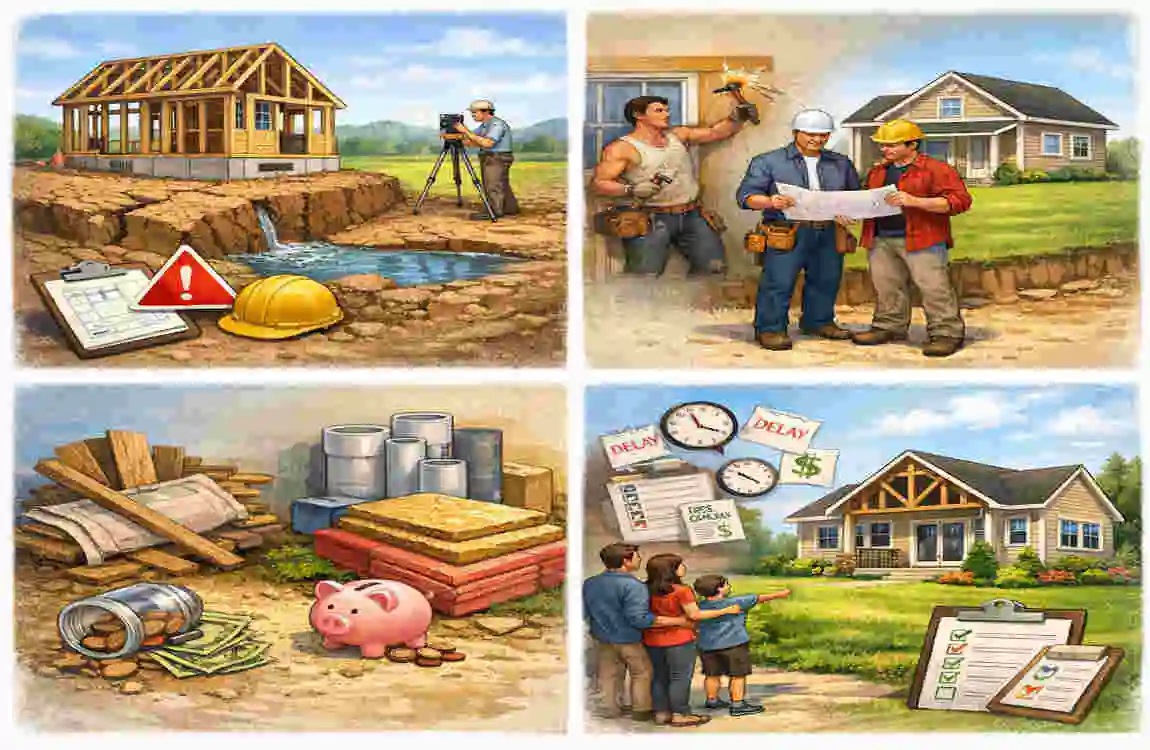
Even the best plans can go awry. Here is how to stay safe.
- Overbudgeting: It is easy to get carried away with “upgrades.” Stick to your allowances. If your tile budget is $3/sq ft, don’t look at the $10/sq ft options.
- Bad Contractors: If communication stops, that is a red flag. Address issues immediately.
- Weather Delays: You cannot control the rain. Build buffer time into your schedule so a week of rain doesn’t ruin your timeline.
Savings Hacks:
- DIY Where Safe: You probably shouldn’t do the electrical work, but you can definitely do the landscaping, interior painting, or final cleanup yourself to save thousands.
- Bulk Buys: If you have storage, buy materials when they are on sale, not just when you need them.
Cost Breakdown and Timeline Overview
To help you visualize the journey, here is what the timing usually looks like for a standard build.
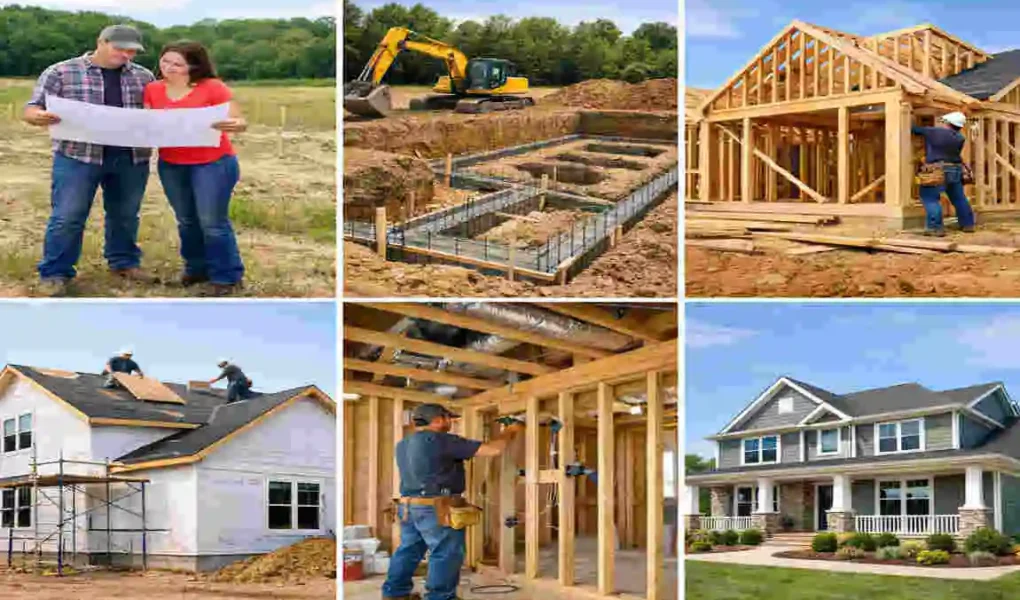
The 6-12 Month Timeline
- Month 1-2: Planning, Budgeting, Hiring an Architect/Builder.
- Month 3: Permitting and Financing approval.
- Month 4: Site Prep and Foundation.
- Month 5: Framing.
- Month 6: Roofing and Exterior finishes (Windows/Doors).
- Month 7: Plumbing, Electric, HVAC rough-ins.
- Month 8: Insulation and Drywall.
- Month 9: Flooring, Cabinets, Trim.
- Month 10: Final Electrical/Plumbing fixtures, Painting.
- Month 11-12: Final touches, Landscaping, Inspections, Move-in.
FAQ: Quick Answers on How to Build a House on My Land
1. How much does it cost to build a house on my land?
On average, in the US, expect to pay between $100 and $250 per square foot for construction (excluding land costs). This varies by finish quality and location.
2. Do I really need an architect?
For a simple home, you might get by with a draftsperson or stock plans bought online (which saves money). However, for a truly custom home or tricky land, an architect is worth the investment.
3. What is the realistic timeline?
While HGTV makes it look like it happens in a week, a custom home typically takes 6 to 12 months from breaking ground to move-in.
4. Can I build without a contractor?
You can act as your own General Contractor (owner-builder). This saves you the 15-20% management fee, but it becomes your full-time job. You are responsible for hiring subs, scheduling, and materials.
5. What are some eco-friendly options?
Consider using Structural Insulated Panels (SIPs) for better insulation, installing a greywater recycling system, and orienting your house to maximize passive solar heating.
6. Are there specific regulations for building in Pakistan/Punjab?
Yes. If you are building in Punjab, you must adhere to the Punjab Building and Zoning Bylaws. This includes mandatory open spaces (setbacks) at the front, rear, and sides of the plot, and height restrictions based on plot size.
7. How do I get financing if I am a first-timer?
Look for “Construction-to-Permanent” loans. These are single-close loans that cover the build and then convert to a mortgage, so you don’t pay closing costs twice.
8. Do I need insurance during construction?
Absolutely. You need Builder’s Risk Insurance. This protects the structure from fire, theft, or vandalism while it is being built.