Leaving a house empty during the cold months feels simple enough—lock the doors, turn off the lights, and walk away. But your plumbing doesn’t take a break just because you’re gone. When temperatures drop and no one is around to notice, the water sitting quietly inside your pipes can turn into a serious problem.
If you’re wondering how to winterize plumbing in a vacant house, you’re already thinking ahead—and that’s exactly what protects your home. A single frozen pipe can burst and release gallons of water into your walls, floors, and ceilings before anyone discovers it.
Why You Should Winterize Plumbing in a Vacant House
Before we dive into the how, let’s talk about the why. Understanding what’s at stake makes the whole process feel worth your time.
Prevent Frozen Pipes
Water expands when it freezes. That’s the core problem. When water trapped inside your pipes turns to ice, it pushes outward with enough force to crack metal and split plastic.
Since no one is home to run the taps or keep water moving, a vacant house is far more likely to develop frozen pipes. Draining the system removes the water entirely, so there’s nothing left to freeze.
Avoid Expensive Water Damage
A burst pipe doesn’t just leak a little. It can pour water for hours or even days if the home is empty. That water soaks into drywall, warps flooring, and can lead to mold growth.
By winterizing, you remove the risk at its source. No water in the pipes means no flooding, even if temperatures plunge below zero.
Protect Your Home While Away
Whether you’re a snowbird heading south, a landlord between tenants, or someone selling a property, peace of mind matters. Winterizing lets you leave without constantly worrying about what’s happening back home.
You’ll sleep easier knowing your plumbing is safe.
Save Money on Repairs
Fixing water damage is expensive. Between plumbing repairs, drying out the structure, and replacing ruined materials, costs can climb into the thousands.
Winterizing, on the other hand, costs very little. Spending a small amount now can save you a fortune later.
Signs Your Vacant House Needs Winterization
Not sure if your situation calls for winterizing? Here are the clearest signs that you should.
Home Will Be Empty for Weeks or Months
If your house will sit unoccupied for more than a few days during cold weather, winterizing is a smart move. The longer it’s empty, the higher the risk.
Temperatures Drop Below Freezing
Any region where nighttime temperatures fall below 32°F (0°C) puts your pipes in danger. Even a single cold snap can cause damage.
No Heating During Winter
Many people shut off the heat to save on energy bills while away. But without heat, indoor temperatures fall fast, and your pipes lose their only source of warmth.
Older Plumbing System
Older pipes are often more fragile and prone to cracking. If your home has aging plumbing, don’t take chances—winterize it thoroughly.
Tools and Supplies You’ll Need
Gathering everything ahead of time makes the job smoother. Here’s what to have on hand.
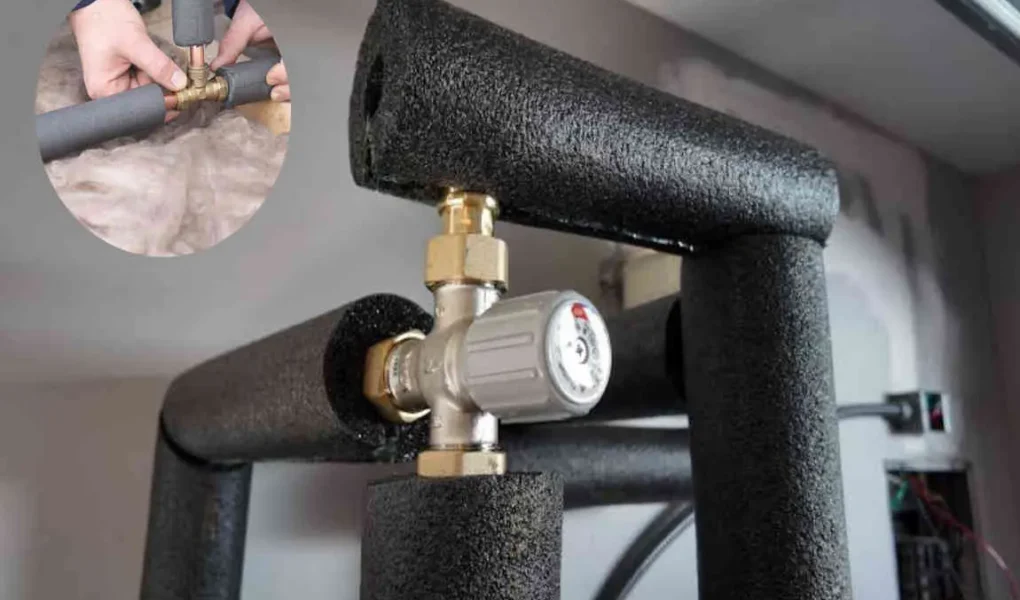
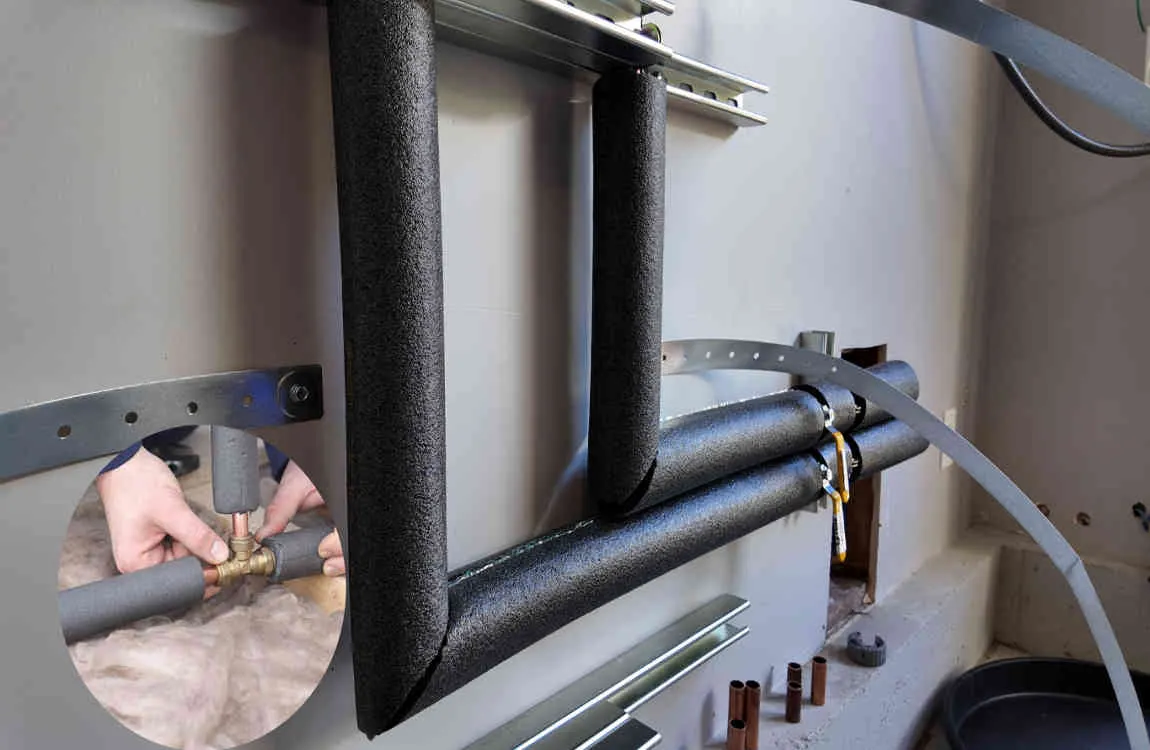
Pipe Insulation
Foam sleeves or insulation wrap protect any exposed pipes that can’t be fully drained, adding an extra layer of defense.
Non-Toxic RV Antifreeze
This special antifreeze is made for plumbing and drinking-water systems. It keeps drains and traps from freezing without harming your pipes.
Adjustable Wrench
You’ll need this to loosen connections, drain valves, and appliance hoses.
Air Compressor (Optional)
An air compressor helps blow out any leftover water from the lines, giving you a more complete drain.
Towels and Bucket
Draining pipes gets messy. Keep towels and a bucket nearby to catch drips and spills.
Water Heater Tools
You may need a garden hose and a screwdriver to drain your water heater safely.
Here’s a quick checklist you can follow:
- Pipe insulation sleeves
- Non-toxic RV antifreeze (a few gallons)
- Adjustable wrench
- Air compressor (optional but helpful)
- Towels and a bucket
- Garden hose for the water heater
How to Winterize Plumbing in a Vacant House Step-by-Step
This is the heart of the guide. Follow these steps in order, and you’ll have your plumbing fully protected.
Turn Off the Main Water Supply
Start by locating your main water shutoff valve. It’s usually found near where the water line enters your home, often in the basement, garage, or near the water meter.
Turn the valve clockwise until it stops. This stops any new water from entering the house.
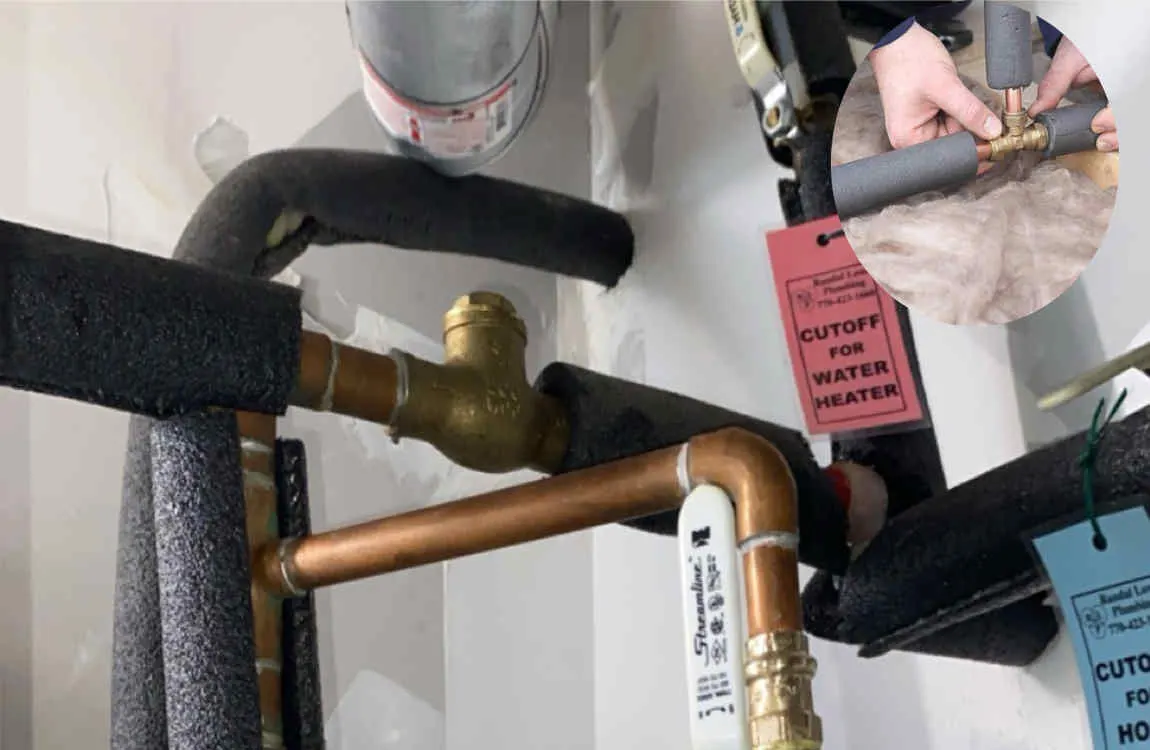
Shut Off the Water Heater
Turn off the power to your water heater. For electric units, switch off the breaker. For gas units, set the control to “pilot” or “off.”
Never drain a water heater while it’s still powered on—this can damage the heating elements.
Drain All Water Pipes
Now it’s time to empty the pipes. Open the lowest faucet in the house first (usually in the basement or on the ground floor), then work your way up.
If you have an air compressor, you can blow air through the lines to push out any water that’s still hiding inside.
Open Faucets Throughout the House
Go through every room and open all the faucets—hot and cold. This includes sinks, showers, and tubs.
Opening them releases pressure and lets air in, which helps the water drain out completely.
Flush Toilets Completely
Flush each toilet to empty the tank and bowl as much as possible. Hold the handle down to let all the water run out.
Remove Water From Tanks and Bowls
After flushing, use a sponge or towels to soak up any water left in the toilet tanks and bowls. The goal is to get them as dry as you can.
Add RV Antifreeze to Toilets, Sinks, Tubs, and Floor Drains
Now pour non-toxic RV antifreeze into every drain, including sinks, tubs, showers, and floor drains. Add a bit to each toilet bowl and tank too.
This protects the water traps—the curved sections of pipe that always hold a little water to block sewer gases.
Check for Plumbing Leaks
Before you finish, do a walkthrough and look for any drips, damp spots, or signs of moisture. Catching a small leak now prevents a bigger problem later.
Perform a Final Home Inspection
Take one last tour of the house. Confirm every faucet is open, the water is off, the heater is drained, and antifreeze is in each drain.
A few minutes of checking now gives you months of peace of mind.
Common Mistakes to Avoid
Even careful homeowners slip up. Here are the mistakes that catch people off guard.
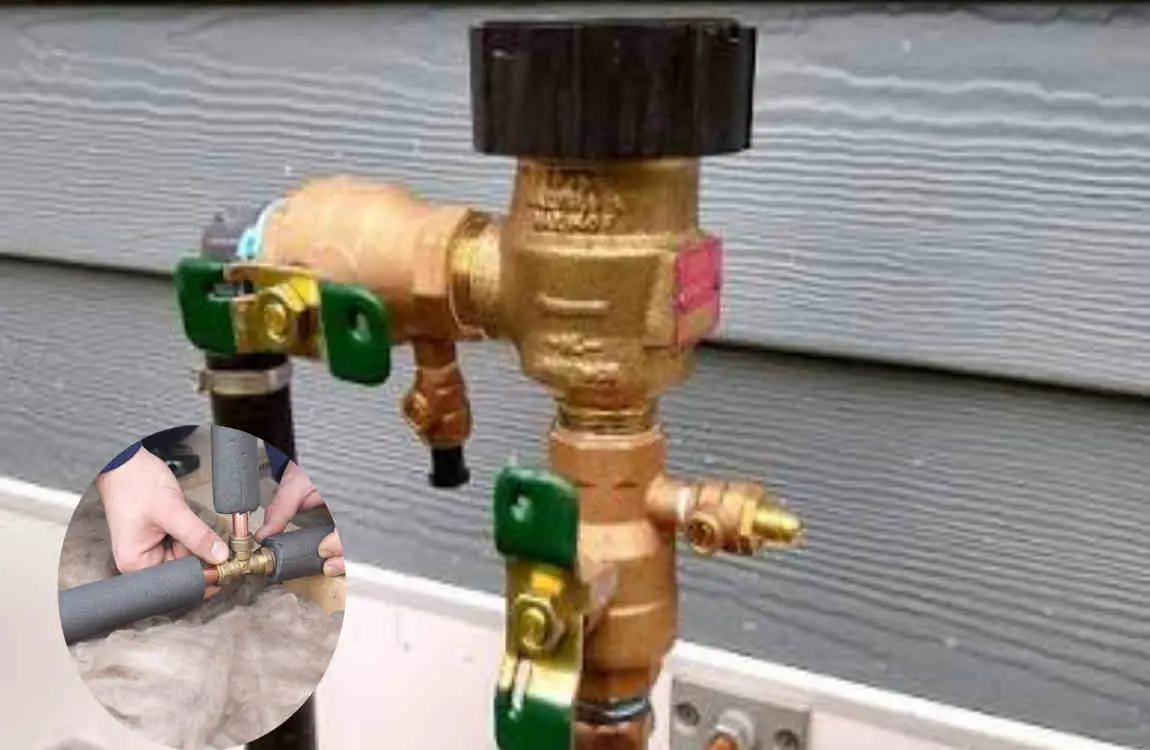
Forgetting Outdoor Faucets
Outdoor spigots and hoses freeze quickly and can crack the connected indoor pipes. Always drain them.
Using Automotive Antifreeze
This is a big one. Never use automotive antifreeze in your plumbing—it’s toxic and dangerous. Only use RV or marine antifreeze designed for plumbing systems.
Leaving Water in Toilets
Water left in toilet tanks and bowls can freeze and crack the porcelain. Empty them and add antifreeze.
Skipping Pipe Insulation
Draining is important, but insulation adds a crucial safety net for pipes you can’t fully empty. Don’t skip it.
Ignoring the Water Heater
A full water heater left in a freezing house can be damaged. Drain it as part of your routine.
Additional Tips to Protect a Vacant House in Winter
Winterizing your plumbing is the main event, but these extra steps offer even more protection.
Maintain Minimum Indoor Heat
If you can afford to keep the heat running a little, set the thermostat to around 50–55°F (10–13°C). This keeps the whole house above freezing.
Ask Someone to Inspect the Property
Have a trusted neighbor, friend, or family member check on your home now and then. A quick visit can catch problems early.
Seal Drafts Around Doors and Windows
Cold air sneaks in through gaps. Sealing drafts keeps indoor temperatures stable and helps protect any pipes near exterior walls.
Install Water Leak Sensors
Smart water sensors can alert your phone if they detect moisture. They’re an affordable way to stay informed while you’re away.
Shut Off Gas if Necessary
If your home will be empty for a long stretch and you’ve drained everything, shutting off the gas adds an extra layer of safety. Just be sure you know how to relight appliances later.
When to Hire a Professional Plumber
Winterizing is often a great DIY project, but some situations call for expert help.
Large Homes
Big houses have more pipes, more fixtures, and more places for water to hide. A professional ensures nothing gets missed.
Complex Plumbing Systems
If your home has multiple bathrooms, radiant floor heating, or an unusual layout, a plumber’s experience is worth the cost.
Vacation Homes
Vacation properties are often in remote areas where a burst pipe might go unnoticed for weeks. Professional winterization gives extra security.
Homes in Extremely Cold Climates
In regions with harsh, long winters, the stakes are higher. A pro can make sure every vulnerable spot is protected.
Cost of Winterizing Plumbing
Wondering what this will cost? Here’s a simple breakdown to help you plan your budget.
Service Estimated Cost
DIY Winterization $30–$150
Professional Winterization $150–$500+
Pipe Insulation $20–$100
RV Antifreeze $5–$10 per gallon
As you can see, doing it yourself is very affordable. Even hiring a professional costs far less than repairing water damage, which can run into the thousands.
Think of winterizing as insurance you actively control.
Frequently Asked Questions (FAQ)
How do you winterize plumbing in a vacant house?
Turn off the main water supply, drain the plumbing system, empty the water heater, flush toilets, and add RV antifreeze to drains and toilet bowls.
Should I turn off the water in a vacant house during winter?
Yes. Turning off the main water supply greatly reduces the risk of burst pipes and water damage.
What type of antifreeze should I use for plumbing?
Use non-toxic RV or marine antifreeze designed specifically for plumbing systems. Never use automotive antifreeze.
Can pipes freeze even if the water is turned off?
Yes. Any remaining water inside the pipes can freeze and expand, so draining the plumbing system is essential.
Is it better to keep the heat on or winterize the house?
For homes left vacant for an extended period, fully winterizing the plumbing and maintaining a low indoor temperature (around 50–55°F or 10–13°C) provides the best protection.
How often should I inspect a vacant house during winter?
If possible, inspect the property every one to two weeks to check for leaks, heating issues, or storm damage.
| Step | What to Do | Why It Matters |
|---|---|---|
| Turn Off Water Supply | Shut off the main water valve. | Prevents water from freezing and bursting pipes. |
| Drain Water Lines | Open all faucets and drain remaining water. | Removes water that could freeze inside pipes. |
| Empty Water Heater | Turn off power/gas and drain the tank. | Protects the heater from freeze damage. |
| Add Antifreeze | Pour RV (non-toxic) antifreeze into toilets, sinks, and floor drains. | Prevents freezing in traps and drain lines. |
| Insulate Exposed Pipes | Wrap pipes in unheated areas with foam insulation. | Reduces the risk of frozen pipes. |
| Set Thermostat | Keep indoor temperature around 55°F (13°C) or higher. | Helps protect plumbing during cold weather. |
| Seal Air Leaks | Caulk gaps around doors, windows, and pipe openings. | Keeps cold air away from plumbing. |
| Disconnect Outdoor Hoses | Remove hoses and shut off outdoor faucets. | Prevents frozen outdoor plumbing. |
| Check Sump Pump | Test and clean the sump pump if installed. | Ensures proper drainage during winter. |
| Final Inspection | Walk through the house before leaving. | Confirms the home is fully winterized and protected. |