How to Cap Off House Plumbing in Simple StepsHave you ever stared at an old pipe sticking out of your wall and wondered what to do with it? Maybe you removed a sink, took out a toilet, or you’re right in the middle of a remodel. That leftover pipe needs to be sealed, and that’s exactly where capping comes in.
Learning how to cap off house plumbing is one of those handy skills that saves you money, prevents water damage, and gives you more control over your home. When you cap a pipe, you’re basically placing a sealed cover over the open end so water can’t escape. It sounds technical, but honestly, it’s simpler than most people expect.
What Does It Mean to Cap Off House Plumbing?
Before you grab any tools, it helps to understand what capping actually means. Think of it like putting a lid on a bottle. You’re stopping the flow of water at a specific point in your plumbing system.
Definition of Plumbing Caps
A plumbing cap is a small fitting that covers and seals the open end of a pipe. It fits snugly over or inside the pipe, creating a watertight barrier.
Caps come in different shapes and materials to match your pipes. Some screw on, some glue on, and others clamp on. The goal is always the same: keep water where it belongs and stop it from leaking out of an unused line.
When You Should Cap Off Plumbing
You’ll usually cap a pipe when you no longer need a water source in a certain spot. For example, if you tear out an old bathroom vanity, the water lines behind it need sealing.
You might also cap pipes during repairs, upgrades, or when rerouting your plumbing. Anytime a pipe end is left open and connected to your water supply, it needs a cap.
Temporary vs. Permanent Plumbing Caps
Not all caps are meant to last forever. Temporary caps work great when you plan to reconnect a fixture later. They’re easy to remove and often use threaded fittings or push-fit connectors.
Permanent caps, on the other hand, are sealed for good. These often involve glue, solder, or crimped fittings. Choose your cap type based on whether you’ll ever want to use that pipe again.
Reasons to Cap Off House Plumbing
You might be surprised how many situations call for capping a pipe. Let’s look at the most common reasons homeowners reach for a cap.
Bathroom or Kitchen Remodeling
Remodels are the number one reason people cap plumbing. When you move a sink, relocate a dishwasher, or redesign a bathroom layout, some old pipes become useless.
Rather than leaving them open, you cap them off cleanly. This keeps your walls dry and your project looking professional.
Removing Unused Fixtures
Maybe you’re getting rid of an old outdoor spigot or a second laundry hookup you never use. Once you remove the fixture, the pipe stays behind.
Capping that pipe seals the line so you don’t waste water or risk a hidden leak.
Preventing Water Leaks
An open pipe connected to your water supply is a disaster waiting to happen. The moment water pressure builds up, it sprays everywhere.
Capping stops this problem before it starts. A properly sealed cap gives you real peace of mind.
Preparing for Future Renovations
Sometimes you cap a pipe now because you plan to use it later. Say you’re roughing in plumbing for a future bathroom or kitchen island.
You install the pipes, cap them, and cover them until you’re ready. It’s a smart way to plan without leaving loose ends.
Tools and Materials You’ll Need
Good news: you don’t need a truckload of fancy equipment for this job. A few basic tools will get you through most capping projects.
Let me break down each item and what it does for you.
Pipe Caps
The star of the show. You’ll need a cap that matches your pipe’s material and size. Grab a few extras just in case one doesn’t fit perfectly.
Pipe Wrench
This heavy-duty wrench grips round pipes and fittings so you can twist and tighten them. It gives you the leverage you need for a snug seal.
PVC Cement or Thread Seal Tape
For plastic pipes, PVC cement bonds the cap permanently. For threaded metal pipes, thread seal tape wraps around the threads to block leaks. Pick the one that fits your pipe type.
Adjustable Wrench
An adjustable wrench handles smaller fittings and nuts. It’s a flexible tool that works well when a pipe wrench feels too bulky.
Safety Gloves and Goggles
Never skip your safety gear. Gloves protect your hands from sharp edges and chemicals, while goggles shield your eyes from splashing water and debris.
Here’s a quick reference table to keep everything organized:
ToolPurpose
Pipe Cap Seals pipe end
Pipe Wrench Tightens fittings
PVC Cement Bonds PVC pipes
Thread Seal Tape Prevents leaks
Bucket Catches remaining water
How to Cap Off House Plumbing Step-by-Step
Now for the main event. Follow these seven steps carefully, and you’ll have a sealed pipe in no time. Take your time with each one.
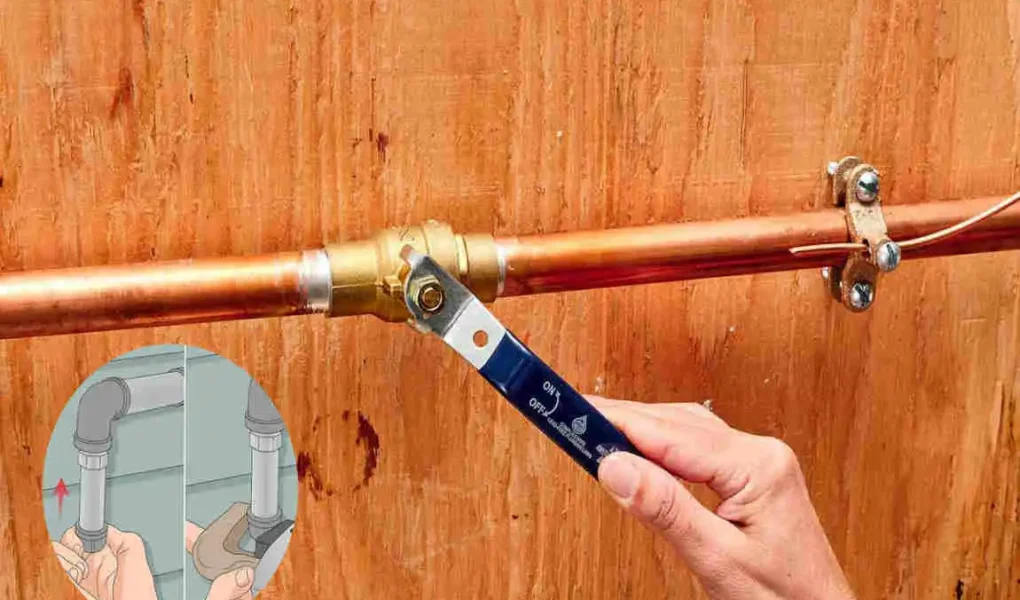
Turn Off the Main Water Supply
Always start here. Find your home’s main water shut-off valve, usually near the water meter or where the main line enters your house.
Turn it clockwise until the water stops flowing. This single step prevents flooding and keeps you dry while you work.
Drain Remaining Water
Even with the water off, some liquid stays trapped in the pipes. Open the lowest faucet in your home to let it drain out.
Keep a bucket handy to catch any water from the pipe you’re capping. This keeps your workspace clean and mess-free.
Identify the Pipe Material
Not all pipes are the same, so look closely at what you’re working with. Is it copper, PVC, PEX, or galvanized steel?
Knowing the material tells you which cap and method to use. When in doubt, snap a photo and ask at your local hardware store.
Clean the Pipe End
A clean pipe seals better. Wipe away dirt, rust, or old glue from the pipe’s end and threads.
For metal pipes, a bit of sandpaper smooths the surface. For plastic, a clean cloth usually does the trick.
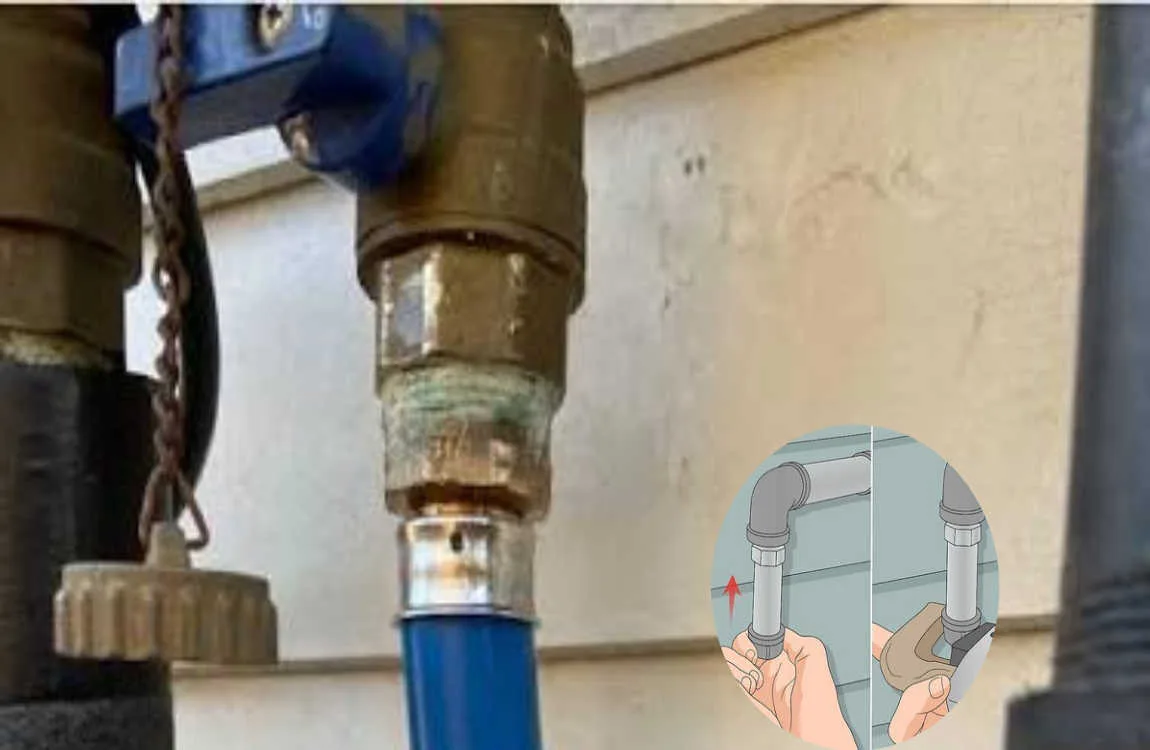
Install the Correct Pipe Cap
Now slide or screw on your cap. Make sure it matches the pipe diameter exactly; otherwise, it won’t seal properly.
For threaded pipes, wrap thread seal tape around the threads first. For PVC, apply cement to both the pipe and cap before joining them.
Different Ways to Cap Various Pipe Types
Each pipe material has its own personality. What works for copper won’t work for PVC. Let me show you how to handle each one.
Copper Pipes
Copper pipes often require soldering for a permanent cap. You heat the cap and pipe with a torch, then apply solder to seal the joint.
If you’d rather skip the torch, use a push-fit cap. These snap on without any flame and work surprisingly well.
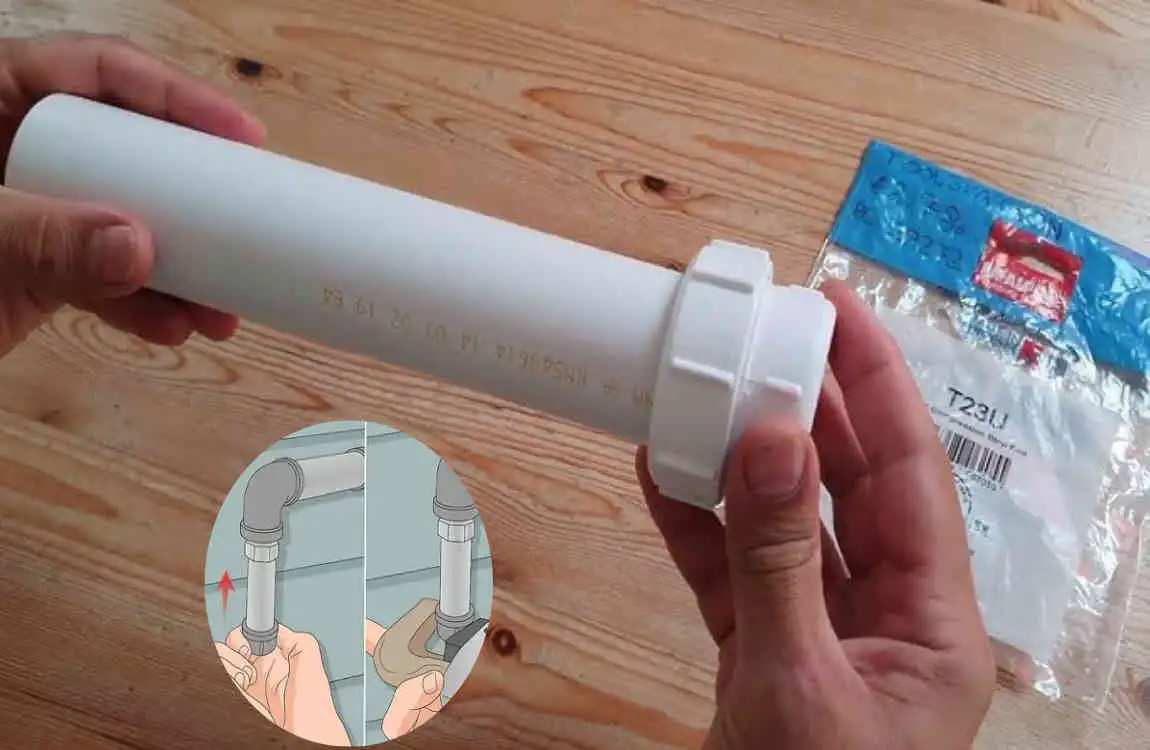
PVC Pipes
PVC is the friendliest for beginners. You simply apply PVC cement to the pipe end and cap, then push them together.
The cement bonds fast, creating a permanent, leak-proof seal. Just make sure the surfaces are clean and dry first.
PEX Pipes
PEX is that flexible plastic tubing many modern homes use. You cap it with a crimp ring and a special crimping tool, or with a push-fit cap.
Push-fit options make PEX incredibly easy. Just push the cap on, and the internal grip holds it tight.
Galvanized Steel Pipes
These older metal pipes use threaded caps. Wrap thread seal tape around the threads, then screw the cap on with a pipe wrench.
Galvanized pipes can rust over time, so clean the threads well before capping. A snug fit here really matters.
Common Mistakes to Avoid
Even simple projects can go sideways. Here are the mistakes I see most often, so you can steer clear of them.
Forgetting to Shut Off Water
This is the big one. Skip the shut-off, and you’ll get soaked the moment you loosen a pipe. Always confirm the water is off first.
Using the Wrong Cap Size
A cap that’s too big or too small won’t seal properly. Measure your pipe diameter before buying, and double-check the fit before installing.
Skipping Leak Testing
Never assume your seal is perfect. Always turn the water back on and inspect for leaks. A five-minute check saves you from hidden water damage later.
Overtightening Pipe Caps
More force isn’t always better. Cranking a cap too hard can crack fittings or strip threads. Tighten until snug, then stop.
Safety Tips
Plumbing work is generally safe, but a little caution goes a long way. Keep these tips in mind every time.
Here’s a quick safety checklist to follow:
- Wear gloves and goggles throughout the entire job.
- Confirm the water is completely off before touching any pipe.
- Use tools that match the pipe type and size.
- Keep towels and a bucket nearby for spills.
Wear Protective Gear
Gloves and goggles protect you from sharp edges, hot solder, and chemical splashes. They’re cheap and worth every penny.
Use the Correct Tools
Using the right tool makes the job easier and safer. The wrong tool can slip, damage pipes, or cause injury.
Verify Water Is Completely Off
Double-check that valve. Sometimes water pressure lingers, so open a nearby faucet to confirm the flow has truly stopped.
Call a Professional for Complex Plumbing
If you feel unsure at any point, stop and call a pro. There’s no shame in asking for help with tricky plumbing.
When Should You Hire a Plumber?
DIY is great, but some jobs need an expert. Knowing your limits protects your home and your wallet.
Hidden Pipe Damage
If a pipe looks corroded, cracked, or damaged, don’t just cap it. A plumber can spot problems you might miss and fix the root issue.
Main Water Line Issues
The main line carries all your home’s water. Mistakes here cause major flooding. Leave main line work to licensed professionals.
Older Plumbing Systems
Old homes sometimes have fragile or unusual pipes. A plumber knows how to handle aging systems without causing more harm.
Local Plumbing Code Requirements
Many areas have rules about plumbing changes. A licensed plumber knows the local codes and keeps your work legal and safe.
Maintenance After Capping Plumbing
Your job isn’t quite over once the cap is on. A little follow-up keeps everything working smoothly for years.
Inspect for Leaks
Check your capped pipe a day or two after you finish. Sometimes tiny leaks show up slowly, so a second look helps.
Check Caps Periodically
Every few months, glance at your capped lines. Look for moisture, corrosion, or loose fittings, and reseal if needed.
Label Capped Lines for Future Use
Here’s a pro tip: label each capped pipe with a marker or tag. Note what it once connected to. Future you will be grateful when you finally start that renovation.
Frequently Asked Questions FAQ
How do you cap off house plumbing safely?
Turn off the main water supply, drain the pipes, install the correct cap, and test for leaks before restoring water.
Can I cap off a water pipe permanently?
Yes. Permanent caps are commonly used during remodels or when removing unused plumbing fixtures.
Do I need special tools to cap plumbing?
Basic tools such as a pipe wrench, pipe cap, thread seal tape, and PVC cement (for PVC pipes) are usually sufficient.
Can I cap off plumbing without cutting the pipe?
In some cases, yes. Threaded pipes can often be capped directly, while other pipe types may require cutting.
What type of cap should I use?
Choose a cap that matches your pipe material (PVC, copper, PEX, or galvanized steel) and the correct pipe diameter.
| Topic | Details |
|---|---|
| Purpose | Cap off plumbing lines to safely stop water flow to unused pipes during renovations or repairs. |
| Turn Off Water | Shut off the main water supply to prevent leaks and pressure in the pipes. |
| Drain the Pipes | Open nearby faucets to drain any remaining water from the plumbing system. |
| Choose the Right Cap | Select a pipe cap or end cap that matches the pipe material (PVC, PEX, copper, or galvanized steel) and size. |
| Prepare the Pipe | Cut the pipe cleanly if needed and remove burrs or rough edges before installing the cap. |
| Install the Cap | Secure the cap using the appropriate method—PVC cement, push-fit fitting, soldering, or threaded connection. |
| Restore Water Supply | Turn the main water back on slowly and check the capped pipe for leaks. |
| Common Tools | Pipe cutter, adjustable wrench, PVC cement, soldering kit (for copper), push-fit caps, Teflon tape, safety gloves. |
| Estimated Time | Around 15–45 minutes, depending on the pipe type and accessibility. |
| DIY Difficulty | Easy to Moderate for basic plumbing knowledge. |
| Safety Tip | Always verify the water is fully shut off before cutting or capping any pipe. |
| Best For | Bathroom remodels, kitchen renovations, removing fixtures, and permanently or temporarily sealing unused plumbing lines. |