
Hey there, homeowner! Let’s discuss something that may not be the most exciting topic at first glance, but is incredibly important for keeping your home safe and functional—home plumbing. Your plumbing system is like the circulatory system of your house, delivering water where it’s needed and whisking away waste. Just as we need regular checkups to stay healthy, your plumbing system requires testing to ensure it’s in top shape.
What Is a Static Test for Home Plumbing?
Let’s start with the basics. What is a static test for home plumbing, and why should you care? A static test is a method used to check the strength and integrity of your plumbing system without any water moving through the pipes. Think of it as a stress test for your pipes—they’re pressurized to see if they can withstand the pressure without leaking or breaking. Unlike other tests, such as dynamic testing (where water flows through the system to mimic real use), a static test is all about stillness. There’s no flow; the system is sealed off, and pressure is applied to see if everything stays intact. The main goal? To spot leaks, cracks, or weak spots in your pipes before they cause bigger plumbing problems.
How Does a Static Test for Home Plumbing Work?
Now that you know what a static test for home plumbing is, let’s break down how it actually works. Don’t worry—I’ll keep this easy to follow. A static test is like putting your plumbing under a magnifying glass to check for flaws, and it follows a straightforward step-by-step process. First, the plumber (or you, if you’re doing it yourself) isolates the part of the plumbing system to be tested. This could be your water supply lines, which bring fresh water into your home, or your sewer lines, which carry waste away. Once isolated, the system is sealed off using special plugs or caps to prevent any water or air from escaping.
Why Is Static Testing Important for Home Plumbing?
You might be wondering, “Why go through all this trouble for a test?” Trust me, static testing is a game-changer for keeping your home safe and your wallet happy. Let’s examine why it’s such a significant issue. For starters, static testing ensures your plumbing guide is solid. By checking for leaks or weak spots before they become problems, you prevent water from seeping into places it shouldn’t—such as behind your walls or under your floors. A tiny leak may not seem like much at first, but over time, it can lead to severe water damage or even mold growth, which poses a health hazard and is expensive to repair.
When Should You Conduct a Static Test on Your Home Plumbing?
Okay, we’ve covered what a static test is for home plumbing and why it’s essential. But when exactly should you do one? Timing is everything, and there are a few key moments when this test is a must. If you’re building a new home or adding new plumbing, a static test is almost always required. It’s the best way to confirm that everything was installed correctly before you start using the system. Think of it as a final quality check before the walls go up and everything is covered.
Static Test vs Dynamic Test for Plumbing: Key Differences
Not all plumbing tests are the same, and it’s easy to confuse them. Let’s clear the air by comparing a static test with a dynamic test. Both are important, but they serve different purposes. Check out the table below for a quick overview, and I’ll explain the differences in more detail.
Feature Static Test Dynamic Test
So, what distinguishes these two? A static test, as we’ve discussed, is all about stillness. There’s no water moving through the pipes; the system is sealed and pressurized to spot leaks or weaknesses. It’s perfect for checking if a newly installed or repaired system is operational.
Tools and Materials Needed for Static Testing
Ready to get hands-on or just curious about what’s involved in a static test? Let’s talk about the tools and materials you’ll need. Don’t worry—these are pretty basic, and I’ll explain each one so you know exactly what to look for.
Here’s a quick list of the essentials:
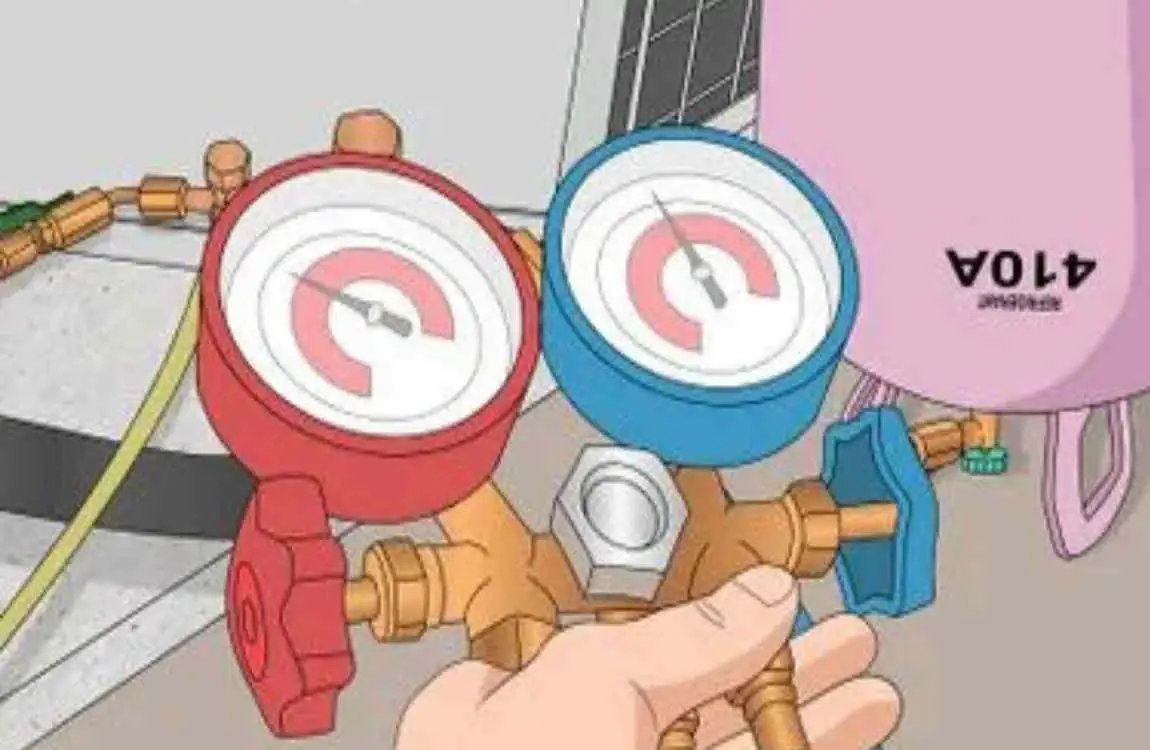
- Pressure gauge: This device measures the pressure inside the system. It’s your key to knowing if there’s a drop, which means a leak.
- Test plugs or caps: These seal off the plumbing pipes, preventing air or water from escaping during the test.
- Pressure source: This could be a hand pump for air or a water supply to fill the pipes with pressure.
DIY Static Test for Home Plumbing: Step-by-Step Guide
Feeling adventurous and want to try a static test yourself? I’ve got you covered with a step-by-step guide. But let’s be clear—this is for basic testing on a small scale. If you’re dealing with a big system or aren’t confident, it’s always best to call a professional. Safety first!
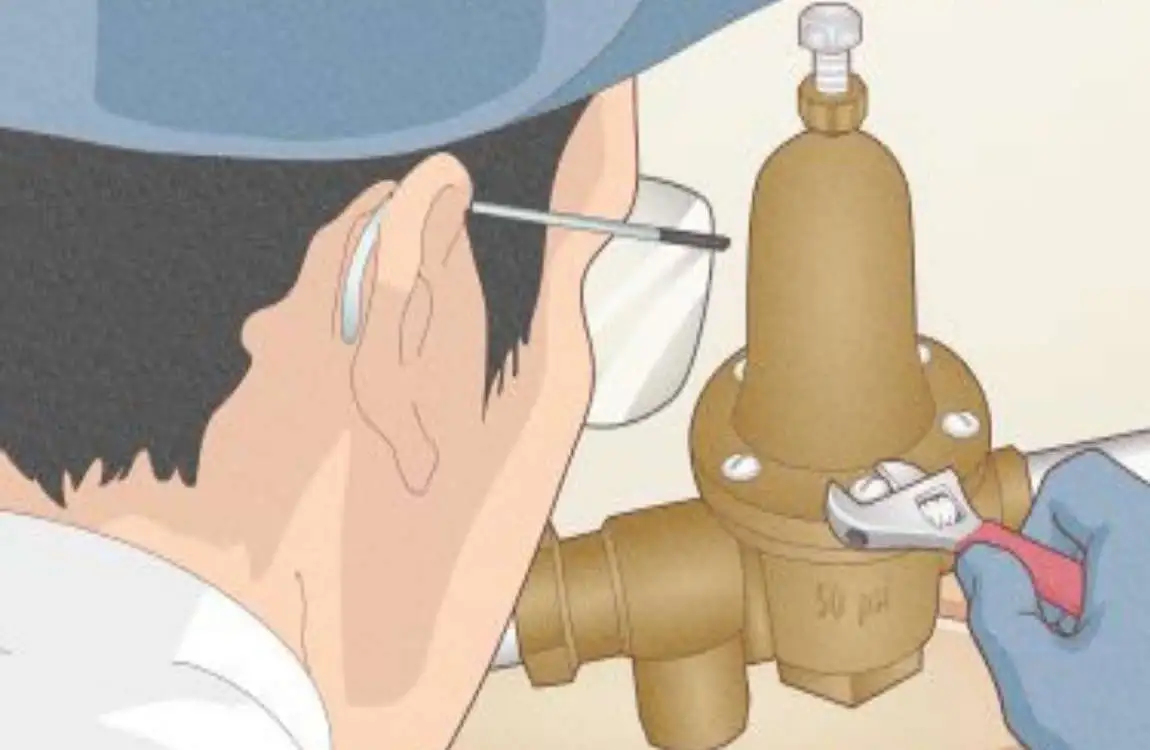
Before you start, take some precautions. Turn off the main water supply to avoid any unexpected floods. Gather your tools—pressure gauge, test plugs, and a pressure source. Wear safety gear, such as gloves and goggles, and ensure you’re working in a well-ventilated area when using water pressure. Double-check that no one else in the house will turn on a faucet or flush a toilet during the test.
Now, let’s get to the steps:
- Isolate the section: Select the part of the plumbing you want to test, such as a specific water line. Close off any valves leading to other areas.
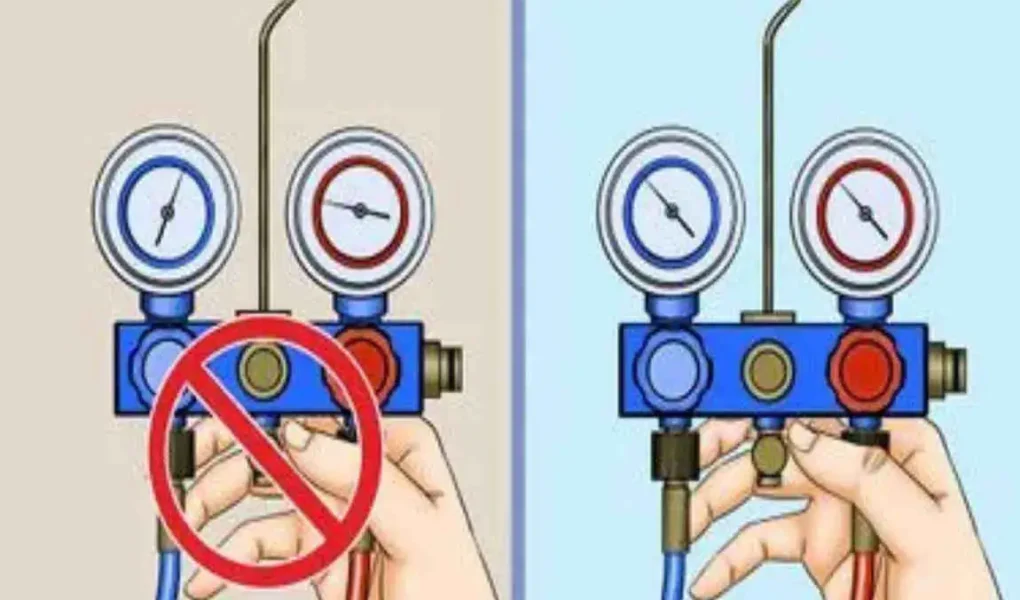
- Seal the system: Use test plugs or caps to block off open ends of the copper pipes. Ensure they’re secure—you don’t want leaks due to poor sealing.
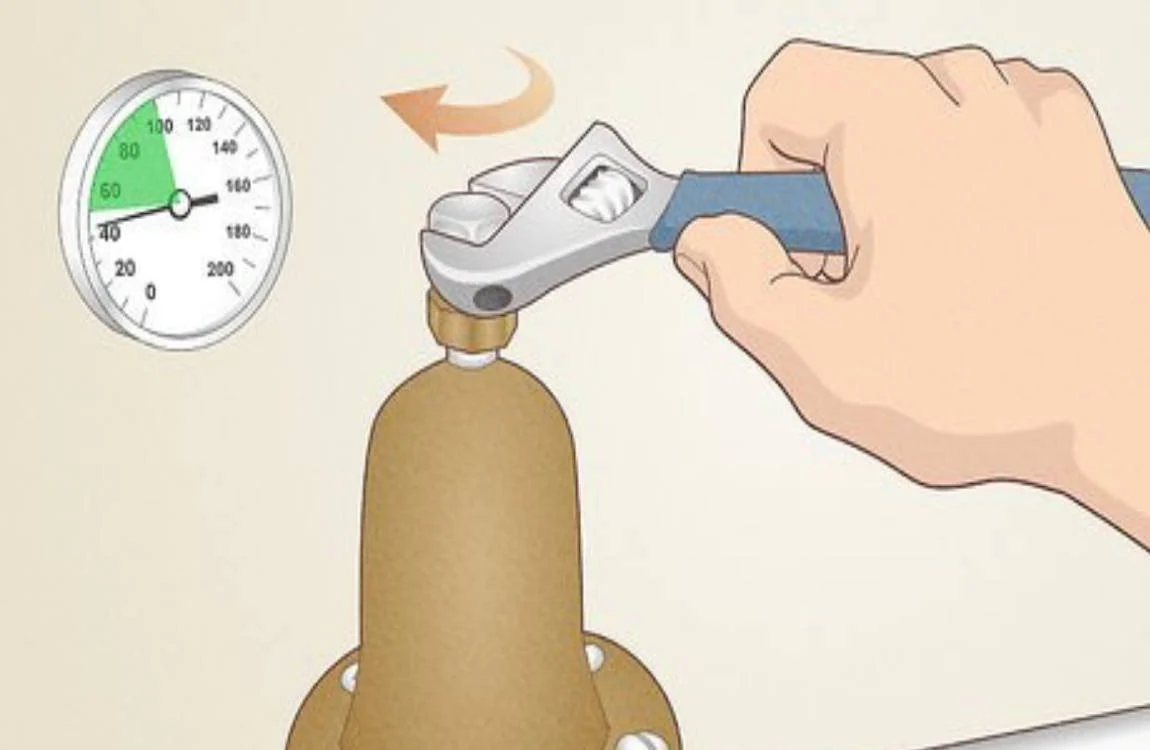
- Apply pressure: Connect your pressure source (water or air) and slowly increase the pressure to the recommended level for your system. Check local codes for the correct pressure, but it’s often around 50-100 psi for water lines.
- Monitor the gauge: Once you hit the target pressure, stop and watch the indicator for 15-30 minutes. A steady reading means no leaks. A drop means trouble.
- Check for issues: Look and listen for signs of leaks—such as dripping water, hissing air, or damp spots. Mark any problem areas for repair.
- Release pressure: Slowly release the pressure once you’re done, and then carefully remove the plugs.
Common Problems Detected by Static Testing
Static tests are like a detective for your plumbing—they uncover hidden issues before they turn into significant problems. Let’s review some of the most common issues these tests can detect. First up, leaks. These are the big ones. Even a tiny drip in a pipe or fitting can be detected during a static test, as the pressure drop is visible on the gauge. Finding leaks early prevents water damage and saves you money. Then there are weak or cracked pipes. Over time, pipes can wear out, especially if they’re old or made of less durable materials. A static test pushes them to their limits, revealing cracks or sections that can’t handle the pressure.
How Professionals Perform Static Tests Differently
While a DIY static test can work for small checks, professionals take things to the next level. Let’s take a peek behind the curtain at how the pros do it—and why their approach often yields better results. For one, plumbers use advanced equipment. They may have dripping water digital pressure gauges or even specialized leak detection tools that can pinpoint issues to within an inch. This tech makes their tests faster and more accurate than most DIY setups.
Cost and Time Estimates for Static Testing
If you opt for a professional, the cost typically ranges from $100 to $300, depending on your location and the size of your home. Bigger homes with more complex plumbing systems might push the price higher, closer to $500. This usually includes the test itself and a basic report. If repairs are needed after the test, that will be an additional cost. Time-wise, a professional static test often takes 1-2 hours. This includes setup, testing, and checking for issues. Larger systems or homes with hard-to-access pipes might take longer, up to half a day.


